

Snowman Body - Buttons
and Carrot Blocks

Welcome Quilty Friends!!
Today is Week Three for the
LET'S MAKE A SNOWMAN
SEW ALONG
If you are just joining us
and want to know everything
about this sew along and
making this quilt
for my "BEE PREPARED" blog post.

We are making the
LET'S MAKE A SNOWMAN Quilt
which finishes at
75" x 87"
It consists of 22 pieced quilt blocks
for the border which surrounds
the applique blocks in the center
of the quilt.
(There are a few other blocks
that are also pieced)

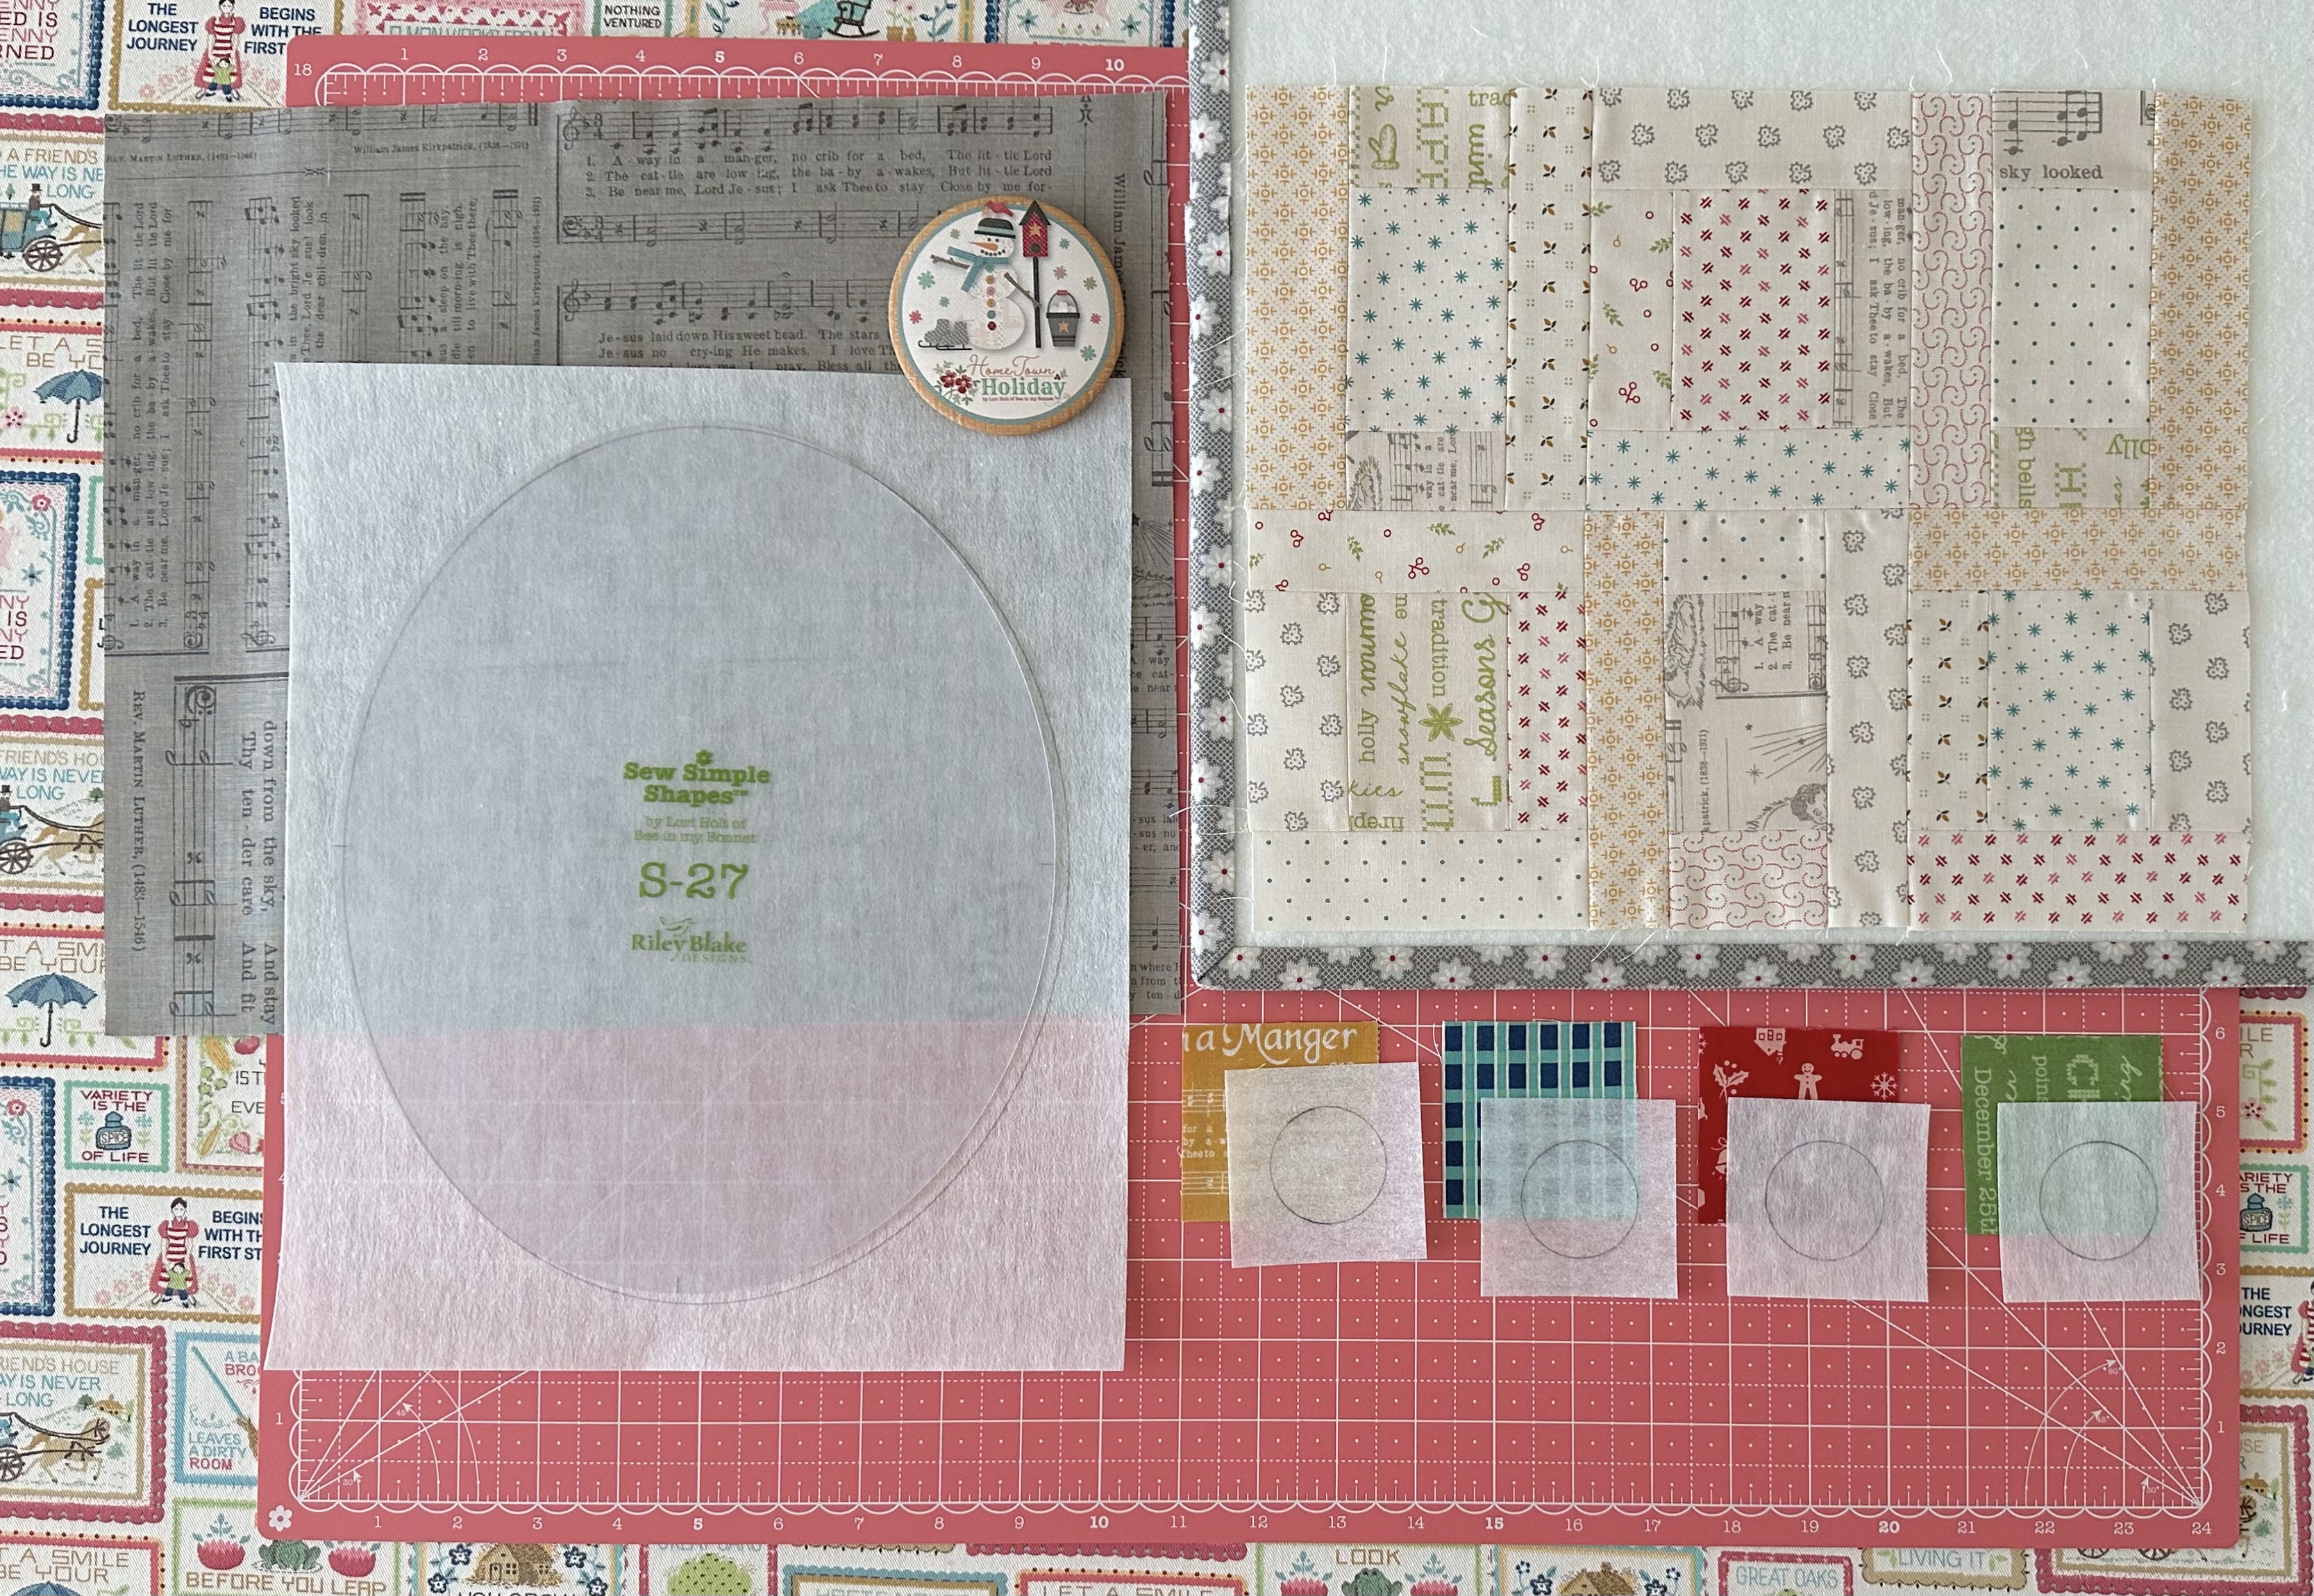
To make the applique blocks
we are using my
Sew Simple Shapes called of course...
Let's Make A Snowman!


The collection that we are using
for the quilt is...
HOME TOWN HOLIDAY!!
Home Town Holiday was designed by me...
and produced and distributed
to quilt shops everywhere
by the amazing
If you would like to know everything about
HOME TOWN HOLIDAY
to view the entire storyboard...
to see all of the fabrics close up
and to view the notions and ALL of
the patterns that coordinate with it:)

As per usual I did a video tutorial
on my YouTube channel for week one:)
I showed you how to make the hat
and one of the letters and
gave you tips along the way.
I also chatted about stitching the
appliqués by machine or hand
and about quilting over the
Sew Simple Shapes.
to watch the video and please
leave me a comment and a like!
and then
to read my week one blog tutorial as well.

for the above week two block tutorial
Grab your fabric and the sew along guide
for cutting and let's get started
on this weeks tutorials!
The first thing I did was to do
the patchwork for the snowman
so that they would be
sewn, pressed and ready to prepare
the blocks for applique
.
I took pictures of my process for you
in hopes that they will help:)
I'm a visual person and I know that
step by step photos really help me
so here we go...
Ready-Set-Sew!!


I always make sure that I
press my seams open especially for applique
so that it will lie as flat as possible.
Okay now that the patchwork is completed
let's prepare all of the blocks!

Snowman Head

Snowman Middle
Snowman Base

Carrot Block

Buttons Block

Just like last week...
I'll be sewing all of the shapes for
this weeks blocks at the same time...

But I'm going to start with
the snowman ovals first!
I pinned them on as I sewed them so
that I could make sure the patchwork
was centered and straight.

As per usual I trimmed after sewing
and cut an opening
in the back for turning.

I turned and shaped and pressed
using the Quick Press Roller
to get the edges of the ovals flat
before doing a final press with the iron.
Okay now that these are ready
let's do the rest of the shapes:)

The only one of the bunch
that will need to be clipped
is the carrot top.
Clip each cleavage all the way
to your sewing stitches
but NOT into them.
By clipping deep it will help
when turning and shaping and
especially pressing this little piece.
Remember that when working with
fussy to shape pieces like this
that you can press sections at a time
like I showed you in the week one video.

Also take note that when
pressing and shaping the carrots
that you will NOT be able to get the
bottoms all the way to a point
as narrow as the shape when you traced it.
This is perfectly fine and expected.
I drew it longer than needed
to help when shaping.
I also clipped almost all the way
to the point and that's
where I turned them.
I hope this helps!...
they are fussy to turn as well
because of how narrow they are
but totally do-able!

Next I turned and shaped all of the buttons.
Okay now we can go to the work table and prepare each block for applique:)
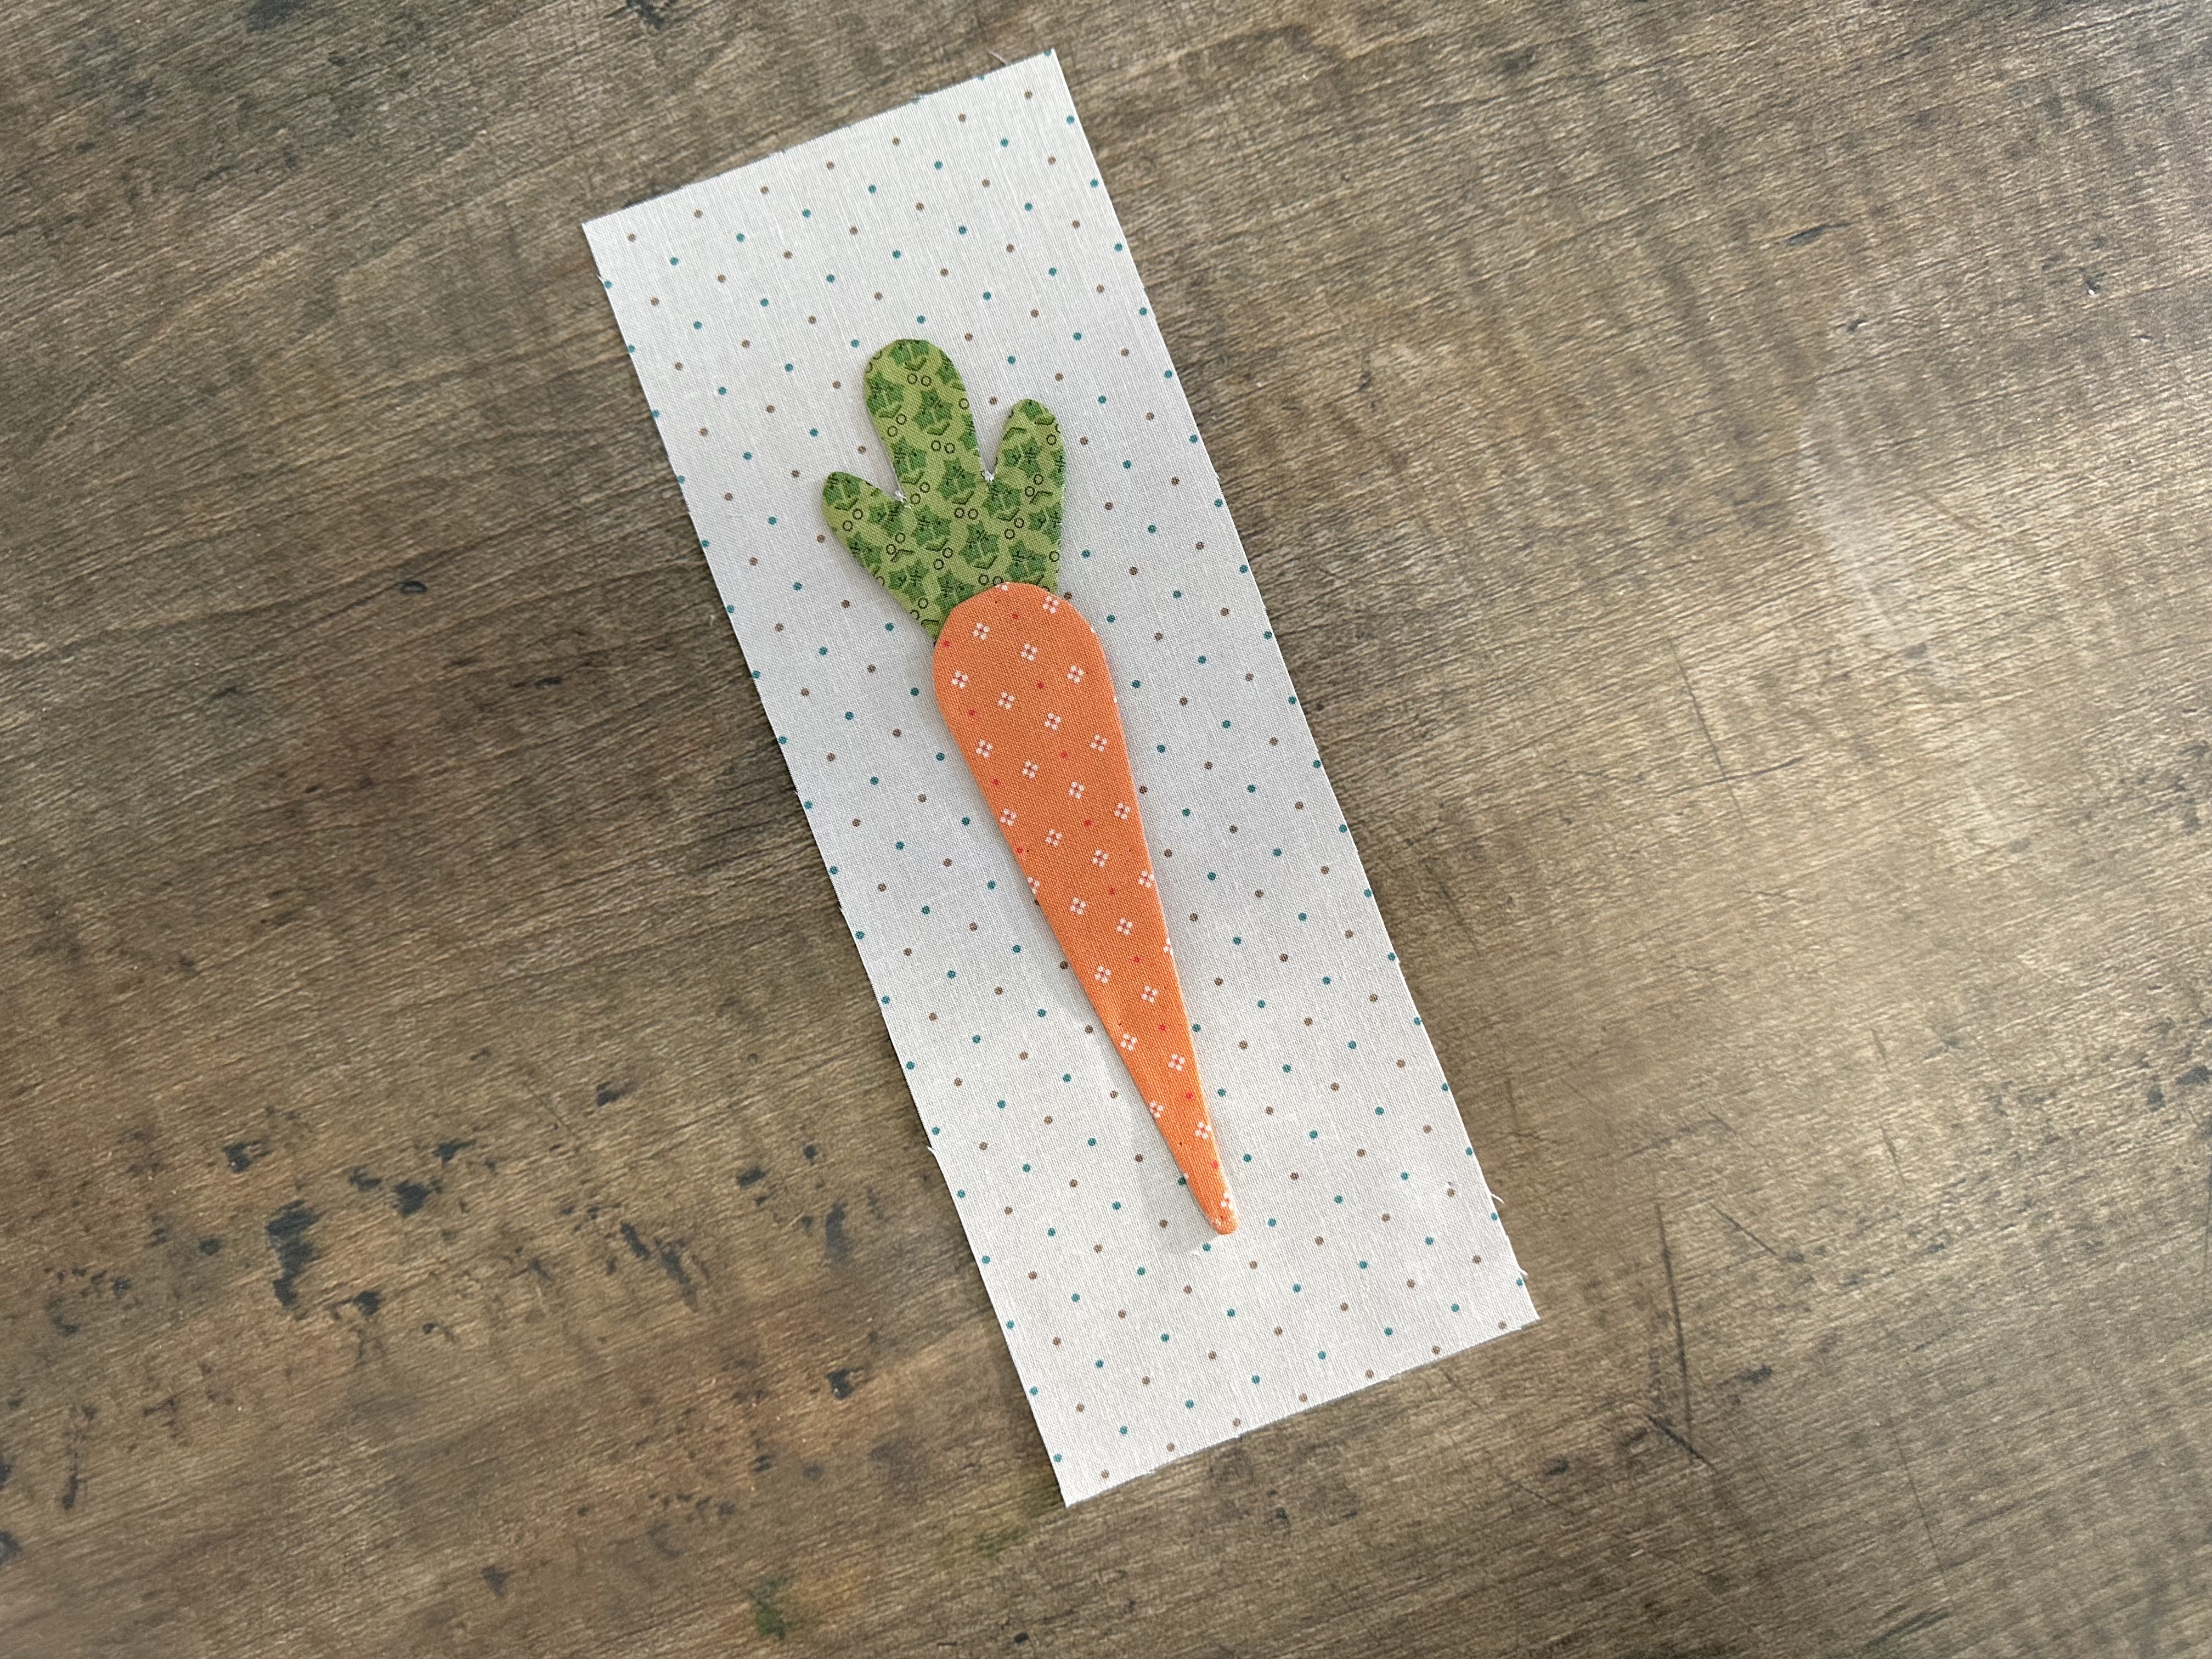

Carrot block is first...
easy peasy layout:)
After applique you will need to use the
2 1/2" and 8 1/2" Trim-It Rulers
to trim it down to
2 1/2" x 8 1/2"

Next is the Buttons Block.
I pulled the DMC colors that
are listed in the guide...

And used 3 strands and a long stitch to
make the X's in the center of each button.
This is totally optional of course,
but I think a little embroidery adds
a super cute touch to the quilt.

When you are finished with the applique
on each of the 6 Button Blocks
you will need to trim them down to
2 1/2" square
using the Trim -It Ruler.

Then sew them together
using a 1/4" seam allowance
in the order shown in the photo above.
Press your seams open for less bulk.
Your Buttons Block after all six are
sewn together
should measure 4 1/2" x 6 1/2"


Next is the Snowman Head Block.
I used different colors of floss
to sew on the buttons and three strands.
Take note that I sew my buttons on
to show you what they look
like but you can sew
yours on after your quilt is quilted.
After applique press from the back
and then trim your block down to
6 1/2" x 8 1/2"


Center Block of the snowman
is easy peasy to layout and to
prepare for applique.
Afterwards..press from the back
and trim it down to
8 1/2" x 10 1/2"


Last Block is easy to layout as well!
After applique press it from the back
as well and trim it down to
10 1/2" x 12 1/2"

So cute!!!!

All of this weeks blocks are completed...


And added to my design wall!

Remember that I did a tutorial
on how to make my Snow Star Blocks
a few weeks ago so if you
haven't watched it yet...

Thank you for sewing with me today!

I'll meet you right back here next Monday
for the tutorial on making the
Winter Hats, Sled and
the Pipe Blocks.
Sew with you soon!
xx
Lori

1 comment:
Sooo cute!!
Post a Comment