Hello cute people!
It's time for another episode of
"Tutorials by Miss Bee"

I've just been waiting
for the release
of my new book...
so that I could hit
the "publish" button on
this tutorial to celebrate.
I'm so excited to announce
that my book will be
hot off the press this week!

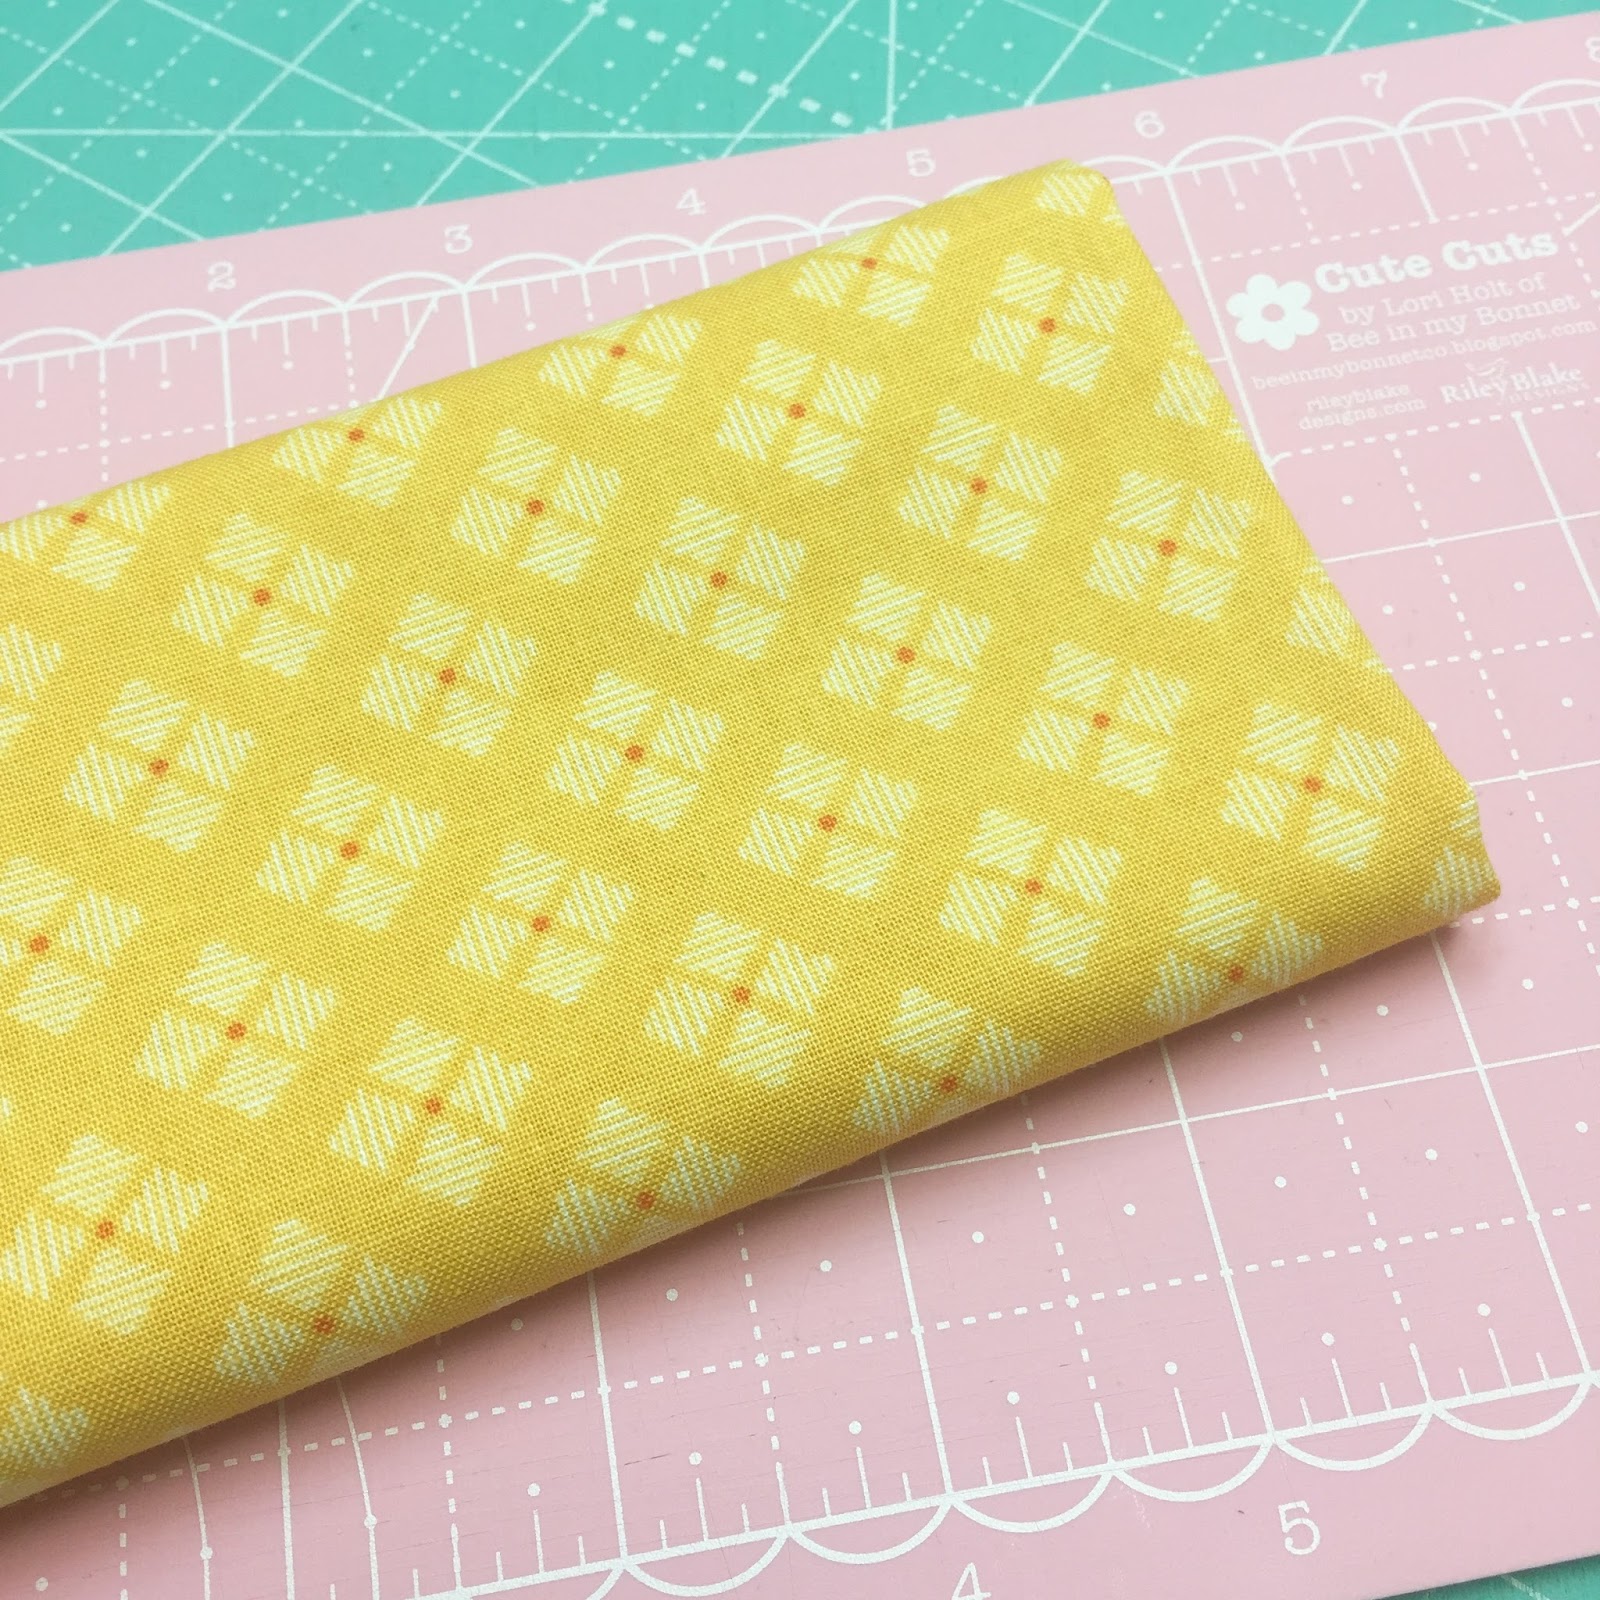
For both of these blocks...
I have used my new
Bee Basics
Bee Backgrounds and
Bee Backings and Borders
Fabric.
In the book I have my
typical 6" as well as 12"
instructions for
each and every block.
There is no exception
for my Schoolhouse Block...
the same golden rule applies:)

I'll show you how to
make the 12" block
and of course...
the instructions
are the same for the 6".

First up...lets start by
cutting for the windows
on the 12" block.
This fabric is in my
Bee Backgrounds Collection
and it works
really well to fussy cut!

Cut the square out
on the dotted lines:)

Windows:
For 12" - H - Cut 2 - 2" x 3"
For 6" - H - Cut 2 - 1 1/4" x 1 3/4"

Grass:
For 12" - I - Cut 2 - 1" x 4 1/2"
For 6" - I - Cut 2 - 3/4" x 2 1/2"

Steps:
For 12" - J - Cut 1 - 1" x 3 1/2"
K -M Cut 1 - 1" x 4 1/2"
For 6" - J - Cut 1 - 3/4" x 2"
K - Cut 1 - 3/4" x 2 1/2"

Door:
For 12" - L - Cut 1 - 2 1/2" x 4 1/2"
For 6" - L - Cut 1 - 1 1/2" x 2 1/2"

School Bell:
For 12" - M - Cut 1 - 1 1/2" square
For 6" - M - Cut 1 - 1" square

Around the Door:
For 12" - N - Cut 2 - 2 1/2" squares
0 - Cut 2 - 1" x 4 1/2"
P - Cut 1 - 1" x 3 1/2"
For 6" - N - Cut 2 - 1 1/2" squares
O - Cut 2 - 3/4" x 2 1/2"
P - Cut 1 - 3/4" x 2"

Roof:
For 12" - Q - Cut 2 - 2 1/2" squares
R - Cut 2 - 3" x 6 1/2"
For 6" - Q - Cut 2 - 1 1/2" squares
R - Cut 2 - 1 3/4" x 3 1/2"

Schoolhouse:
For 12" - S - Cut 3 - 1" x 2 1/2"
T - Cut 4 - 1 1/2" x 3"
U - Cut 2 - 1 1/2" x 4"
V - Cut 2 - 2" x 4"
For 6" - S - Cut 3 - 3/4" x 1 1/2"
T - Cut 4 - 1" x 1 3/4"
U - Cut 2 - 1" x 2 1/4"
V - Cut 2 - 1 1/4" x 2 1/4"

Background:
For 12" - A - Cut 2 - 2 1/2" x 6 1/2"
B - Cut 2 - 2 1/2" x 5"
C - Cut 2 - 3" squares
D - Cut 2 - 1 1/2" x 5 1/2"
E - Cut 1 - 1" x 2 1/2"
F - Cut 2 - 1" x 1 1/2"
G - Cut 2 - 1" squares
For 6" - A - Cut 2 - 1 1/2" x 3 1/2"
B - Cut 2 - 1 1/2" x 2 3/4"
C - Cut 2 - 1 3/4" squares
D - Cut 2 - 1" x 3"
E - Cut 1 - 3/4" x 1 1/2"
F - Cut 2 - 3/4" x 1"
G - Cut 2 - 3/4" squares

Yay!
You are all cut out:)
Lay all the pieces out
on your design board like this
and we will start piecing
from the top down.
All of the following
step by step photos
are very self explanatory ...
especially if you have
made my blocks before!
So just look at the pictures
and do what I do!


And there you go!
12" Schoolhouse Block
YaY!!
(it should measure
12 1/2" square at this point)

It fits right in with
the other
"Picture Blocks"
in the book:)

My bell turned out
a little wonky...
but I love it!
I fussy cut the bell fabric
so that the star
would be in the center:)

There are cute little baby chicks
all over the door...
maybe they were brought
for show and tell...lol!

Did you pre-order your copy?
Don't miss the bus!!
We will be having a
Spelling Bee Sew Along
starting later in the year.
YaY!
You can bet I've
got a lot of surprises planned:)

And for all of my
die hard 6" block makers...
a little brown schoolhouse!

YaY!!!

I super love the 6" blocks...
yes...they are fussy
but oh so cute!

I hope you enjoyed this episode
and thanks for tuning in:)
Next week's episode is
"Mama's Flower Garden"
See you then!
xx
Lori