Hello cute people!
Welcome to my blog...
here is where I do my
sew alongs and tutorials:)

Todays tutorial is all about
my snuggle quilt called
"Movie Night"
66" x 88"

A few weeks ago I did my tutorial for these two vintage T.V. Blocks and I told you that I would show you my 18" Vintage T.V. Block too.

For this quilt I made 12 blocks.
I selected and paired up 24 prints
(two for each block)
from all 3 of my new fabric collections...


(these are all 108" wide)


I used the background prints for the screens and colors for the background in the T.V. Blocks because when we watch movies on movie night...we are either outside when it's dark with a projector or in the family room with all of the lights out and I wanted the screens on the TV blocks to light up the same way!

Sew together the 18" block
exactly the same as the
12" block tutorial that I showed you
except there is only one piece
for the right side panel instead of three.
But before you can sew up a block...
you will need to cut!
Cutting for one block coming right up next:)

Red Tiny Daisy Fabric:
(3/8 yard)
Cut 2 - 5" x 8"
Cut 1 - 3 1/2" square
Cut 2 - 2" x 12 1/2"
Cut 1 - 2" x 6 1/2"
Cut 2 - 2" x 3 1/2"
Cut 2 - 2" squares
Cut 4 - 1 1/4" squares
Block Borders:
Cut 2 - 2 1/2" x 18 1/2"
for the sides
Cut 2 - 2 1/2" x 22 1/2"
for the
top and bottom
Yellow Stitched Flower Fabric:
(fat quarter)
Cut - 2" x 15 1/2"
Cut 1 - 2" x 9 1/2"
Cut 1 - 3 1/2" x 9 1/2"
Cut 3 - 2" x 3 1/2"
Cut 2 - 2 1/2" squares (for knobs)
Cut 4 - 1 1/2" squares
Cut 1 - 5/8" x 21" (width of fat quarter)
and run it through a 1/4 bias tape maker.
These are for the antenna:)

Red Penmanship Fabric:
Cut 1 - 9 1/2" x 11"

I tucked in the ends
of the antenna on an angle
BEFORE I sewed these
two pieces together:)

You can see the backside of
the 1/4" bias hanging down here.

Just keep them out of the way
when sewing your block together.

Sew your borders on
after your TV is finished:)
Each block after borders
should measure
22 1/2" square at this point:)

Now it's time to
fix those antennas and this time
you won't need tin foil...LOL!

But you will need this
to glue baste them down for appliqué.
Just trim them about
1/2" from the
top edge of the block.
Appliqué by hand or machine:)

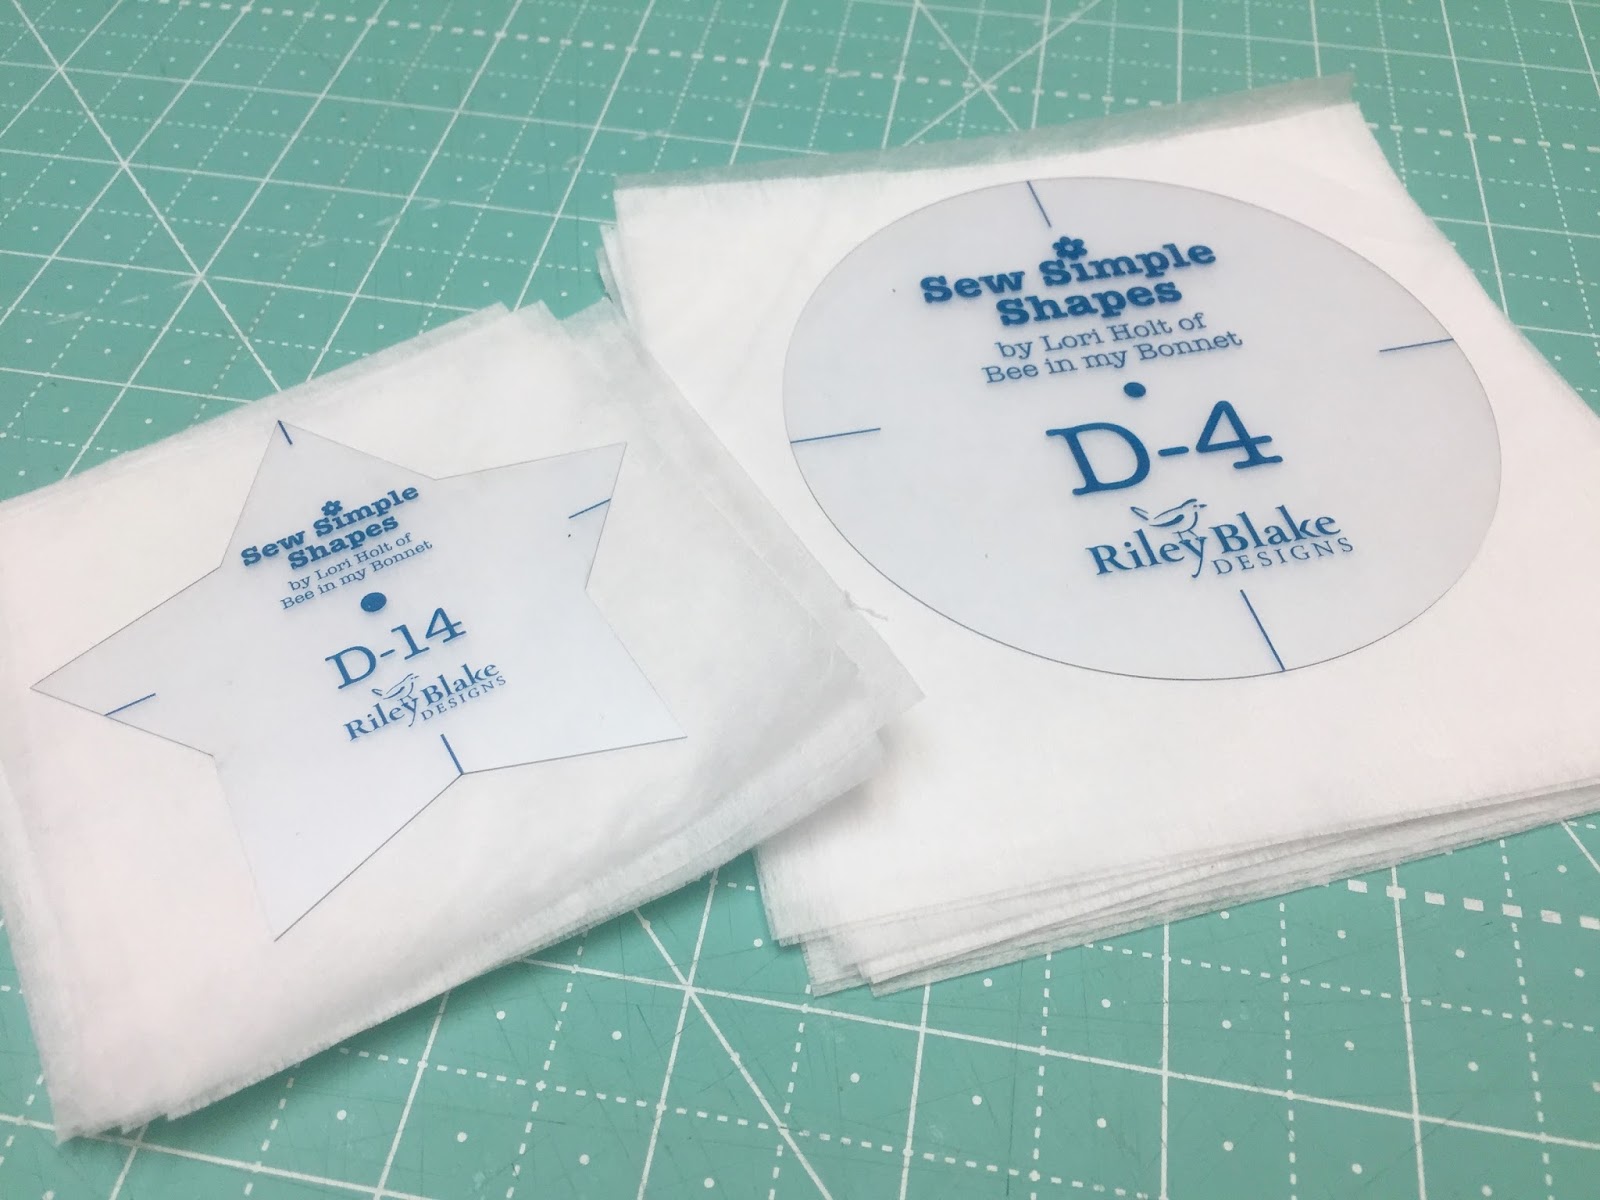
Cut 2 - 2 1/2" squares of
and grab the D-2 circle from the
Bee Happy sew Simple Shapes
and your two 2 1/2" squares
that you already cut.
Trace around the circle
onto the interfacing.
This is your stitching line:)

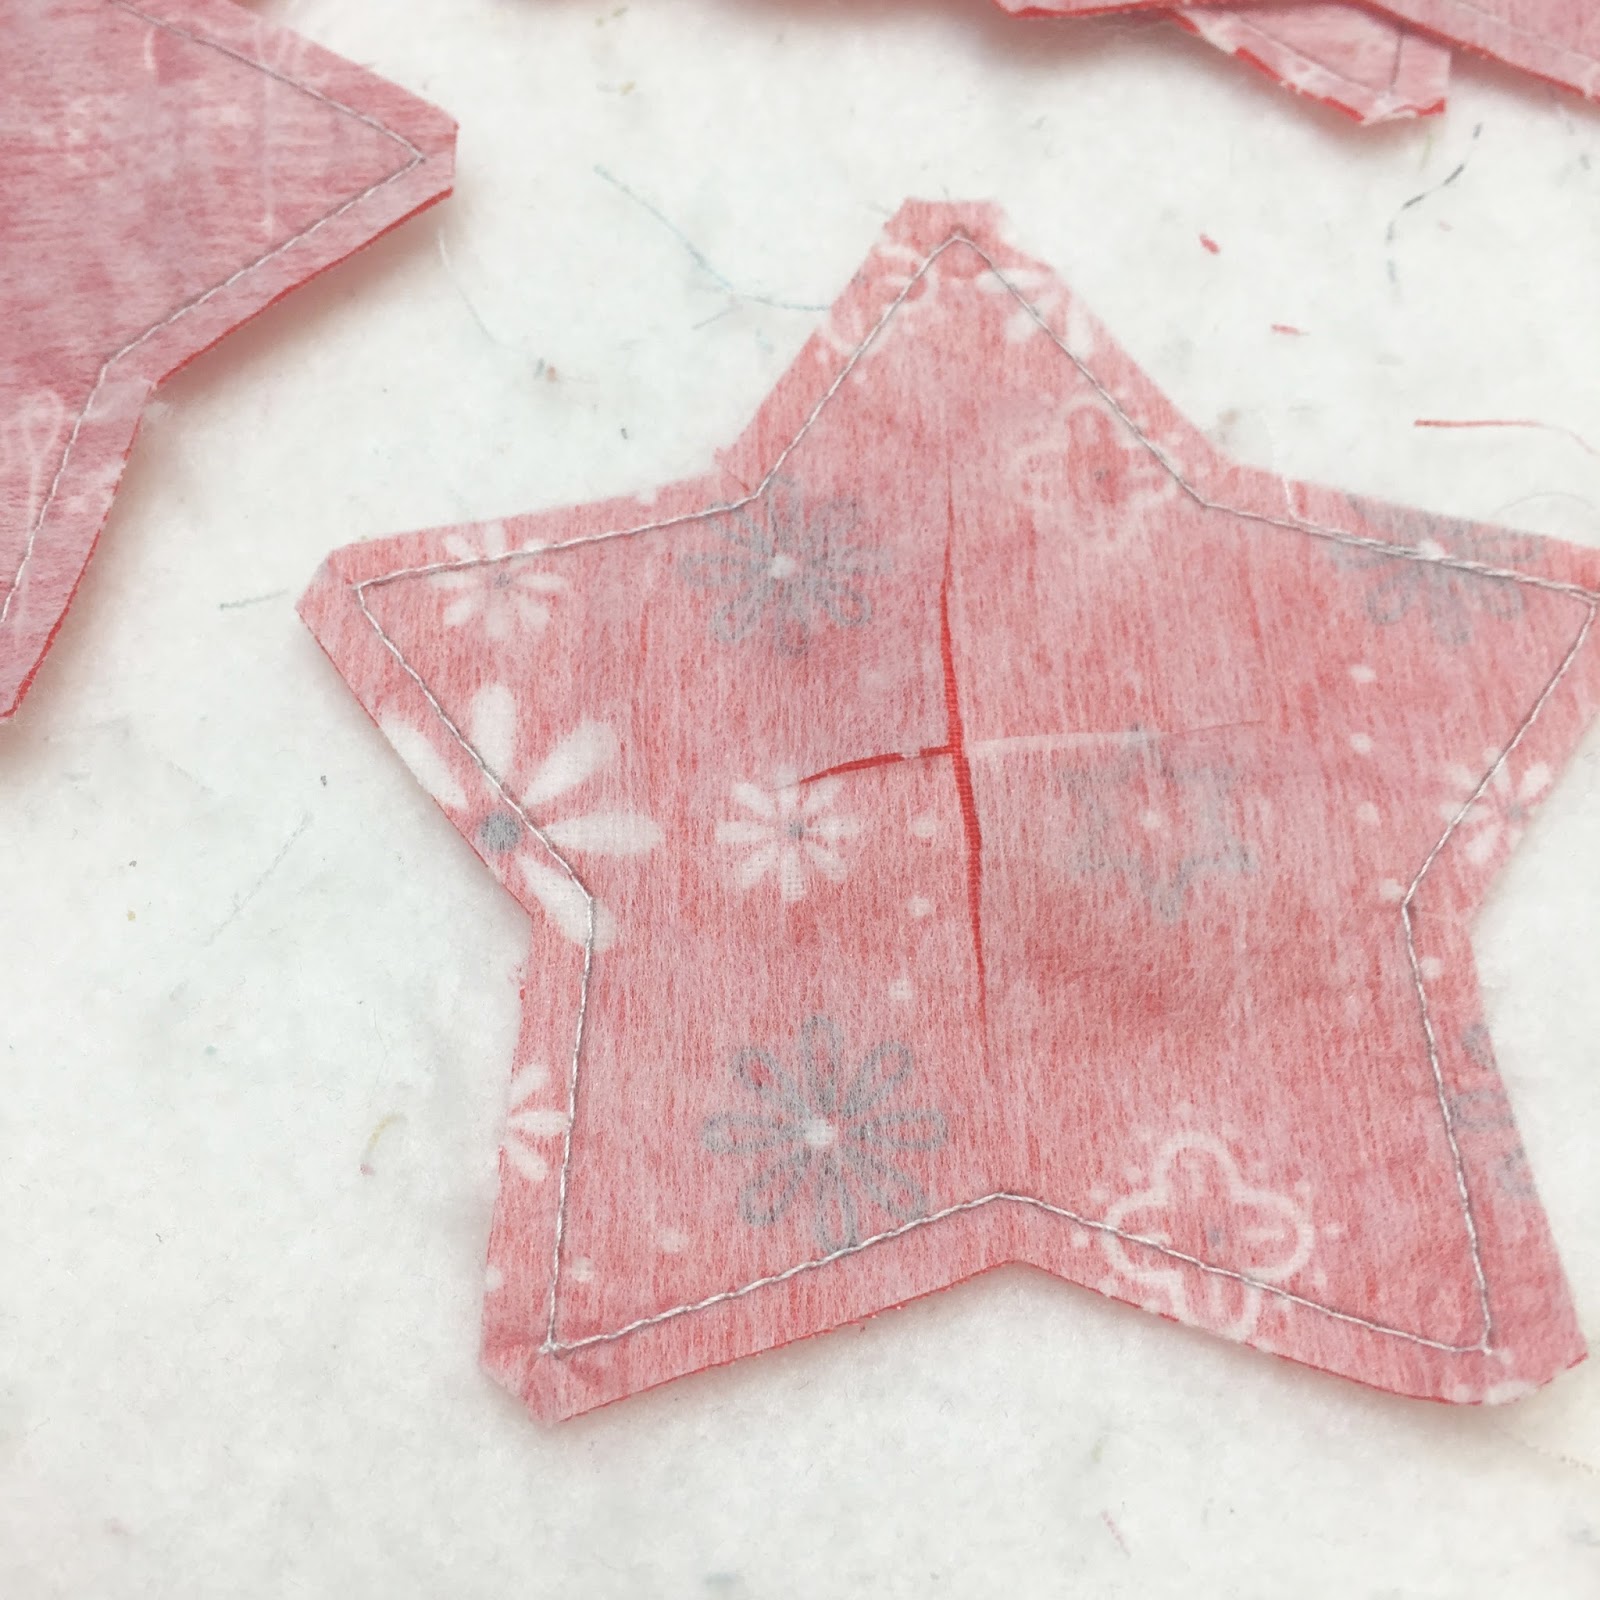
Pair them up with
right sides up and
sew directly onto the line
all the way around...
oversewing a bit where you
started to secure your stitches.

Trim an approximate 1/4" seem allowance
and cut an X in the interfacing only for turning.

Turn right side out...
ad grab your
for shaping it!

Give it a quick press
on the fabric side
after shaping.

These two knobs go here
when you appliqué...
but not on the same fabric!

After you have finished the other blocks...
lay them out on the design board and switch up the knob fabrics:)

Sew your blocks together
and quilt your quilt!
This is a perfect size
(66" x 88")
for a one person
(or maybe a two children)
Movie Night snuggle quilt.

I designed the quilt so that
you could easily make it
into a two person snuggle quilt
by simply adding four more
blocks down the side...
easy peasy!!!
Adding 4 more blocks...
it will measure
88" square:)

I used 1/4 yard of the
coral baby chicks
print for the binding.
Because it's 108" wide...
I only needed to
Cut 3 - 2 1/2" strips x
Width of Fabric:)
I used 2 3/4 yards of the
yellow bandana
108" wide print
both are from my
Backings and Borders Fabric
in the photo above.

I'll be making this quilt in several sizes for each member of my family.
I just may put a "personalized" block inside one of the TV screens so that they will be able to tell which snuggle quilt is theirs...so fun!!!

I'm looking forward to
lots of movie nights
with my family in
the backyard this summer...
and you can bet we'll be
snuggled up in a
Movie Night Quilt
I hope your family will be too!
xx
Lori