

Today I'm going to show you how to make another cute little dresden.
This one has points and finishes at 4 1/2".

I love showing you different ways to use my

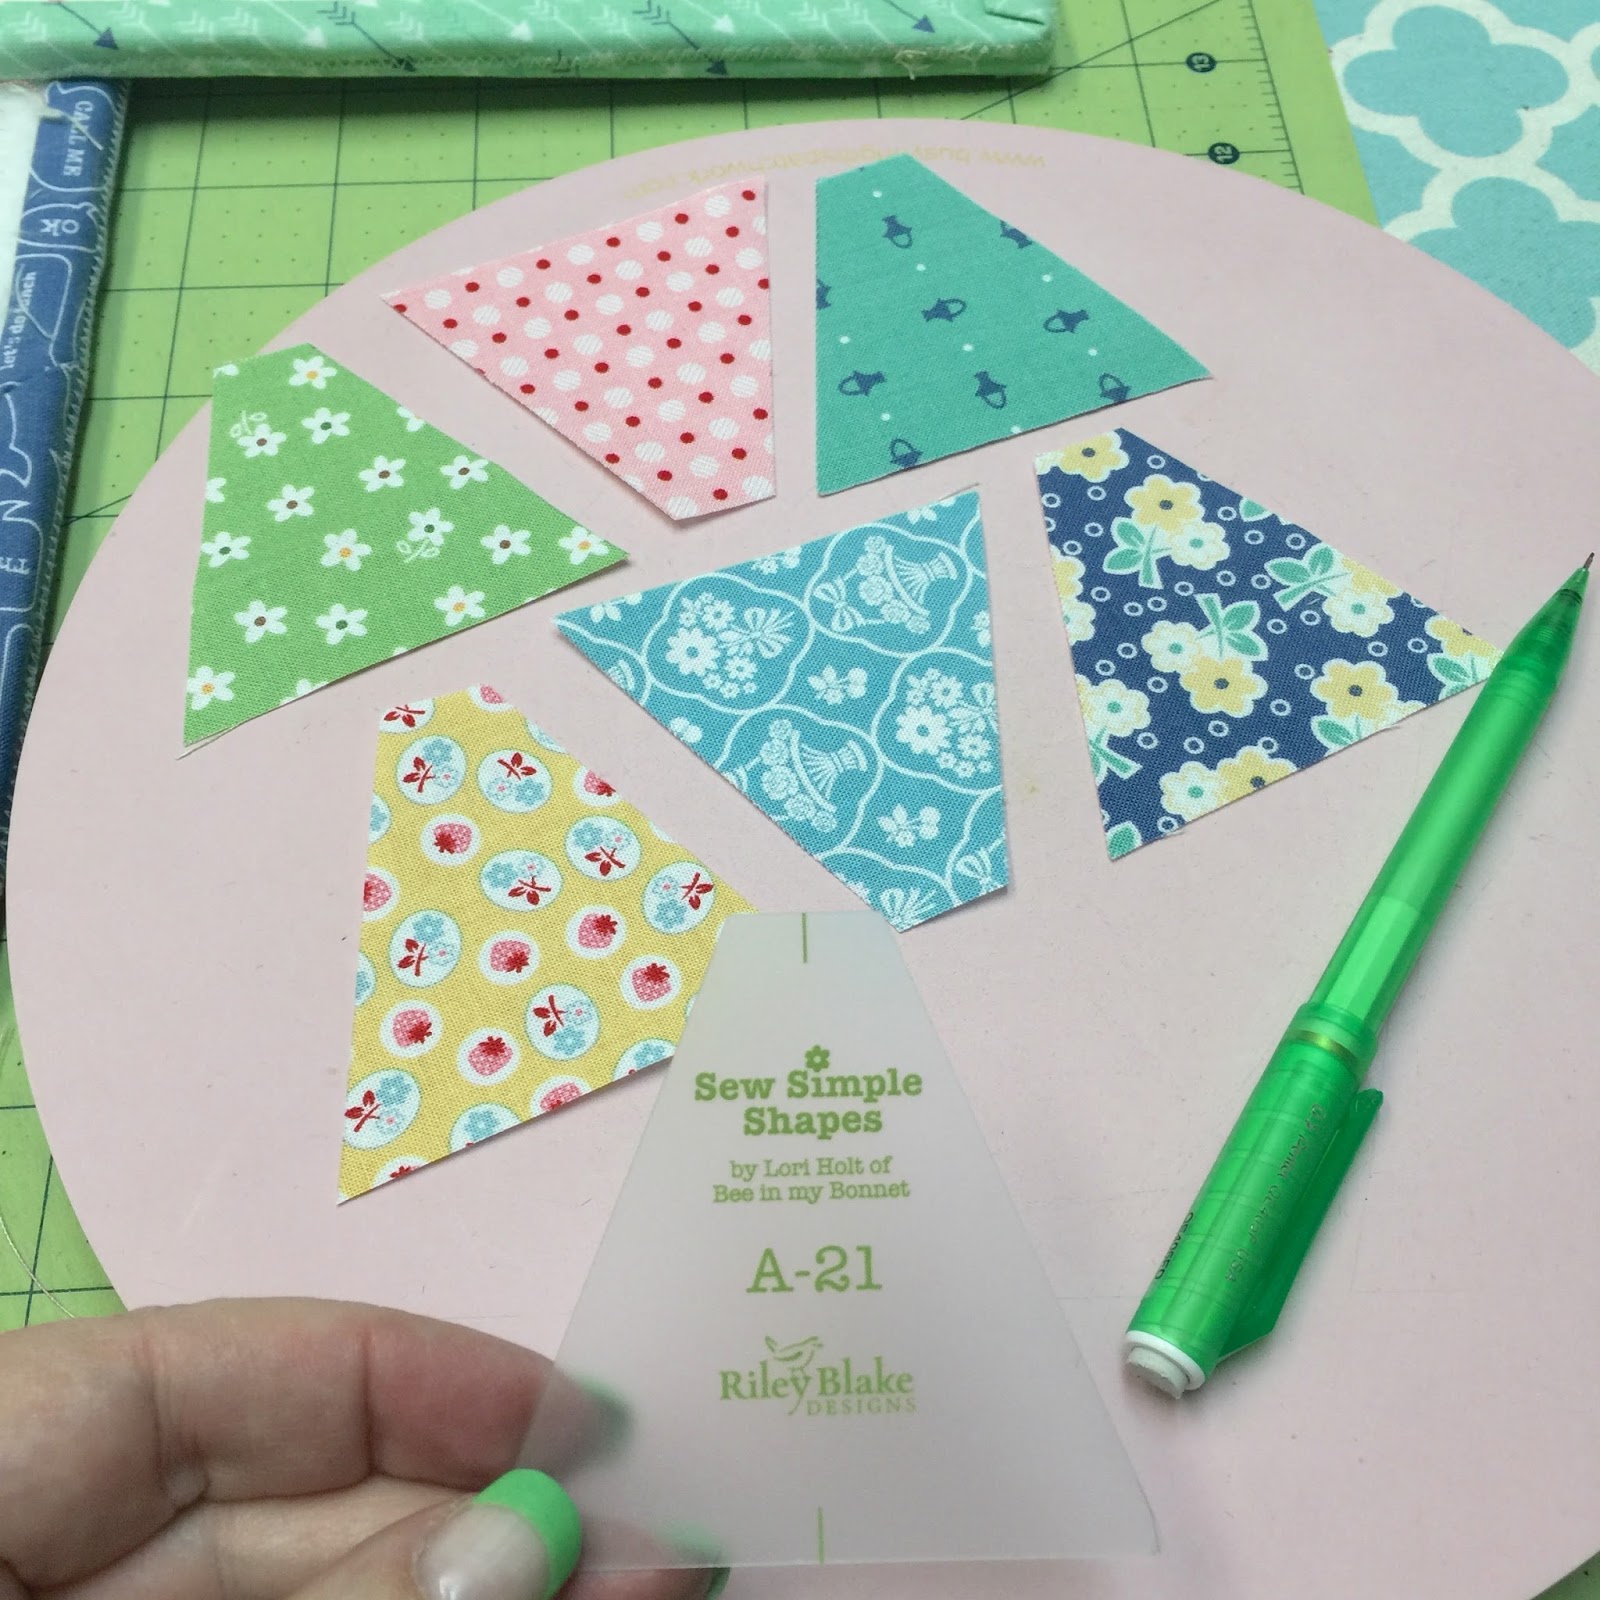
For this dresden I'm using
A-21 Sew Simple Shape
and cutting a piece 2 1/2" x 3" for each dresden blade.
You will need 8 blades for one dresden.
(I know I am only showing 6...but trust me...you will need 8)

A-21 is 2 1/2" tall
so place it on the fabric like this...

And trace a line on each side of the shape.

Now place your ruler on the line and cut...

Like this.
Set it aside and cut the rest.

If your fabric is too dark to sew the line...trace on the wrong side:)
Now that your blades are cut...
it's time to make the point!

Fold the widest part of the blade in half and line up the corners and the top edge.

Sew a 1/4" seam allowance across the top where you folded
and do a small backstitch on each blade
when you stop and start to secure your stitches.
I like to chain piece mine to save time and thread:)

Cut them apart.
This is what the front
of one blade should look like at this point.

Finger press the seam open like this...

Then turn the top right side out.

Use your Clover tool to gently push that point out....
this is why I had you back stitch to secure that seam.

Now press it making sure that the seam is in the center.

Because the seams are pressed open it will easily press nice and flat.

After each blade is turned and pressed...
lay then out in a circle.
Ha!
This is where I realized I had only done six.
Whoops!

I quickly made 2 more to complete the circle:)

Sew them together in pairs using a 1/4" seam allowance.
These are short pieces so I used a trailers awl to
keep the seams flat and accurate as they got to the needle.
I always use an open toe foot when piecing
so that I can see exactly where my needle goes into my fabric.

I chain pieced these too...
and notice that when I clipped them apart...
I left a "thread tail" on the top of the dresden blade pairs.
That is so that when I appliqué
(either by hand or machine)
I can tuck those tails under to ensure that
the top of that seam will not come apart:)

Press your seams open:)

Sew the pairs together
and then sew the two sides together.

And now you have a super cute little dresden with points!

Here's the back:)

And now for the center circle.
I used my A-1 shape and
cut a pice of fabric and sew in Pellon 2" square.
I traced the circle onto the Pellon...

Sewed on the line...
trimmed off the excess and
cut an "X" in the Pelloon for turning right side out.

I shaped my little circle and pressed it.

I'll appliqué it directly onto the center:)

So many things can be done with these dresden...
but of course I always love making flowers:)
There are plenty of leaf options within the
BLOOM set of Sew Simple Shapes...
be creative!

The 6" round dresden uses the A-20 shape
and I did that tutorial last week.
to see it again:)
I hope that you have fun making these cute little dresdens...
chat with you on Monday
for week 10 of the
BLOOM Sew Along:)
xx
Lori

5 comments:
This is my favorite dresden flower of all - though all are special!! Love the sneak peeks of your Christmas Fabric - and templates - can't wait!
Thank you for the wonderful tutorials!! How do you applique the dresdens with the points? Do you attach Pellon or ?? Thank you for all your inspiration (wonderful sewing inspiration and uplifting life inspiration)! ...Brenda
Thanks for the lovely tutorial, Lori!
I love this tutorial. Every time I run across something you've done I love them. Following now so I don't miss anything!
Lindas amei bjinhos 😘😘
Post a Comment