

"MY QUILT LABEL"

Welcome to week twelve of the
"MY HAPPY PLACE"
Sew Along!
Join me here each week
when I will be doing tutorials
on the blocks for the quilt.
I will be posting each Monday
right here on my blog
and you can follow my tutorials
any time during the week that
is convenient for you.

For this sew along...
We are making the
My Happy Place Quilt
74" x 88"

The quilt is made with my newest fabric
collection called STITCH...


If you are just joining us
and need a fabric kit...
just do a quick google search
to find out which quilt shops
may have one left for you.
Simply type in
"My Happy Place Quilt Kit"
to find one!

As all of my
Sew Simple Shapes Sew Alongs go...
We are using the shapes
for the pattern of this quilt
and of course the Sew Along Guide and my tutorials each week.
The set of shapes that we are
using for this quilt are called
MY HAPPY PLACE
I have already posted the
post which details all of the supplies
for the sew along and how it works.
I have also given the link there
for the free PDF Download
of the Sew Along Guide
to read that post.

When you have all of your
blocks for the quilt completed...
Remember that everything that
you need to know about
cutting and trimming up your blocks...
and putting them all together with
the borders and sashing...
is of course in the sew along guide.
It's not anything tricky just basic
adding on borders:)
But something that is NOT
in the guide is my quilt label!
I usually do a blog post at the end
of my sew alongs showing you
how I made a label for my quilt.
Sew...are you ready?

Remember when I did this tutorial
on block seven a few weeks back?
Well I thought that it would be
sew perfect to use one of my
quilt labels from my panel.
It's called of course
"My Happy Place"
Multi Label Quilt Panel
The center yellow square
in this block is cut 4 1/2"...

And so I simply grabbed one of the labels...

And used my 4 1/2" Trim-It Ruler
to center it and fussy cut!

I like to use the
Micron Pigma Pens
when writing on my labels.
Easy Peasy!

I cut the pieces for the block...
(remember that the measurements
are in the guide)
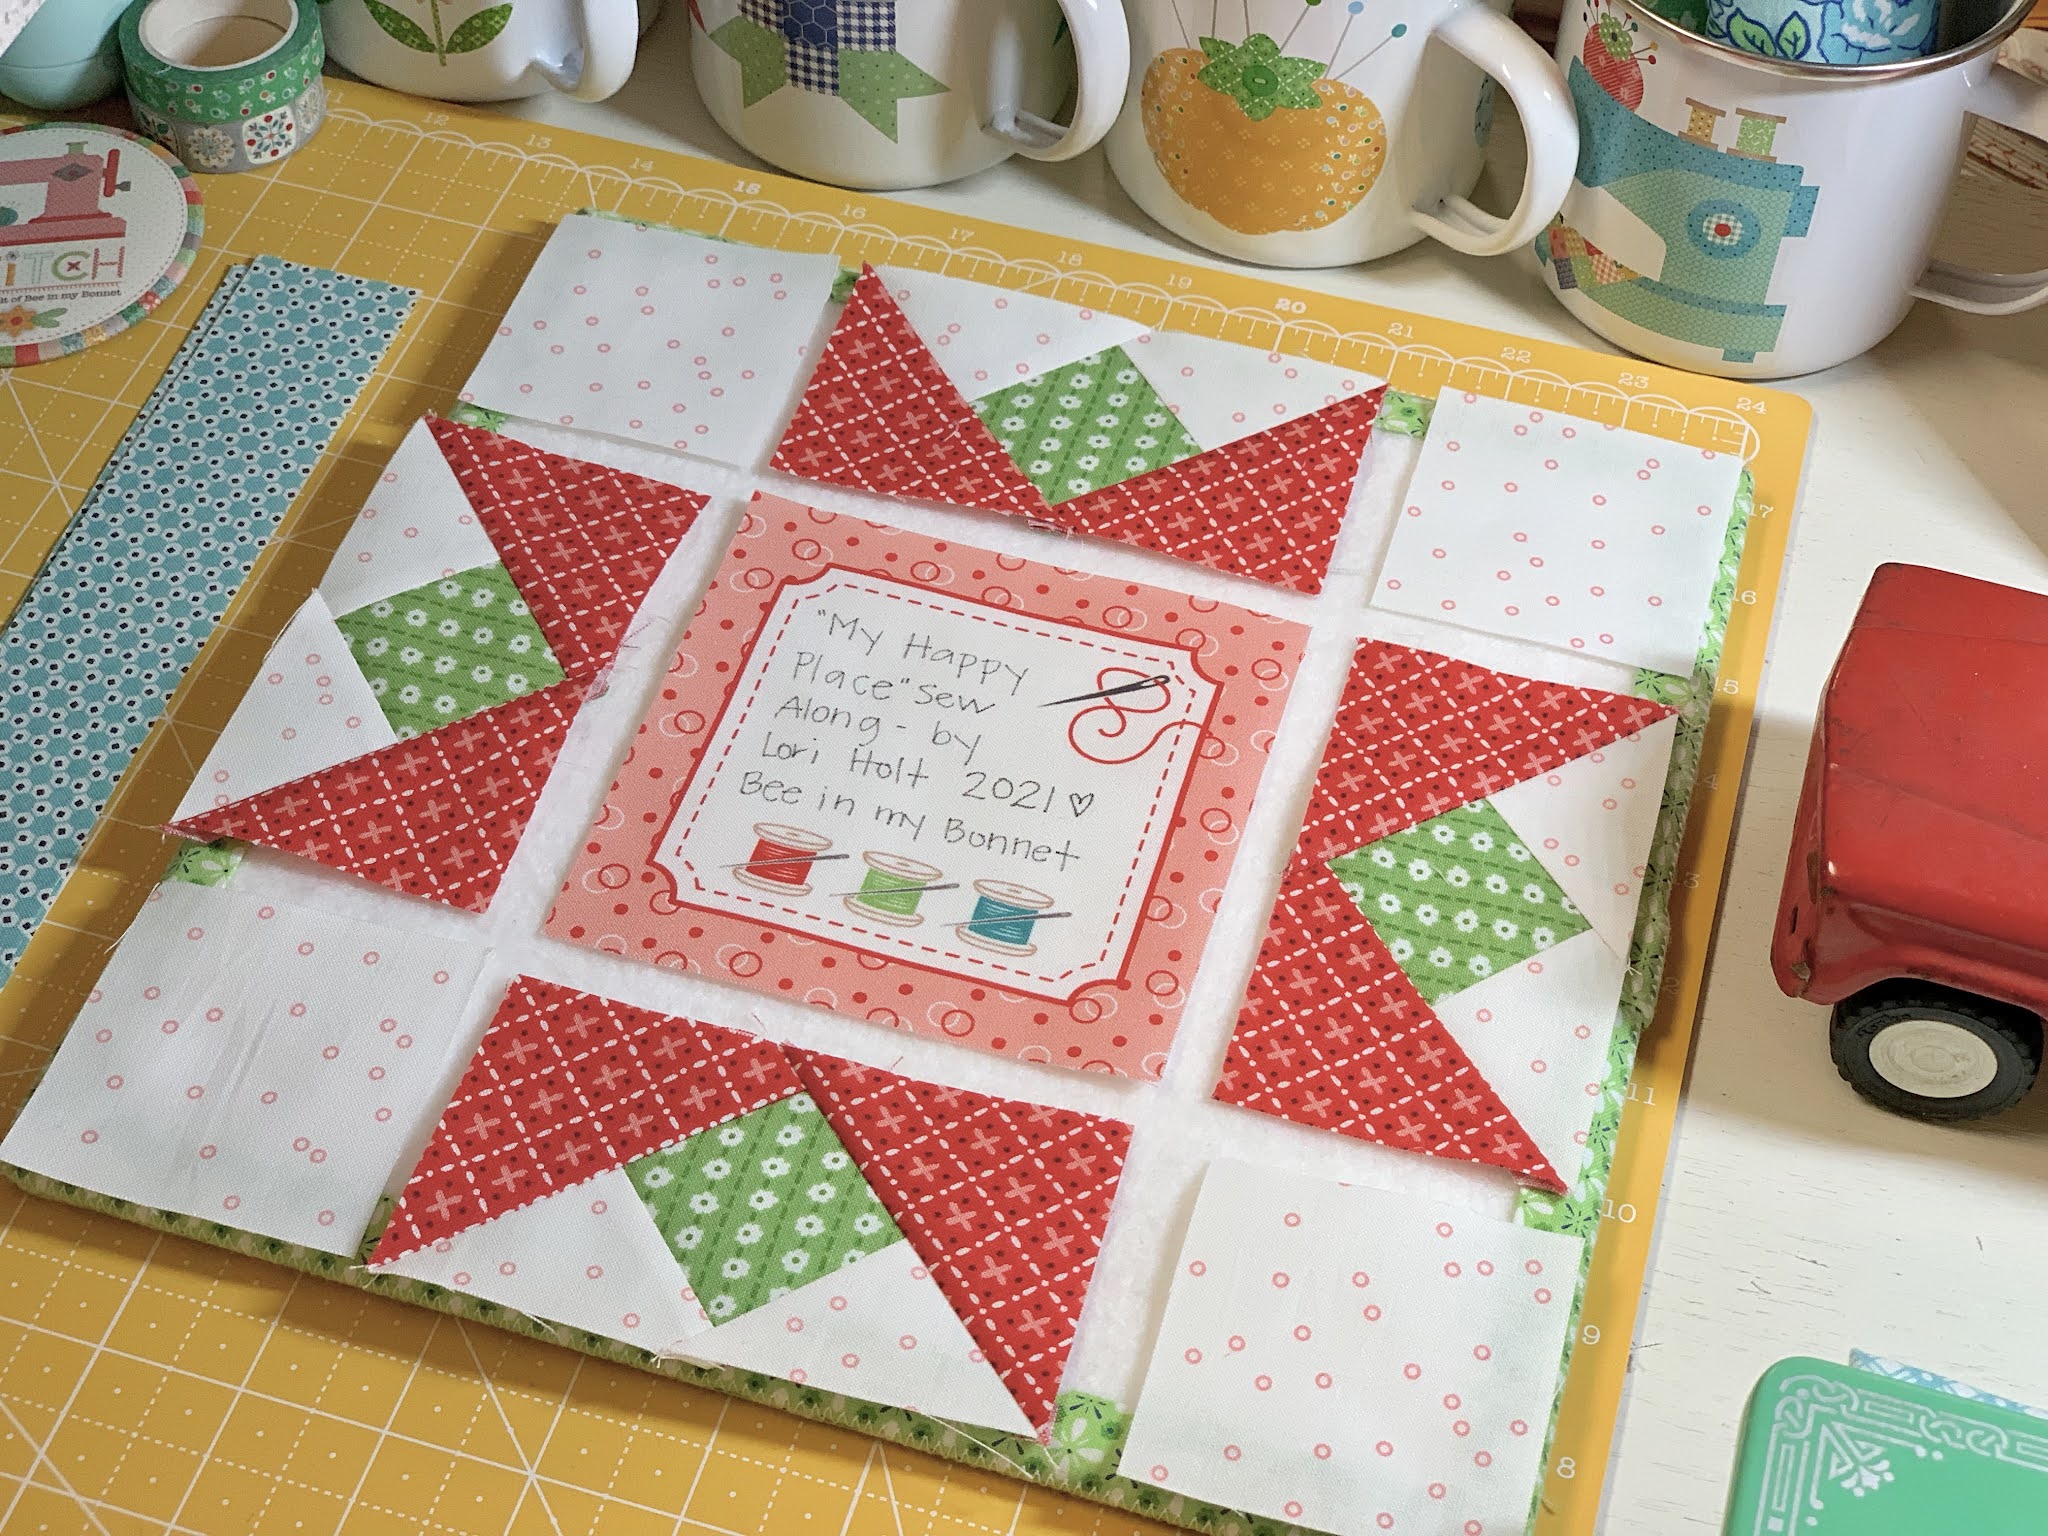
I sewed my block together and
added the borders just like in the tutorial.


I love how it turned out!
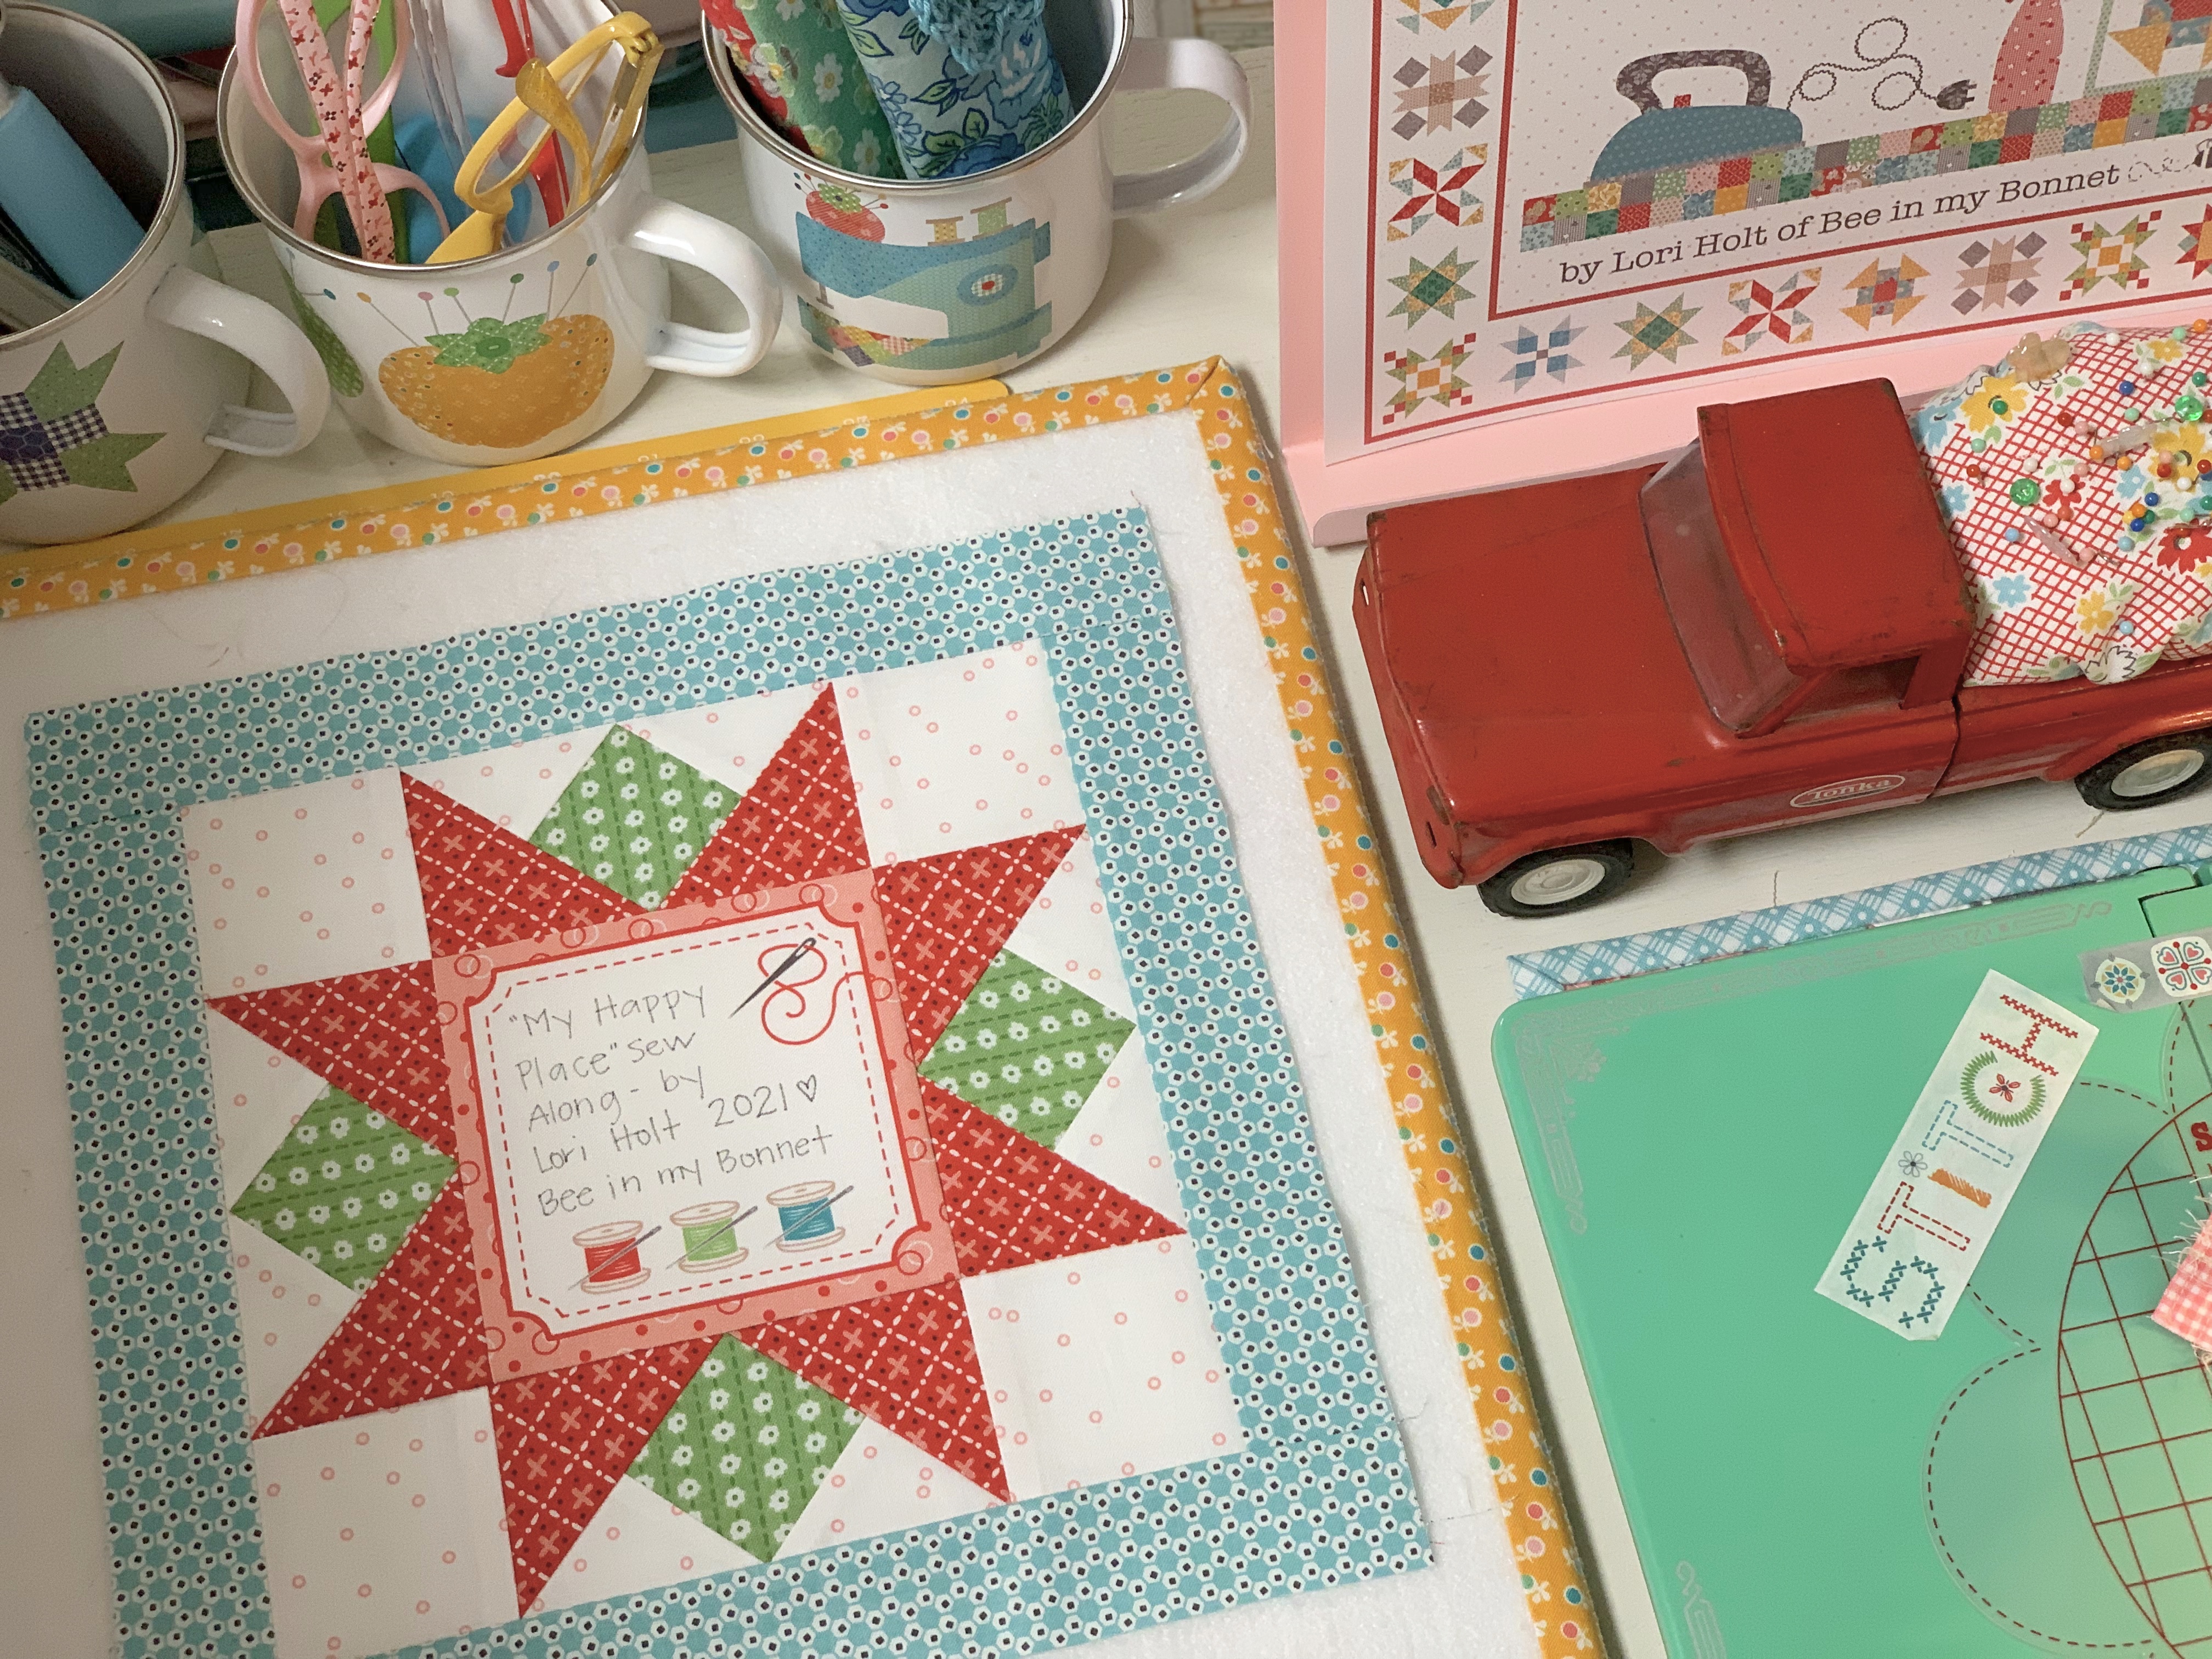
Because I like to appliqué my labels
onto the back of my quilt
when I'm using my widleback fabric
like for this quilt...

I just cut my Sew-In Interfacing
the same size as my block...
place them right sides together
just like I do when sewing my
Sew Simple Shapes
and then sew 1/4" seam allowance
around my block.
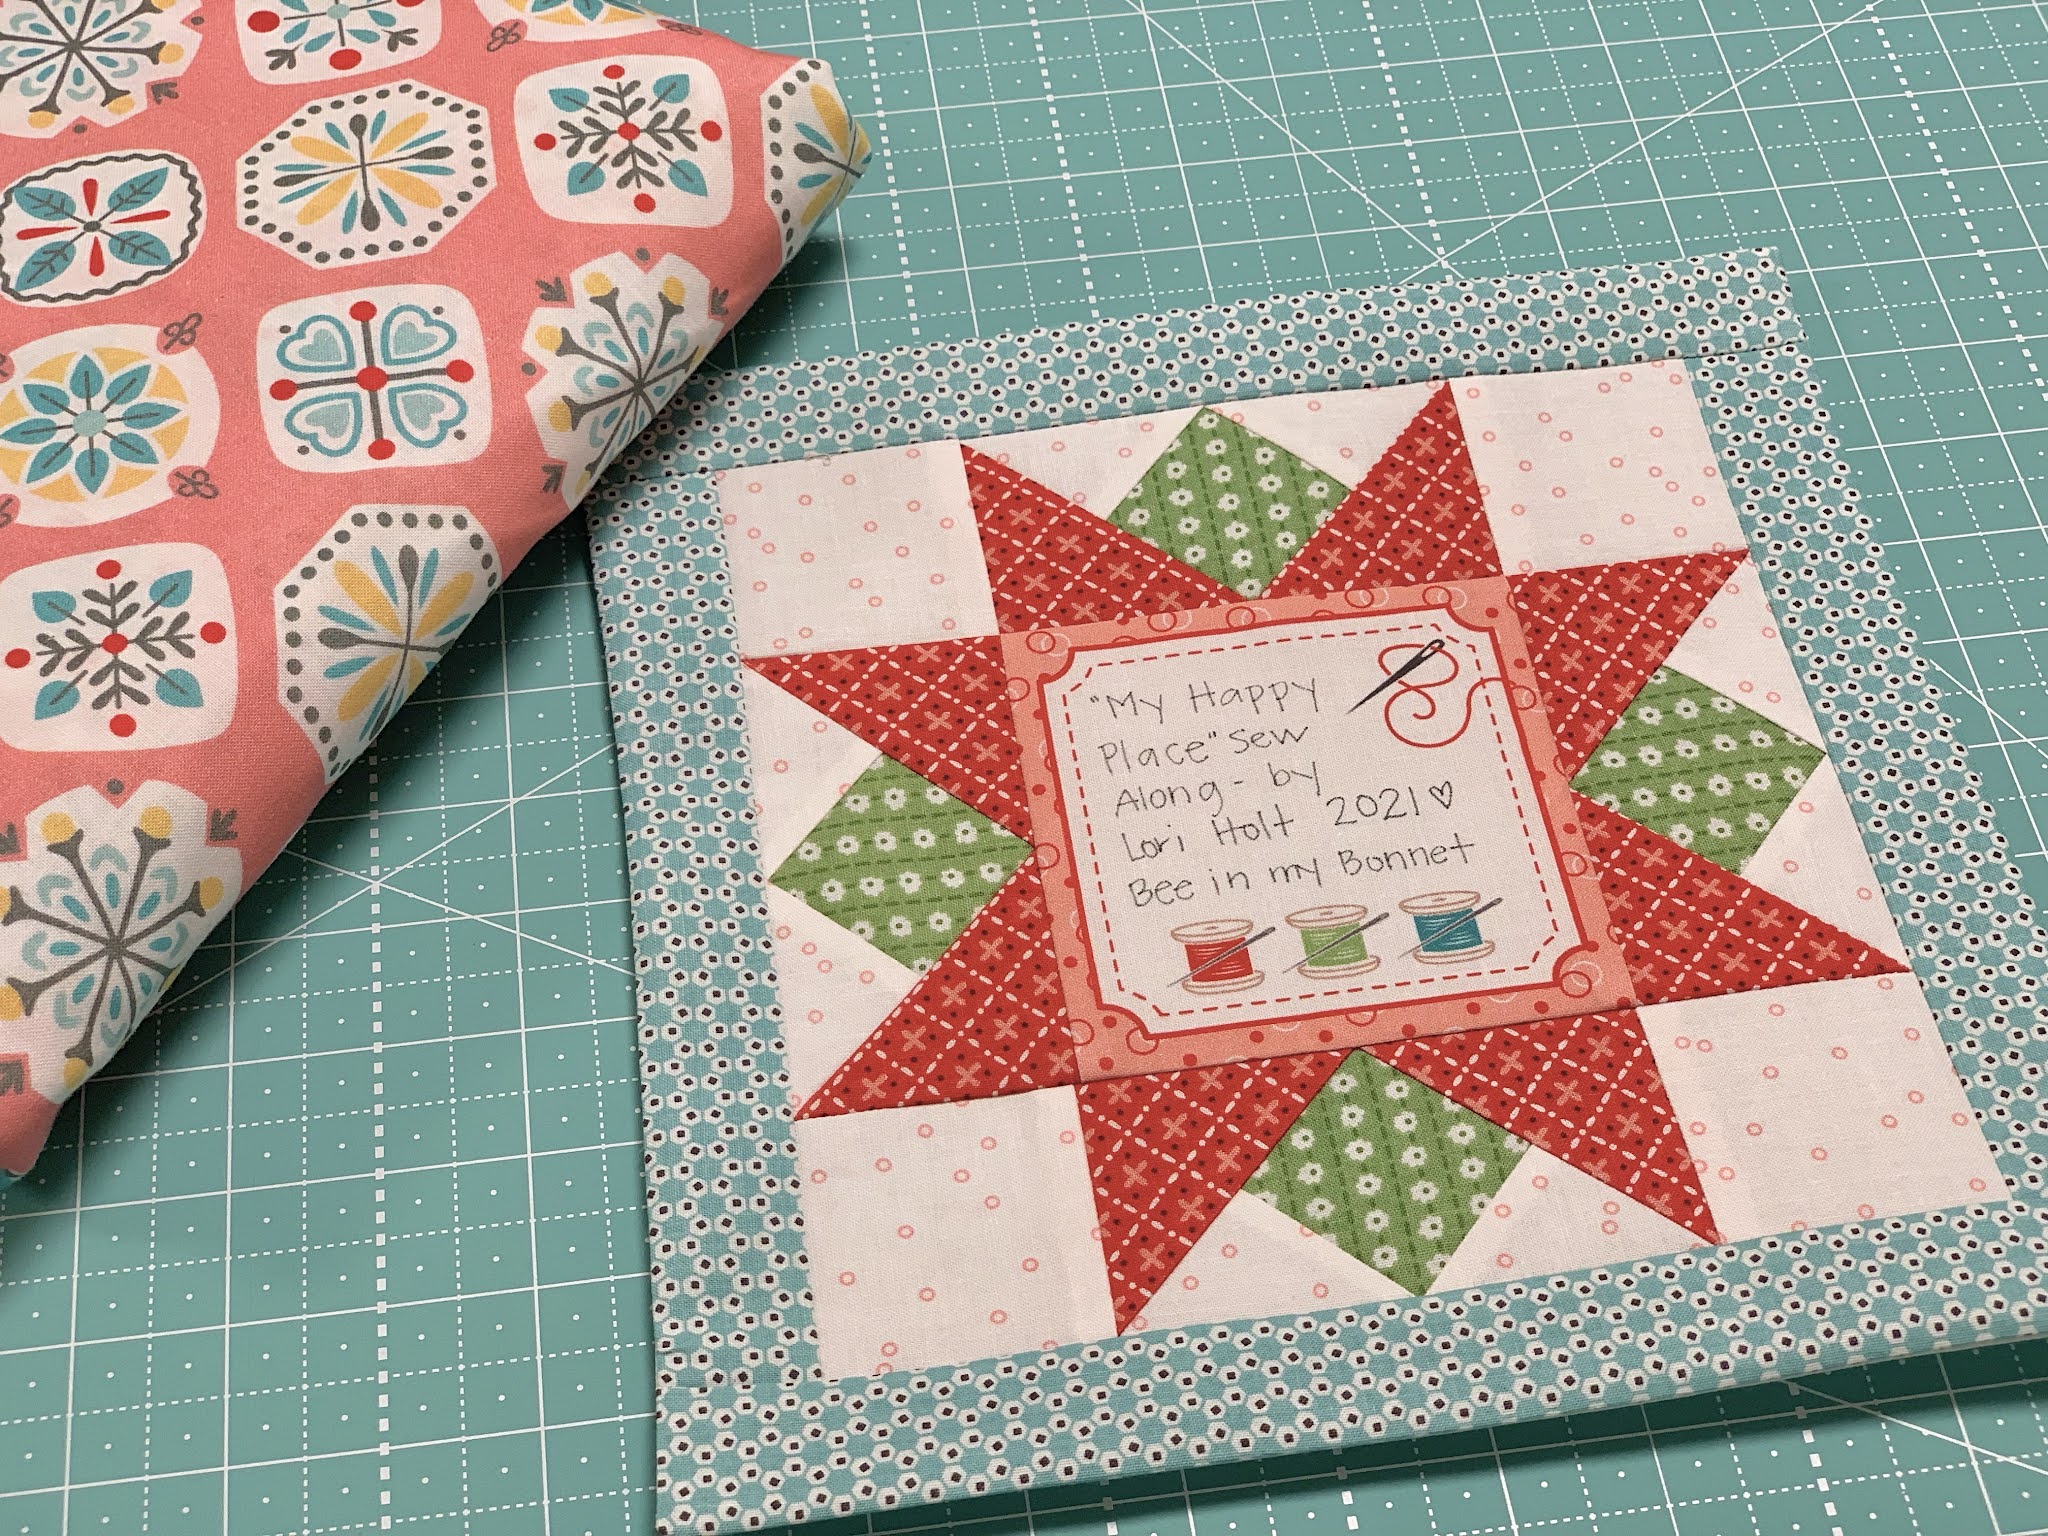
I cut an X in the back of
my interfacing for turning...
I shape and press:)

Now that I've got blocks and
my label finished ...
this is everything that I need
to finish it up!!
I'll be back here next week
with the Big Finish post
and lots of pictures
of my finished
"My Happy Place Quilt"
xx
Lori
**************************************


Bee in my Bonnet
Vintage 1966

No comments:
Post a Comment