

Well hello there!
I thought I would talk a little
about how I audition and
pull fabrics for a project...
and how I use these
fabric swatches to do it:)

My latest fabric collection is

It's full of many prints
in happy vintage colors
that I love to use.
So of course...
I made a fabric swatch tag
for each print in the collection.

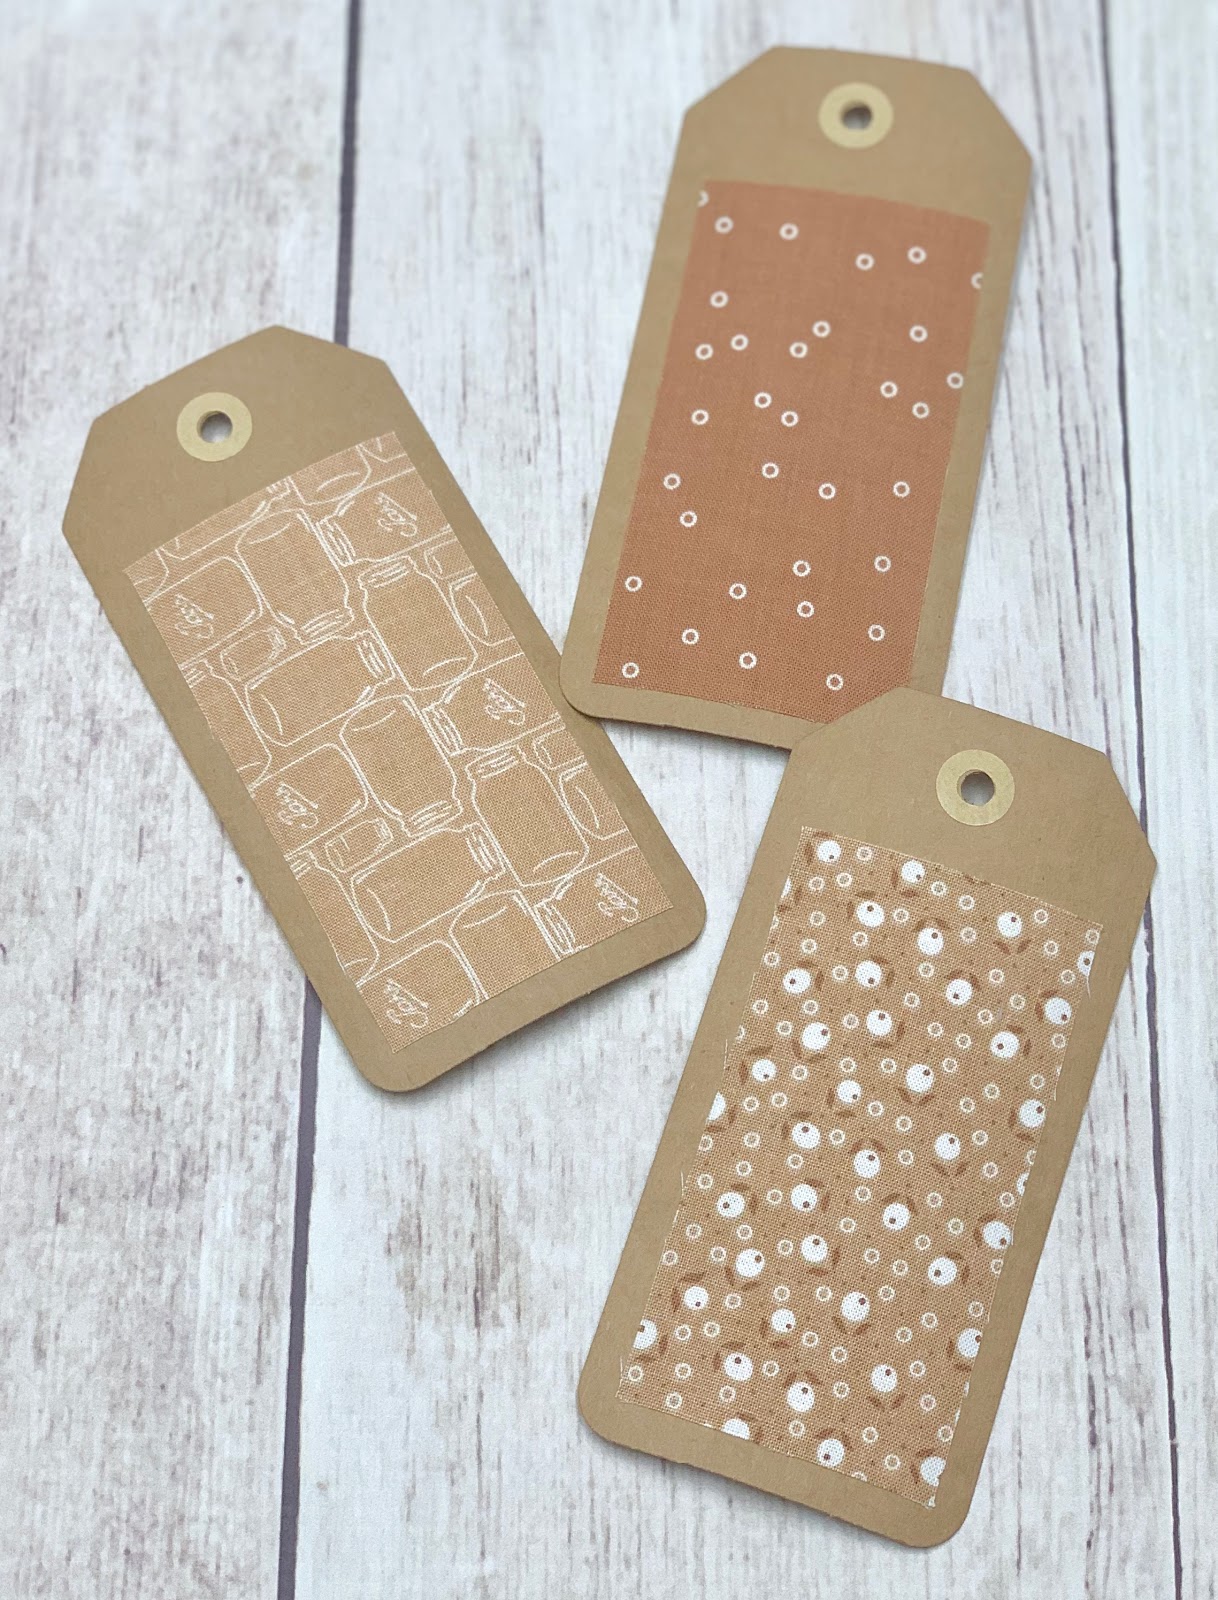
These three prints are not in my
Farm Girl Vintage collection
but are the 3 new widleback (108")
prints that co-ordinate
with the collection.
The prints are called
and it comes in these three colors.
This is the print that
I am using for the back of my
during the sew along.
I made the swatches and
added them to my
Farm Girl Vintage swatches
because
I do not use these
for backing only...
but I love to piece
with them as well!

These are the four prints from
Farm Girl Vintage that I call backgrounds.

Here are the aqua prints...

The yellow prints...

The denim prints...
The browns...

The teals...

The reds...

The grays...

The oranges...

The greens...

and the coral and pinks.
I keep all alike colored swatch tags
together so that when I'm
looking for a certain color...
I know they are all there
in my swatch collection.

I make swatch tags for each and every collection as soon as I get it.
These are my swatch tags from my

This is my go to collection
when choosing backgrounds and...

I use these swatch tags
all of the time when
pulling a project together.

There are several colors to choose from...

in a variety of prints and
I always find something that works!

I love having a little piece
of my fabrics at my fingertips
for quick and easy reference.
I must admit that when I'm
going through my
"swatch tag files"
I sometimes feel like a librarian lol
I've had several questions about
how I make them.
So here is a quick and easy tutorial
on how I do it:)

I use kraft tags that you can get
in the paper crafting section
of any craft store.
These are ones that I got at
Michaels and they are 3.00 per pack.

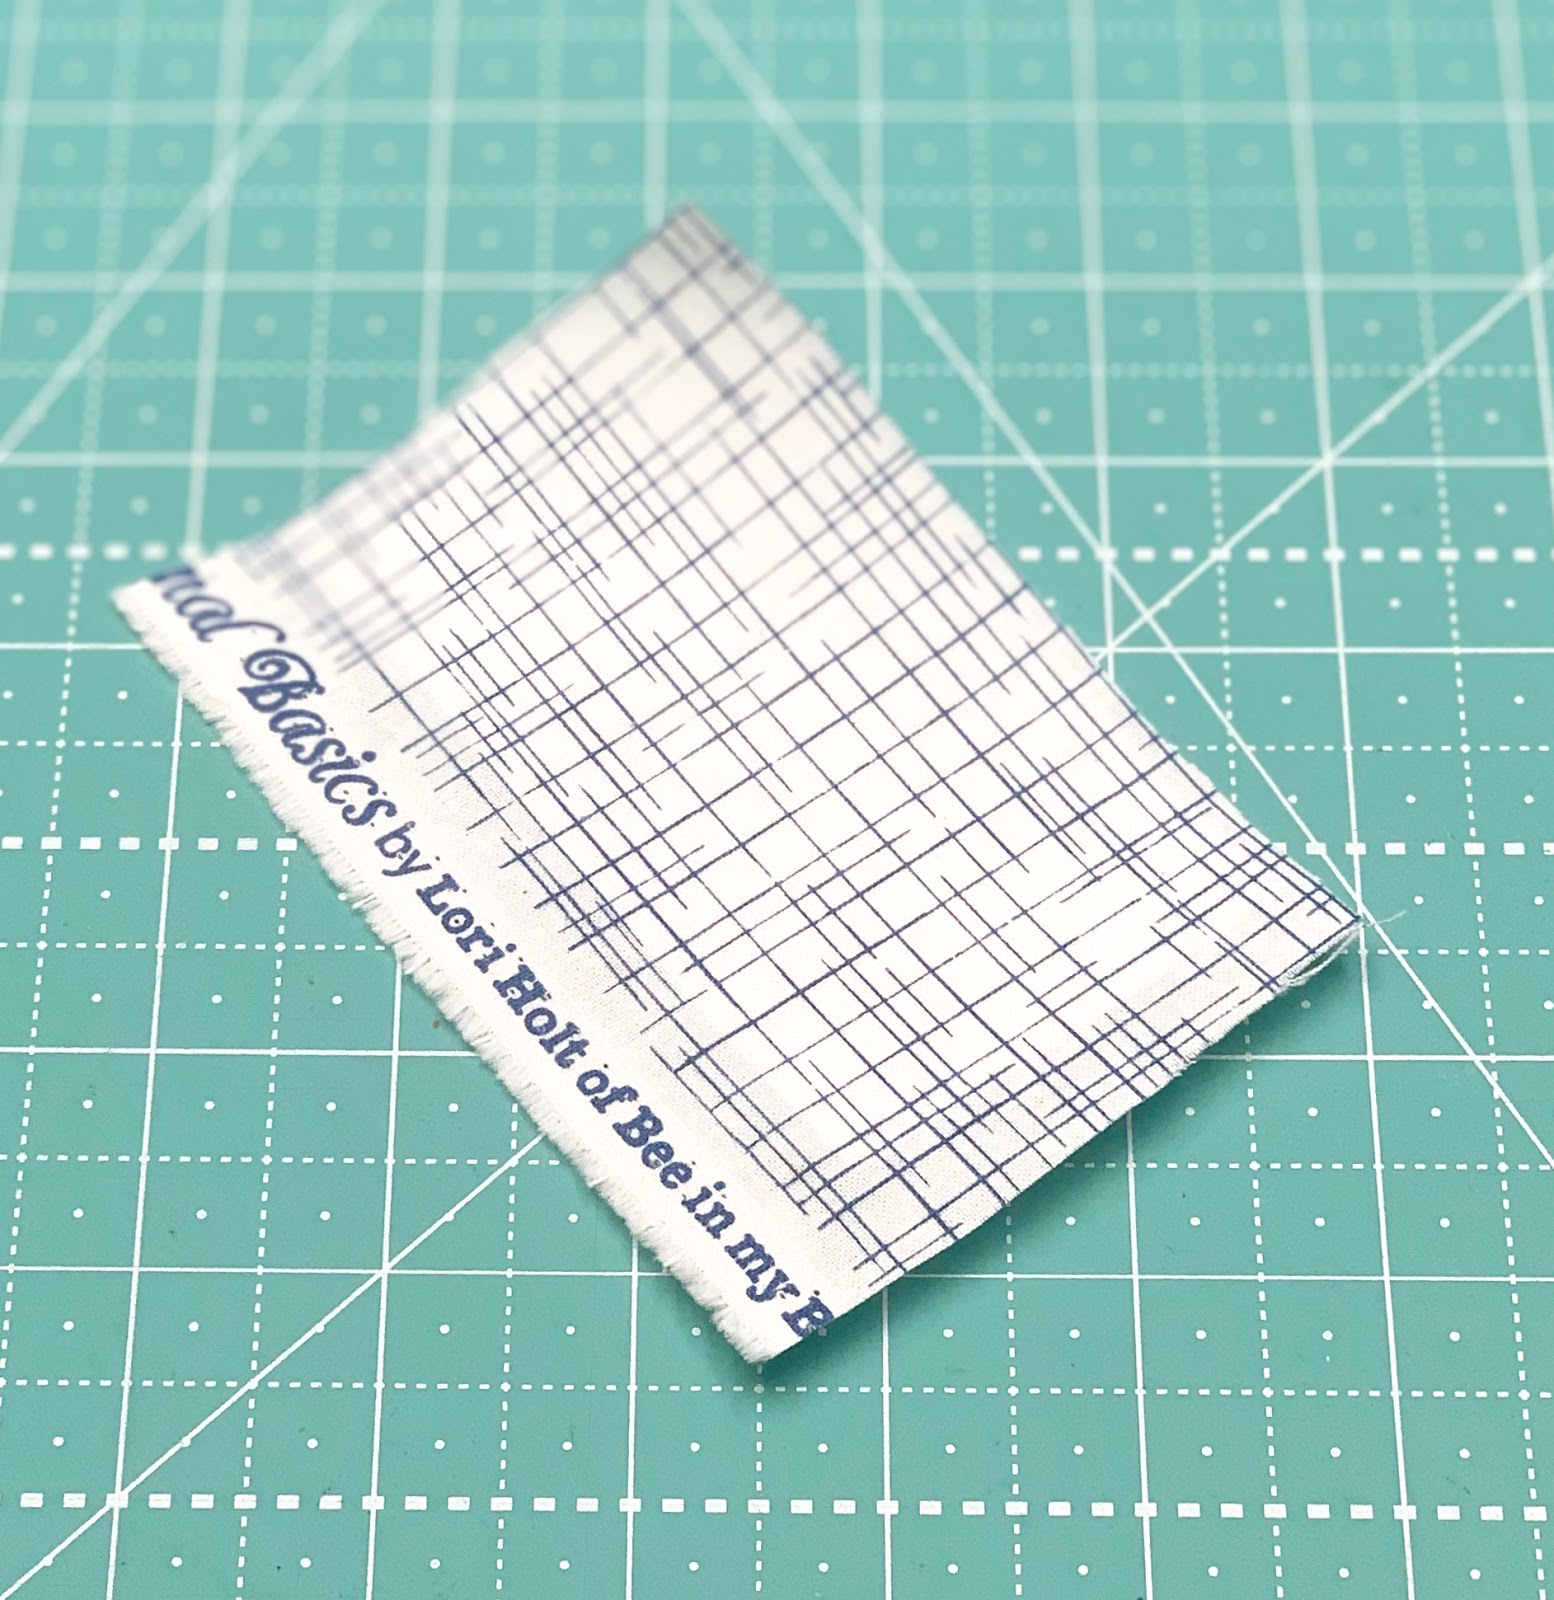
I use fusible web to iron the
fabric onto the tag.
Heat and Bond has several different kinds...
this is what I use the most:)
From the Heat and Bond...
I rotary cut one rectangle
for each swatch...
for each swatch...
a little bigger than I want
the swatch to end up.
the swatch to end up.
For my size tags that means
I cut the fusible web 2 1/4" x 4"
I cut the fusible web 2 1/4" x 4"

Most of you probably know this...
but if you have never
worked with fusible web...
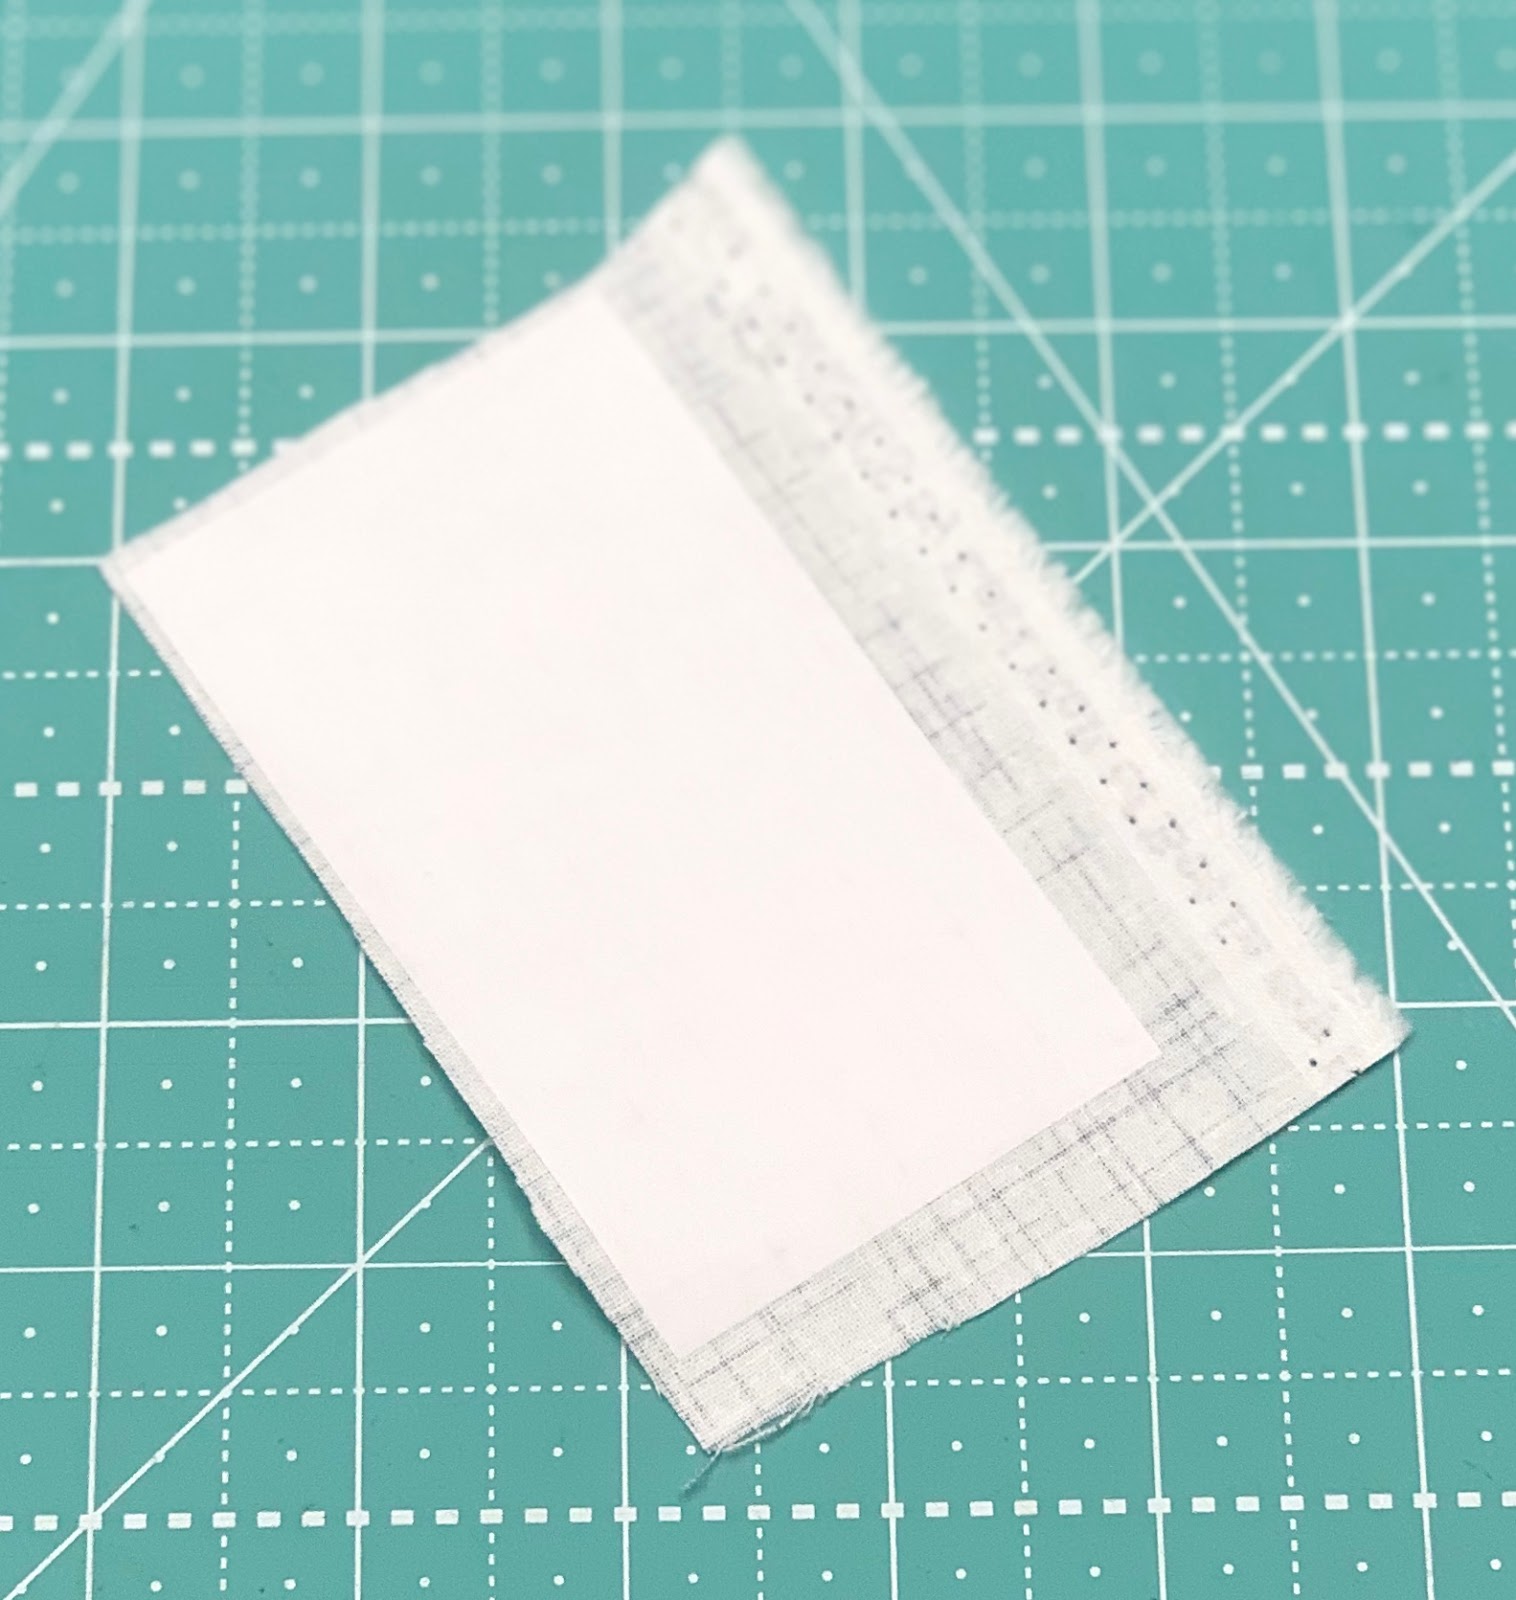
it has a smooth side which is paper
where you would trace your pattern onto etc.
Of course for this there is
no pattern to trace:)

Here is the "bumpy" side which
is the fusible part that irons on.
PS. Yes I DO use vintage irons and
NO it is not turned on and
sitting on my cutting mat lol...
scared you didn't I?
I grab a piece of the fabric...
I don't really take the time to cut it
a certain size because I will
just trim it down anyways...
I just press the rectangle
(fusible side down)
onto the wrong side of the fabric
making sure that there is
at least a little fabric
hanging over all edges.

Then I use my little
Cute Cuts Rulers and Mini Cutting Mat
to trim it down to 2" x 3 3/4"
I trim 2 sides first and then
turn the little mat around and
trim the other two sides
with out picking up the rectangle...
easy peasy!
I do these a bunch at a time
so it's sort of like chain piecing
but instead it's chain trimming:)

Next step is to peel the paper backing off.
Sometimes that is easier said than done.
I like to use my longer pins for this...
the ones that I usually use to
bin borders and larger pieces
and "score" a mark in the paper.

Then I can start peeling from the
score line and not the corners...
which are hard to start peeling from.

Once it's peeled off you will
have the other fusible side exposed
and can press the fabric swatch
directly onto the tag...
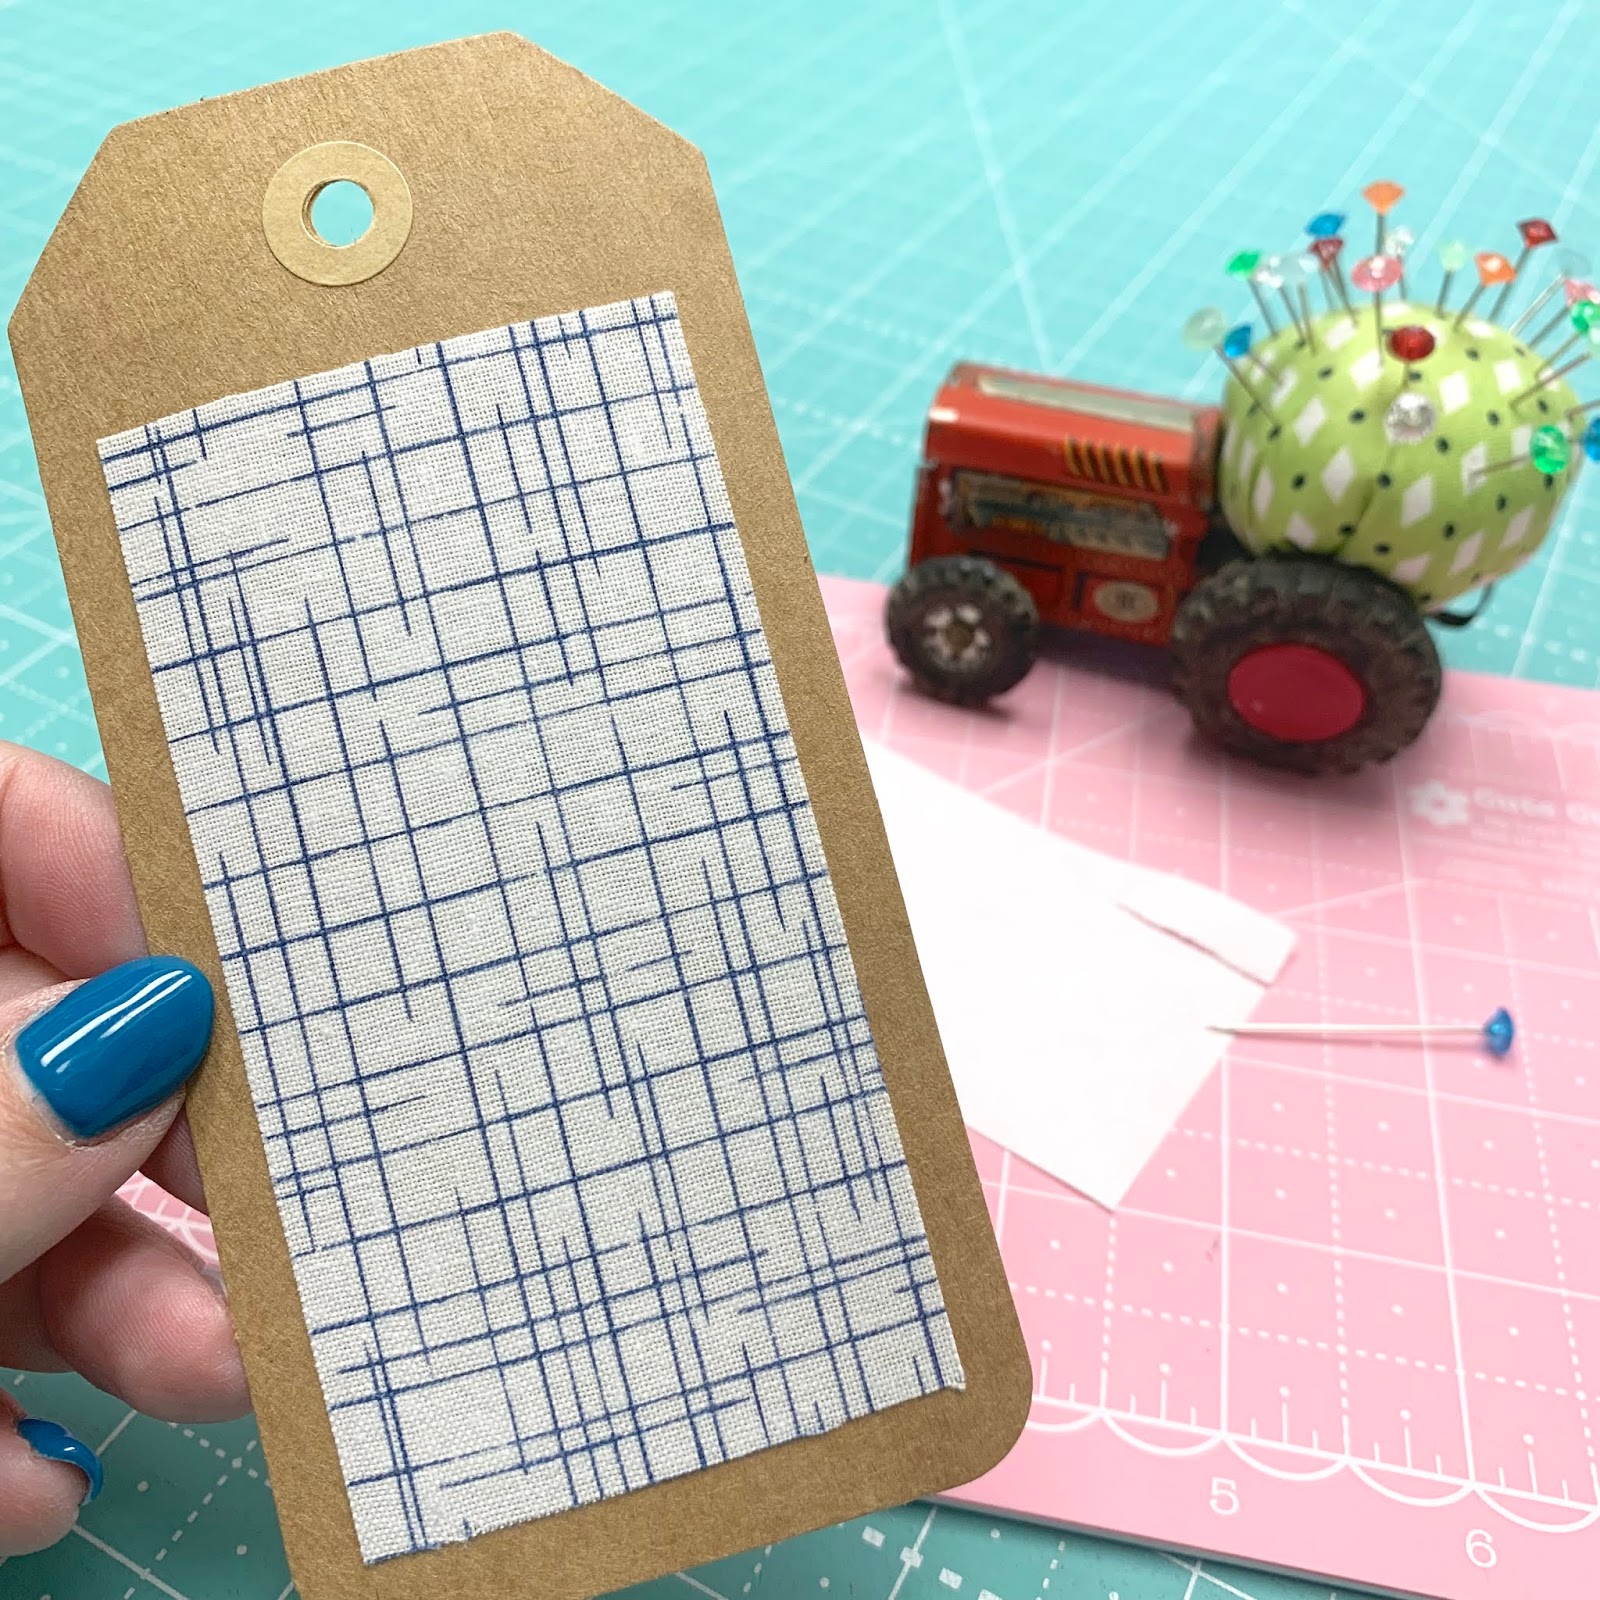
like this!
I like to mark the name of the fabric
and also the SKU for easy reference
when needed for ordering etc.
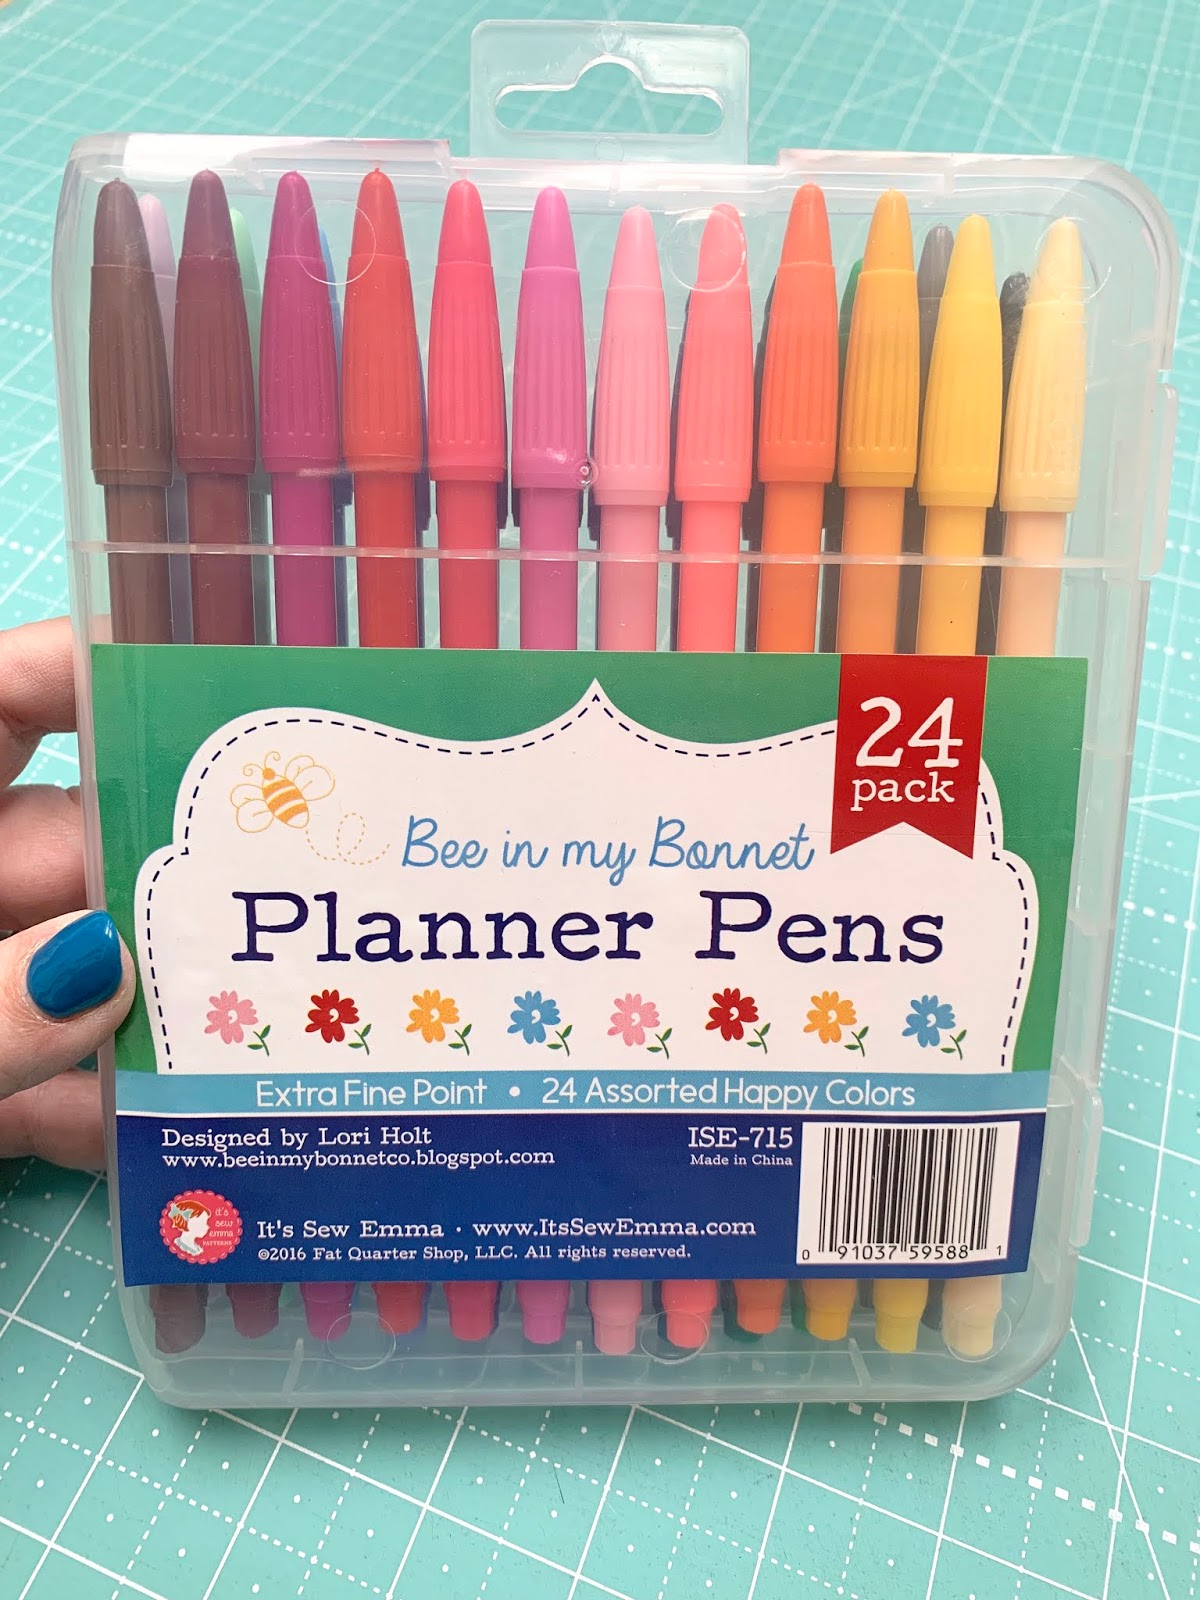
I use my Planner Pens for this...

of course they come in lots of happy colors!

I wrote on the info on the back.

Remember this Gunny Sack print
from my Autumn Love fabric collection?

Now it is a Riley Blake Basic
and comes in these colors so far...
more color combos than these will be
coming in about 6 weeks.

It really is a big time saver
for me to have a swatch tag
for each print that I use frequently.
I can mix and match colors
and collections easily.
Like for example...
when I am creating and I need
several reds and pinks
for a valentines project...
I just go through my swatches
of those colors in all different
fabric collections and see which
reds and pinks out of all
go together well.
It's much easier than pulling out
every piece of red and pink fabric
that I have.
Once I have chosen the prints
from the swatch I know which fabrics
to grab and cut.

That is how I have chosen which fabrics
to use in each of my
vintage blocks for the
It's easy peasy...quick and fun!!

I hope that this explanation of
how and why I use my Fabric Swatch Tags
and also the Tutorial has helped to
answer those questions that
those of you have had about them...
and you may even want to give them a try!
Until next time...
Lori

13 comments:
This is a great way to stay organized!! I have to agree about not wanting to pull every fabric in a color to choose the few I would use. Love your tracter pin cushion!!
Love this system, and will have to do this too! Thank you for sharing the tutorial. Also love the cute box you set these tags in. My husband is always creating little wooden things for us - I'll have to have him make some of these :)!
Thanks Lori. This kind of organizing is right up my alley.
Where can I get a tractor pin cushion?? My daddy drove a tractor all of his life and I would love something like that.
Thank you for the great tutorial!
thank you very much..... it is such a great idea and one that I am going to begin using.....thanks again....
This was such an interesting tutorial! Thank you!!
Thank you, Lori. I love your tags. I would want to play with them all the time!
I'm even more jealous of your tractor pin cushion. May I make a John Deere version for my vintage farm?
Love this idea! I'm an organize freak, lol! With that being said..As soon as I receive my fabric, I label each folded piece w/the name, number and keep all together grouped from the line. So all is set for a project and I can research it if I need more and etc! After, w/the scraps..this would be perfect! TY
:)
That is such a great idea...thank you
Love that denim blue!!!
I LOVE all your fabrics! I am a vintage girl at heart!! I also see several prints that I may have to make a summer blouse or sundress out of once Spring gets here--super cute!
Love your organizational and visual system with your fabrics. I will implement it in my sewing room, and add the size or amount of fabric available.
Post a Comment