"CHURN DASH BLOCK"
Border Block tutorial
is this week as well!
Welcome to week EIGHT of the
"MERCANTILE SAMPLER"
Sew Along!
Are you ready to sew with me?
I hope that you will join me here each week
when I will be doing two tutorials
weekly...every Monday and Friday.
We are making the
Mercantile Sampler Quilt
88" x 88"
The quilt is made with my fabric
collection called Mercantile:)
We are piecing all 25 blocks
and then turning them into a
12" circle to applique onto a
4-Patch Block background!
I detail all of the supplies
that you need to make the quilt in my
Bee Prepared post right here on my blog.
I have already posted the
post which not only details
all of the supplies needed but
explains how this sew along works.
I have also given the links there
for the free PDF Download
of the Sew Along Guides
to download the sew along guide
if you have not downloaded yet.
to download the sampler block
sew along guide.
As per usual for the first block in my
new fabric collection Sew Alongs
that FIRST tutorial is a video.
Because I now have my own
I have posted the
Birthday Cake Block
Tutorial there.
to visit my channel and watch the
tutorial and I hope that you love it!
Pretty please leave me a comment
over there and let me know:)
If you like what you see
and my other videos there...
click on subscribe and click on the bell
to be notified whenever
I post another tutorial:)
ANGEL STAR BLOCK
for the tutorial and blog post
For the tutorial and blog post
GRANDMA'S QUILT BLOCK
for the tutorial and blog post
PUZZLE BLOCK
for the tutorial and blog post
DUCK AND DUCKLINGS BLOCK
for the tutorial and blog post
SPOOL AND BOBBINS BLOCK
for the tutorial and blog post
SODA POP STAR BLOCK
for the tutorial and blog post
SHOPPING BASKET BLOCK
for the tutorial and blog post
9-PATCH STAR BLOCK
for the tutorial and blog post
PEONY BLOCK
for the blog post and tutorial
CLICK HERE
for the blog post and tutorial
TOWN DAYS BLOCK
for the blog post and tutorial
YARD GOODS BLOCK
for that blog post and tutorial
CHURN DASH and
BORDER BLOCKS
Cutting each block is super easy
because of the sew along guide
that is provided for you.
I'm going to show you my
favorite way to sew a churn dash...
it's super simple:)
Let's start by sewing the
"B" and "D" squares together.
Press the seams open.
Set the "A" squares aside and
lay out the rest of the squares
for the block like this
and sew it together...
Like this:)
Now let's turn it into a churn dash.
Draw a line from corner to corner
onto the back of all "A" squares.
Now let's add four easy
corner triangles to complete the block.
Trim and press towards
the easy corner triangles.
Back of my block:)
Sew the borders...
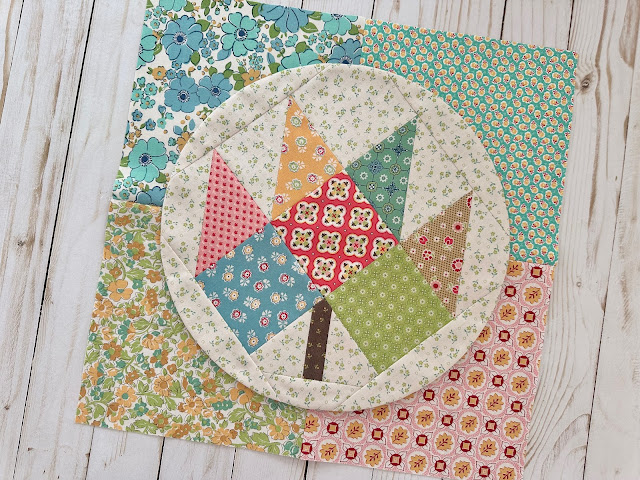
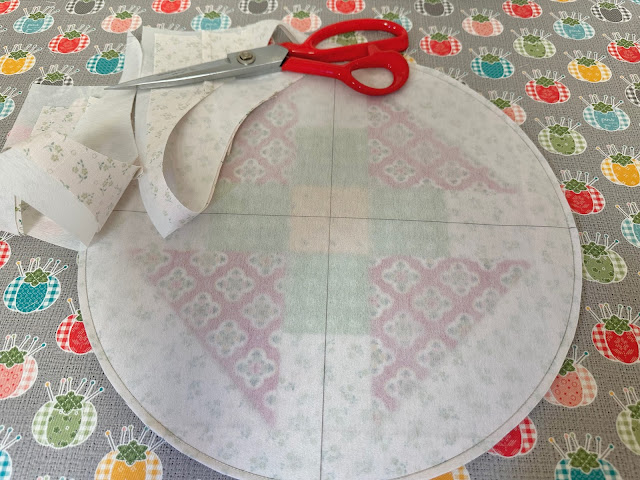
And turn it into a circle:)
Sew the 4-Patch block for the background.
Let's prepare for applique!
Use a long ruler to center your block
with the seams in the 4-Patch.
Pin and Sue Glue into place.
Ready for applique:)
As per usual...after applique
trim it down to 14 1/2" square
using the 14 1/2" Trim-It Ruler.
*Continue to line up the seams
in the block
with the lines on the rulers that
go both ways...straight and diagonal
for easy peasy centering!
And now we have 15 blocks completed!
That means that you can
sew three rows together
and we will move on to
row four this Friday:)
I hope that you will love
sewing YOUR fifteenth sampler block
for our sampler quilt...
and then turning it into a circle!
Now that we are over halfway finished
with our blocks I've started working
on the border pieces so that all of the
easy corner triangles will be sewn on
each border piece by the time that
I'm finished with all of the blocks.
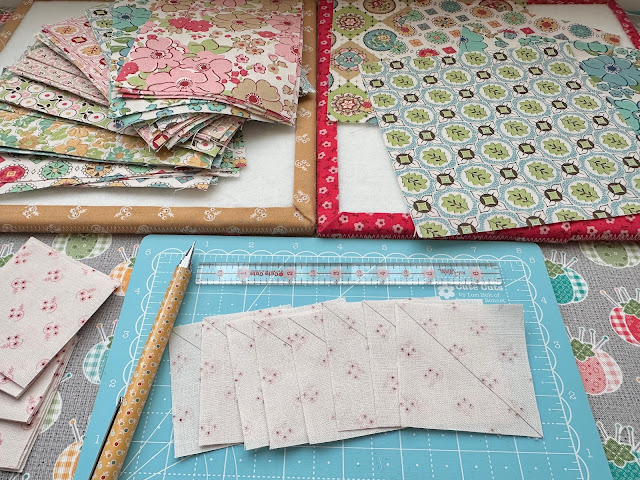
You can mark a single line on
the back of all
152 - 2 1/2" squares
like this...
Seams Sew Easy Guide
like I usually do.
It really comes in handy
especially when you have a lot of ECT's
to sew on like we do for the border.
You would need to mark 152 lines...
It saves so much time
not having to mark each one!
Remember I have just been
marking some of mine
for the sake of the tutorials...
I usually use my Seams Sew Easy Guide
whenever I can.
*When you are sewing the ECT's onto the
four corner squares remember that the
Easy Corner Triangles
go on opposite sides from each other...
And when you are sewing them onto each
border rectangle they are both
sewn onto the end next to each other
so you will need to sew one side
first before you can add the other one.
as well as the corner squares:)
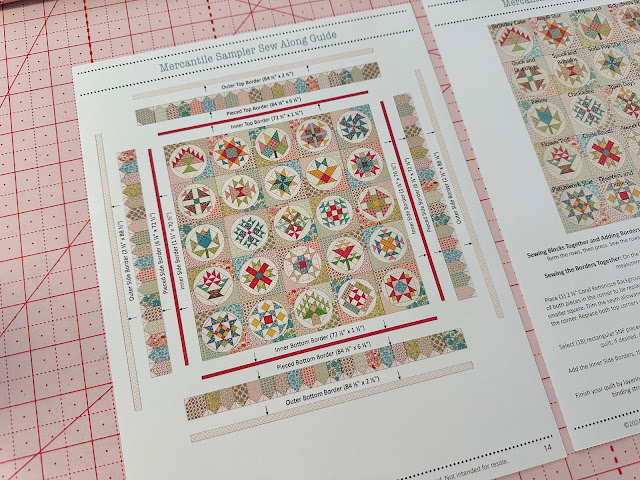
*Remember that all measurements and instructions
for adding the borders
are on pages 13 and 14 of the
Sew Along Guide
So you will be ready to go
when all of your blocks are completed!
I'll meet you right back here
on my blog this Friday for the
Flower Pot Block tutorial...
xx
Lori




.jpeg)










1 comment:
I’ve just found you! I feel like we might be color/creative twins!! My mom taught me to quilt years and years ago. My grandmother was a seamstress as well. Mom passed away a couple of years ago and after all of these years, I’m wanting to quilt again and wishing I had all of her sewing stash. I do have two featherweights of hers and have just purchased an old 70’s Bernina Record to get sewing again. It’s amazing how once you learn the skill, it’s like riding a bike and it all comes back! Again, thankful to have found you for inspiration! Oh! I collect old toys, too!!!
Post a Comment