

Welcome back to another
episode of the
Today we are doing the final sections
of our amazing vintage quilt...
sections five and six:)
Let's get right to section five!
The blocks that you will
need are the following:

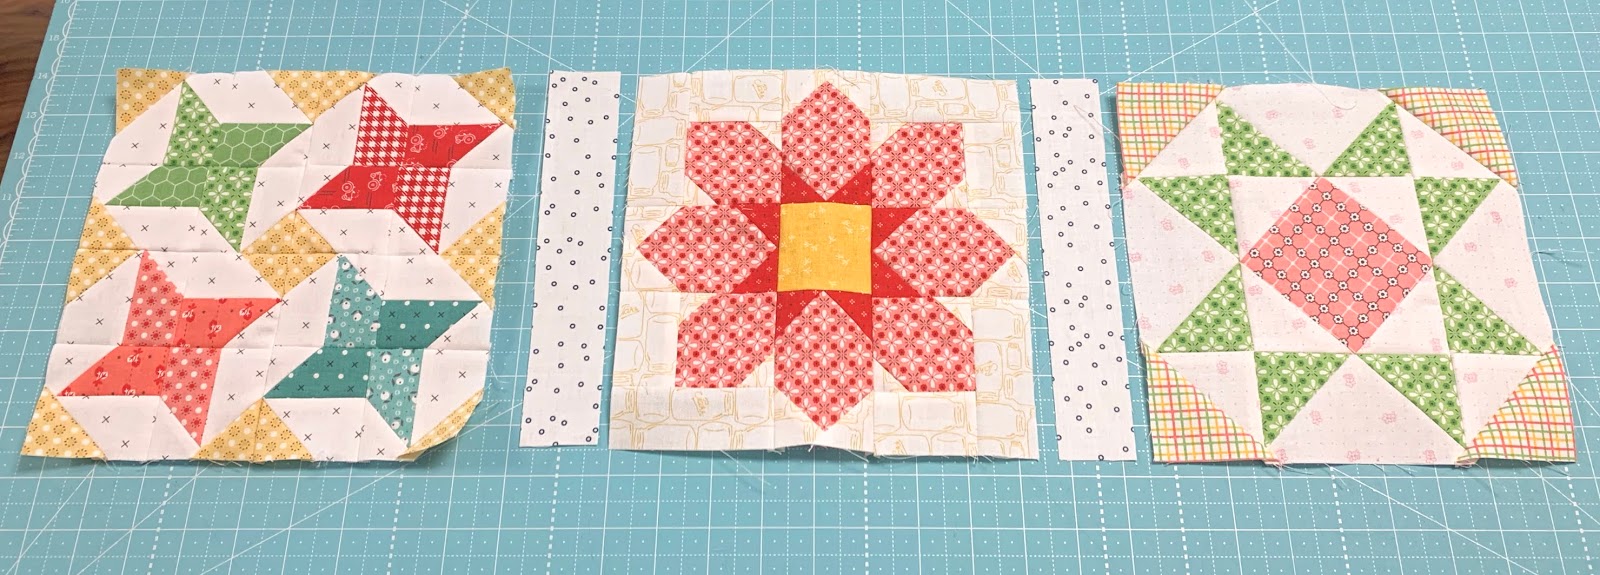
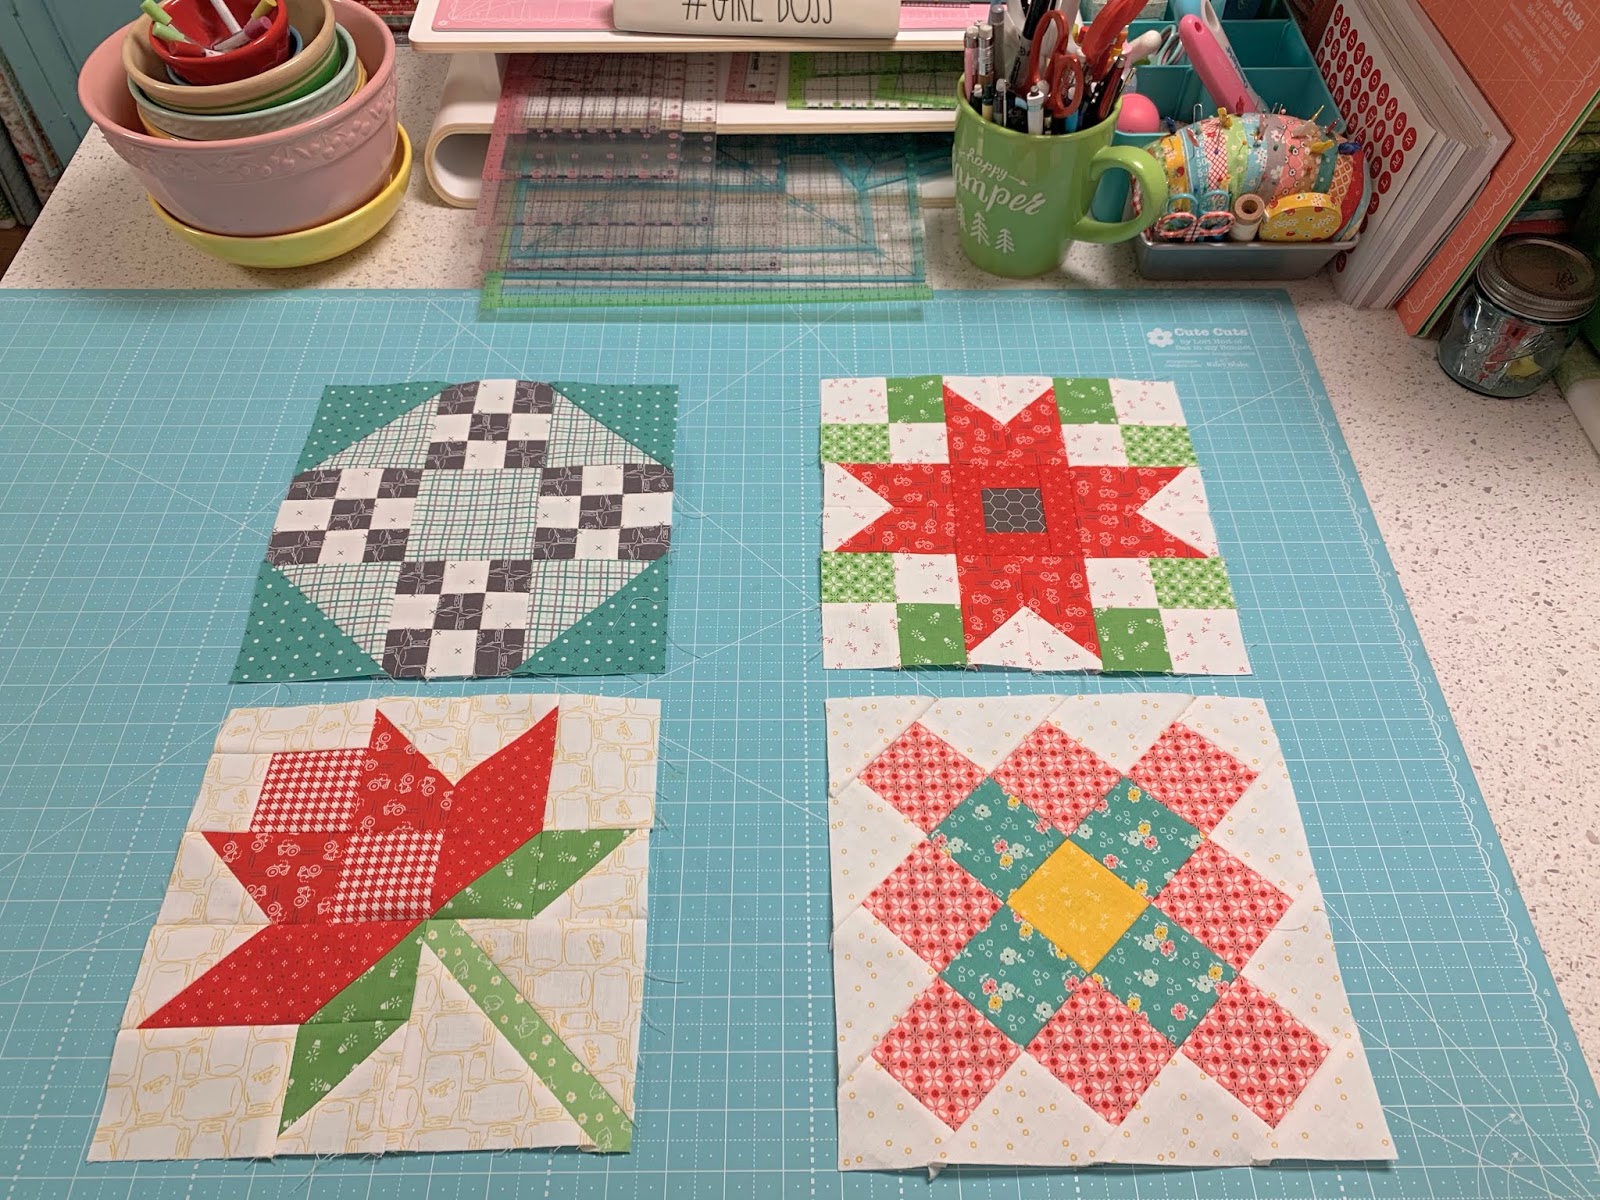
8" Spool and Bobbins

8" Leftovers

8" September Star

8" Wash Day

8" Road to Grandma's

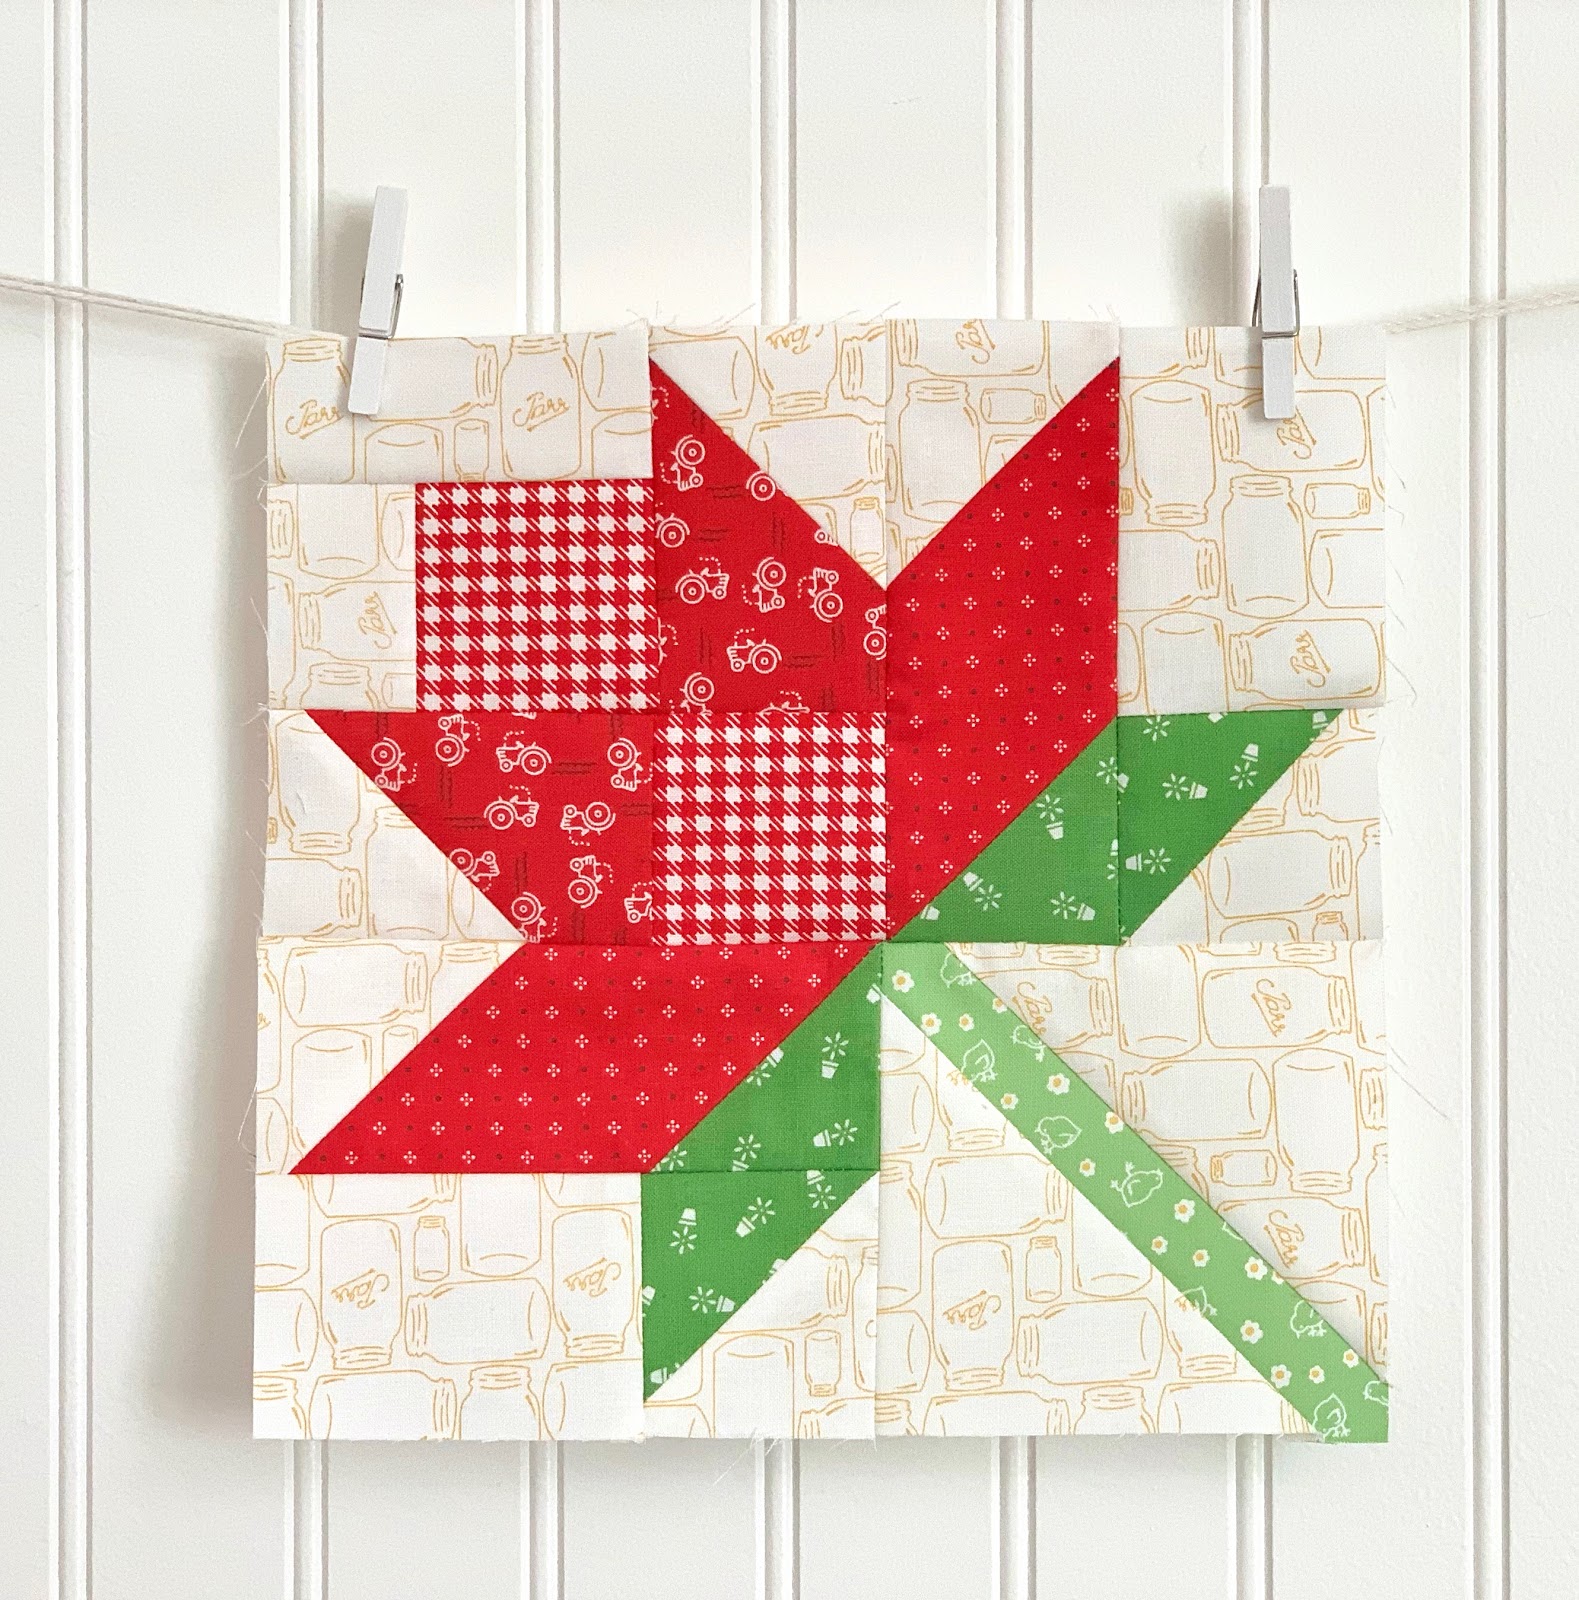
8" Fall Social

8" Holiday Lights

8" Winter Flower

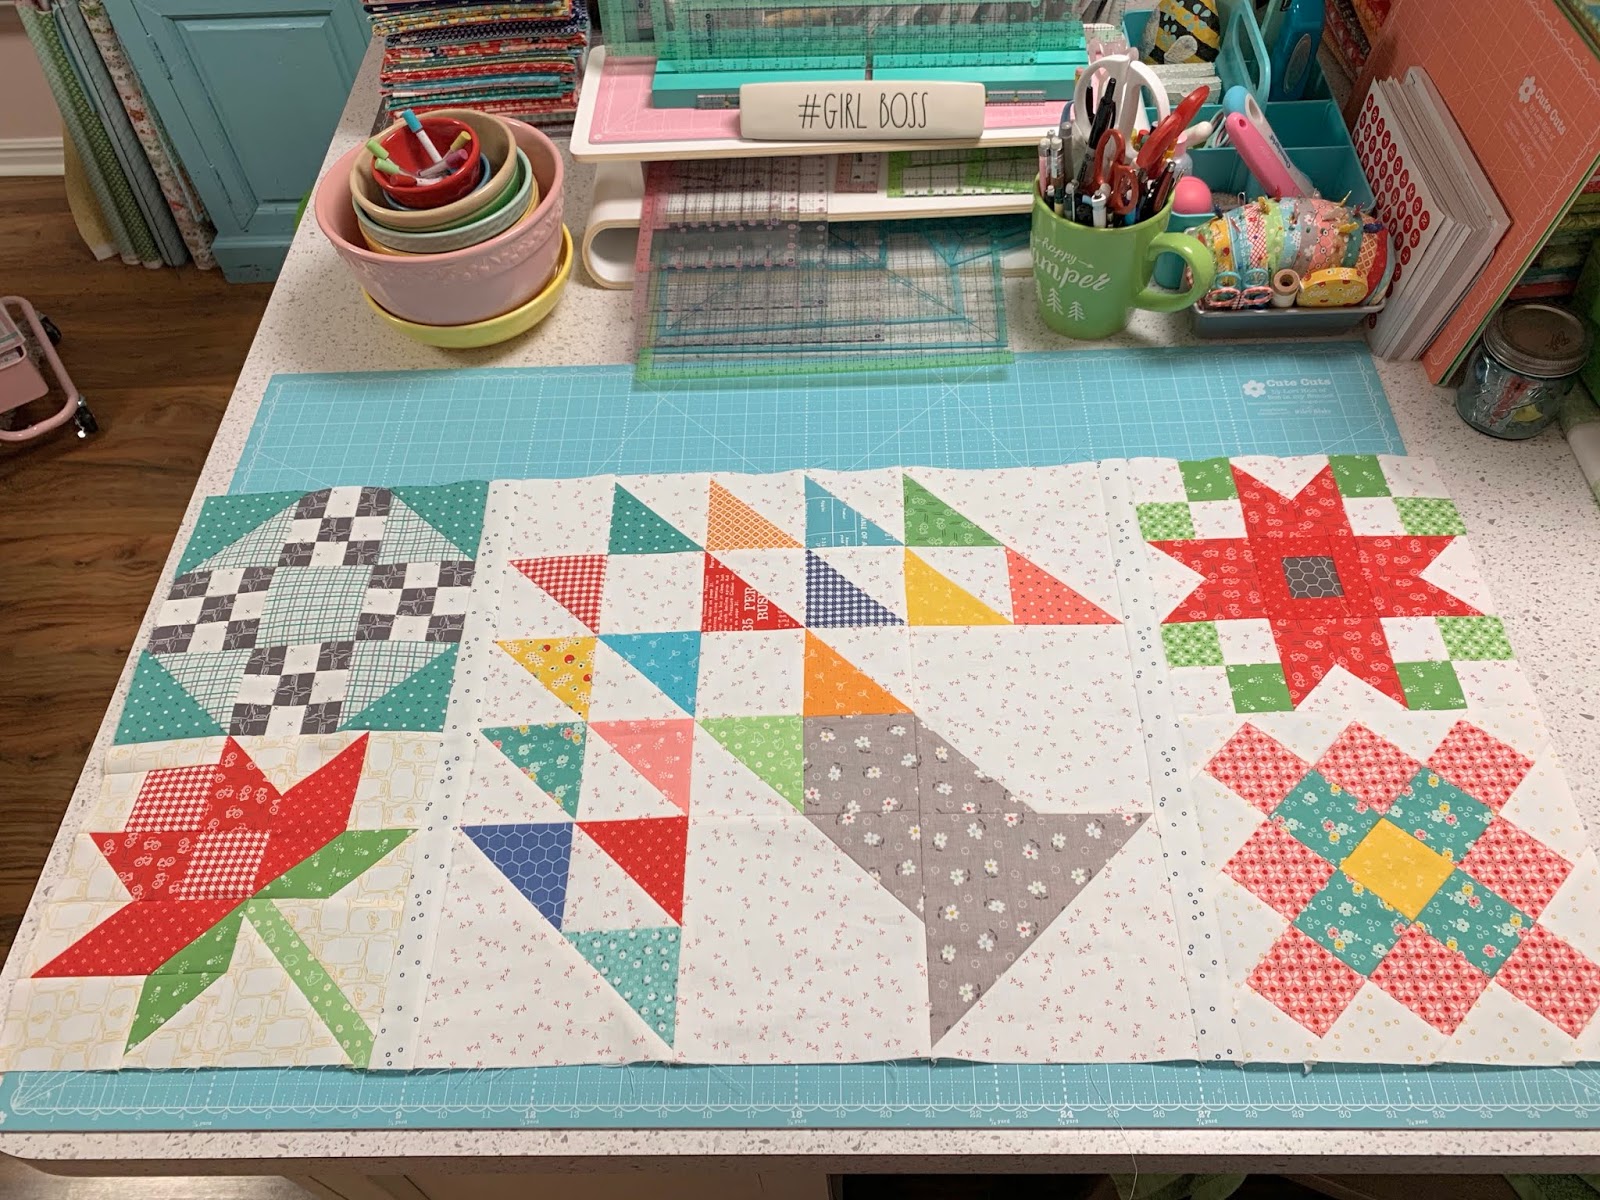
This is what this section/row looks like.
We are simply sewing all eight of the
8" Blocks together!

Of course we will need sashing...
so you will need to cut the following:
2 - 2" x 8 1/2"
7 - 1 1/2" x 8 1/2"

First step is to sew a 2" x 8 1/2" strip
to the left of the Fall Social Block.
Then sew a 1 1/2" x 8 1/2" sashing strip
to each side of the Spool and Bobbins.
Join all together.
For the middle section join the Holiday Lights...
Winter Flower and September Star.
When joining...sew a 1 1/2" x 8 1/2" sashing strip in-between.

Now sew the
Leftovers Block - Wash Day and
Road to Grandma's together.
Sew 1 1/2" x 8 1/2" sashing strips
in-between and add the
2" x 8 1/2" one on to the right side.
Sew them all together into a row!
It should measure
8 1/2" tall x 74 1/2" wide:)
Of course you can switch the placement
of blocks in this row...
or you can put yours
exactly where I did:)
Let's move onto section six.
The following are the
blocks you will need:

18" Potluck

15" Picnic

18" Shade Tree
9" Peony

9" Mercantile

9" Grannys Square

You will need ONE
9" Front Yard Flower...
remember during the sew along
I made two versions?

I chose this one.

You will also need your Checkers!!

This is what section six looks like:)

For the sashing you will need to cut:
2 - 2" x 18 1/2"
2 - 1 1/2" x 18 1/2"

Okay...
first step is to sew the
5 Checkers together.
They should measure
3 1/2" tall x 15 1/2" wide
so that you can sew them to the
top of the 15" Picnic Block.
Sew the 2" x 18 1/2"
sashing strips to each side.

Now sew the Potluck Block
to the left side:)
This section should measure
18 1/2" tall x 36 1/2" wide

Now sew two of the 1 1/2" x 18 1/2"
sashing strips to each side
of the Shade Tree Block.
This will measure
18 1/2" tall x 20 1/2" wide
Sew two sets of 9 1/2" blocks
on top of each other...
Then add them to each side
of the Shade Tree.
It should measure
18 1/2" tall x 38 1/2" wide

Sew them all together to form section six...
the very last one!
Okay...now that you have
all six sections sewn together...
you can decide which order to
sew them together in.

I posted the sections in order
that I am sewing mine together
but you do not have to.
They all measure 74 1/2" wide and so
it doesn't matter the order.
Okay...
see those spaces in-between the rows?

***TAKE NOTE***
That you will need to sew a
1 1/2" x 74 1/2" sashing strip
in-between sewing each
section/row together.
You will need to cut:
10 - 1 1/2" x Width of Fabric
strips and join them together.
Sub-cut these strips into
5 - 1 1/2" x 74 1/2"
that will go in-between each row.
You will not need to sew one to the
top or the bottom after joining them all...
just in-between.
These strips are included in the
1 1/4 yardage that I told you
on the sections one and two post.
After sewing all of the
sections together your quilt will measure
74 1/2" x 92 1/2"

Now let's talk border:)
I chose to use this Farm Girl Vintage
low volume print for the border
because I really just wanted my blocks
to be the focus....
and I LOVE this print!!
I want my quilt to bee a Queen Size
and so I'm going to cut
8 1/2" wide borders and
after sewing them on...
my quilt will measure
90 1/2" x 108 1/2"
That is a perfect Queen Size
with a nice pillow tuck...
my Grandma loved a generous pillow tuck
and that's what I wanted for this quilt!
I used 2 3/4 yards of fabric
and cut four 8 1/2" strips lengthwise.
I then cut ALL FOUR 92 1/2" long.
Again...
you will need 4 - 8 1/2" x 92 1/2"
That's right!
All four are the same length.
I sewed them to the sides first and
then to the top and bottom.

I'm going to use my
Farm Girl Vintage denim gingham
for the binding.
I think it looks great
with the border print.
I'm going to use a yard of fabric
and cut it on the bias
because I love gingham on the bias.
I'll need 420" of prepared bias.
If you are not cutting your binding on the bias:
Cut 11- 2 1/2" x Width of Fabric strips
and join them together to
prepare the binding.
That means 7/8 yards needed
for the binding if not on the bias:)

For the backing of course
I'm going to use one of my 108" Wide Backs.
I chose this one from my
Granny Chic collection because
when I designed it...
I used all of the vintage
embroidery patterns that
I got from grandma...
so I thought it was only fitting!
I'll need 3 1/3 yards

I'll be appliquéing this
Memory Block onto the back.
Normally on a quilt label...
I would put my name and the name
of the quilt and the year it was made.
But for this one I simply want a
Memory Block with my Grandma's name on it.
As you know that's why I
made this quilt in the first place...
a quilt full of memories of Grandma.

Oh my word.
I AM SO HAPPY
about this quilt and
I hope that you are too!

I hope that I have made my Grandma proud.
I miss her every day.
I've been wanting to make a big quilt
for my bed using blocks
from the patterns that she gave to me.
Let me tell you...
I didn't even put a dent
into her pattern basket.
I know that some of them are so old
that they must have
come from her mother...
who was my
Great Grandma Martha Butterfield.
She absolutely LOVED
to quilt and to garden.
Those were her two great passions
besides her family.
She taught all of her
six daughters to quilt.
I'm so grateful for my quilting heritage.
If you do not come from a quilting family then you can teach your children and grandchildren so that they come from a quilting family:)

I'm so glad that I decided that
instead of doing this on my own...
I would invite you to join me
on this journey because it has
been so fun each and every week
to see your blocks and
fabric choices on my

Thank you so much from the
bottom of my heart for saying
YES and joining me for each
and every episode of my
There will be one more episode and
it will be on December 31st...
making it a full year of
sewing vintage together!
On the post I'll show you my
Vintage Quilt
all quilted and bound:)
YaY!

Let's chat then:)
xx
Lori
P.S. If you missed the Section One
and Section Two tutorial:
and then
for Sections Three and Four

10 comments:
This is going to be such a beautiful quilt especially with the border and bias check binding! I have so enjoyed this series and the history with each quilt block. It's brought back so many of my own childhood memories with my dear grandma. Thanks so much for taking us all on this ride with you. I'm looking forward to seeing the finished quilt at the end of the month! Again, many thanks, Lori!
Thank you Lori for a fun journey, wonderful stories and helping me to use up my stash! I'm still way behind on my blocks but will eventually catch up and get this beauty done.
Absolutely wonderful, Lori!! So many blocks relate to most of us, even the stories! I have just a few blocks to complete before sewing mine together, but had to say it's been an honor to sew along and join in the fun. I sewed mine with bits & pieces of a few of your lines, and just love how they all look. Many, many thanks!! Smoochies!
Beautiful! Can't wait to put my finished blocks together. My concerns: I have never pieced a quilt top this large, will long arm quilters be able to quilt this size, and if so can you share sources. I am in Utah County. Following along on your Vintage adventure as made for a great year!
Thank you so much for all of the wonderful patterns! I've enjoyed following your journey. Your grandma would be proud......
What a treasure! Can't wait to see the finish, the backing is perfect.
420" of bias binding? You are a saint! I did not do this quilt along, unfortunately, but I sure enjoy the pictures and LOVE the vintage items at the end. You are a true talent.
Loved following along. Will you have a book that includes this vintage quilt along? I would be a happy customer! Best wishes!
Dearest Lori! I don't know how you do it all, but you are good at it! Thank you for sharing this quilt along. I looked forward to it each week and I was actually really glad when we had a few off weeks to catch up. The patterns, the colors, the stories and memories of your Grandma--they all touched my heart and brought back memories of my sweet Grandma as well. Your Grandma is smiling and pleased with her girl right now. Thank you for helping me to beautify my home and make memories for my grand daughters through quilting. XO
I cannot begin to tell you how much I loved this Vintage QAL. Your stories and beautiful blocks brought back sweet memories of both of my Grandma's. One taught me to sew, the other made beautiful quilts! I loved them both very much and am making TWO signature blocks for the back of my quilt. Thank you for a memorable journey Lori. I KNOW your Grandma is smiling down on you!
Post a Comment