

Flea Market Flowers
BLOCK "B"

Welcome to Week Eight of the

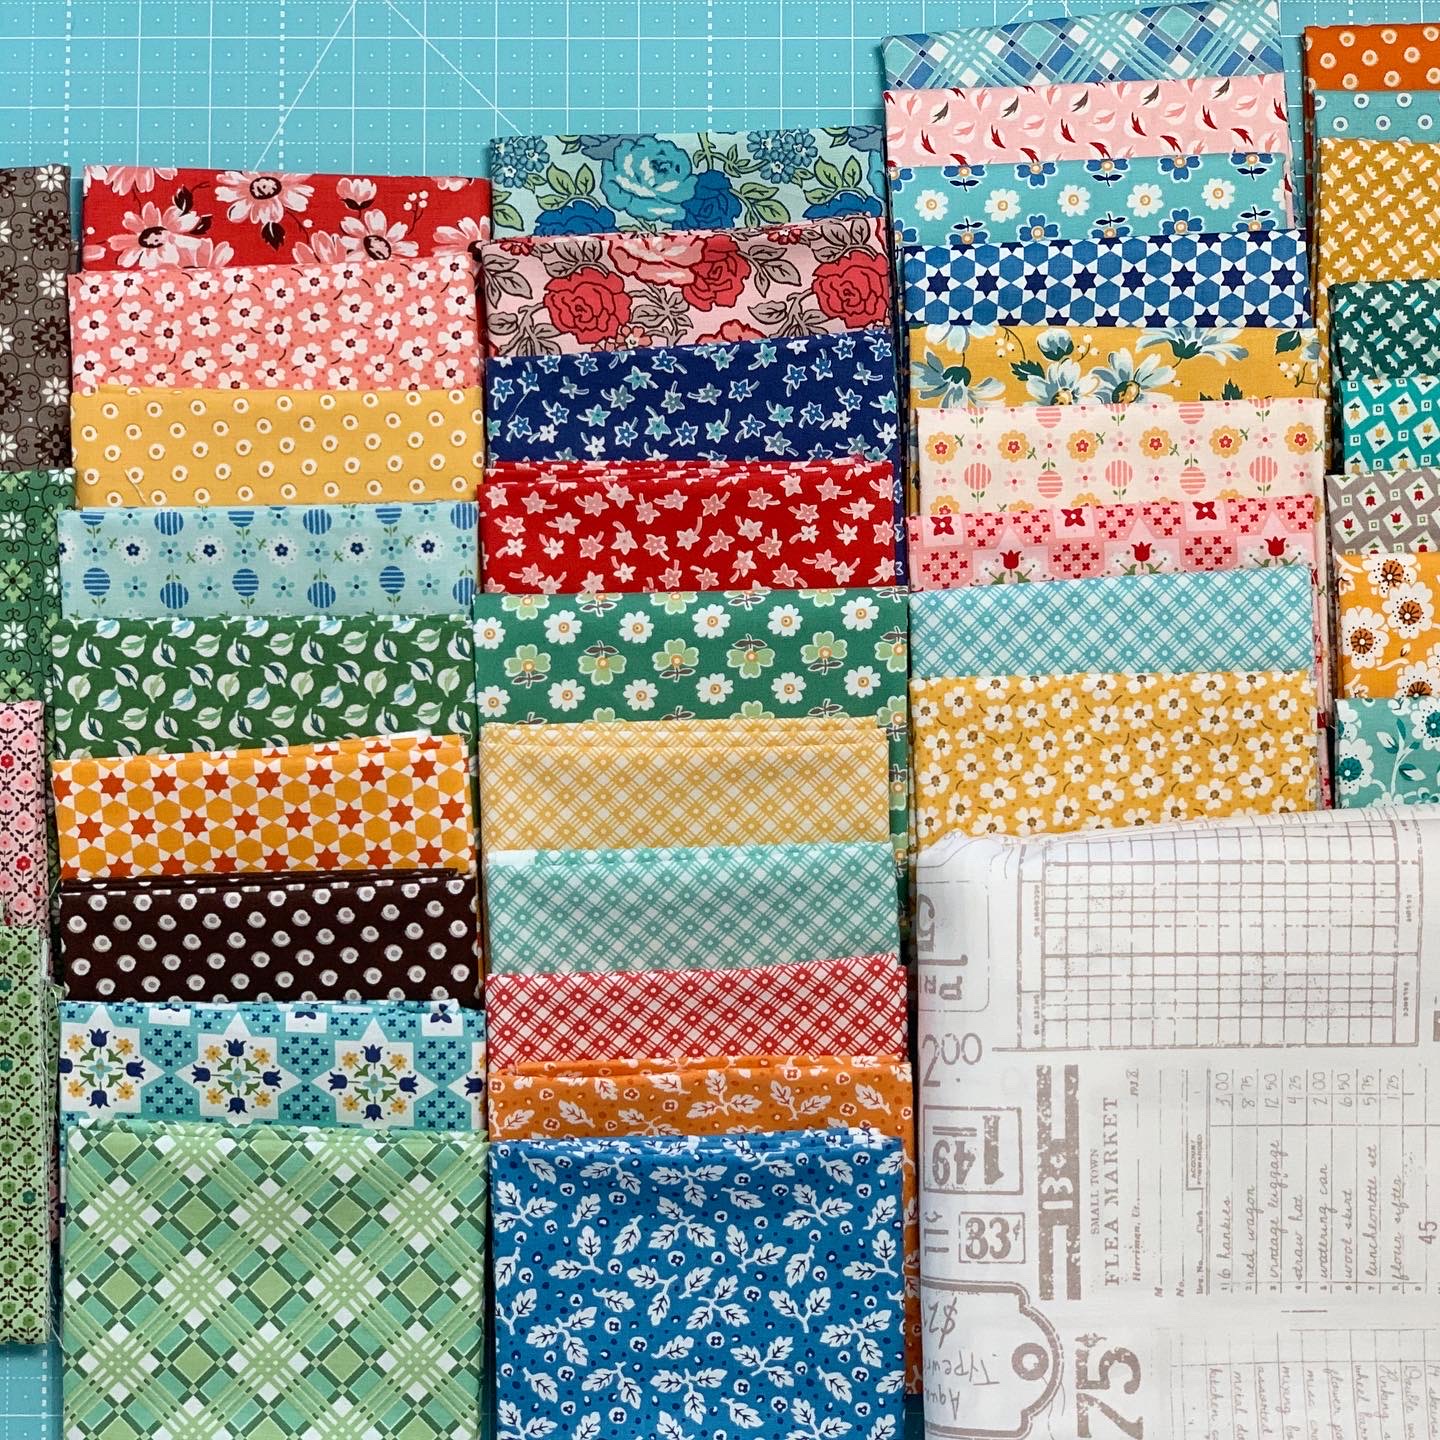
We are using my latest
fabric collection called
Flea Market
It's designed by me ...
and produced and distributed by the amazing
Riley Blake Designs:)

We are making my quilt
FLEA MARKET FLOWERS
76" x 86"

We are using my
PIE RULER
to make all of the flower petals...

This set of my
CIRCLE RULERS
for all of the flower centers...

And we are also using my
SEED RULERS
for all of the leaves in the quilt.

All of the other notions as well as fabric requirements are detailed within the
Flea Market Flowers Sew Along Guide
for the free PDF Download
I also have a "Bee Prepared" blog post
detailing everything that you will
need to know about this sew along...
to go to that blog post
if you have not read it
or you need to be "refreshed"
on any of the information!

As promised...
To kick off week one
I did a video tutorial on my
YouTube channel showing how to make
Flea Market Flower
BLOCK "M"
to go to that tutorial...
so that you can make this cute flower!!

I also did a tutorial during
week one right here
on my blog for
Block "L"
to go to week one and this block tutorial:)
As part of week two
I did the tutorial here for
Block "O"
For that tutorial
BLOCK "I"
is also in the week two tutorial:)

During week three
I did the tutorial for
BLOCK
to go to week three for the tutorial

BLOCK "I"
during week three:)

the tutorial for
Block "K"
for that tutorial
And I also did the tutorial for
Block "J"
during week four as well.

During Week Five I did the tutorial for
BLOCK "F"
to read that tutorial

BLOCK "H"
during Week Five as well.

During week six I did the tutorial for
BLOCK "G"
for that tutorial.

During week seven
I did the tutorial for
Flea Market Flower
Block "E"
for that tutorial:)

During week seven
is the tutorial for
BLOCK "D"...
As well as the tutorial for
Block "C"

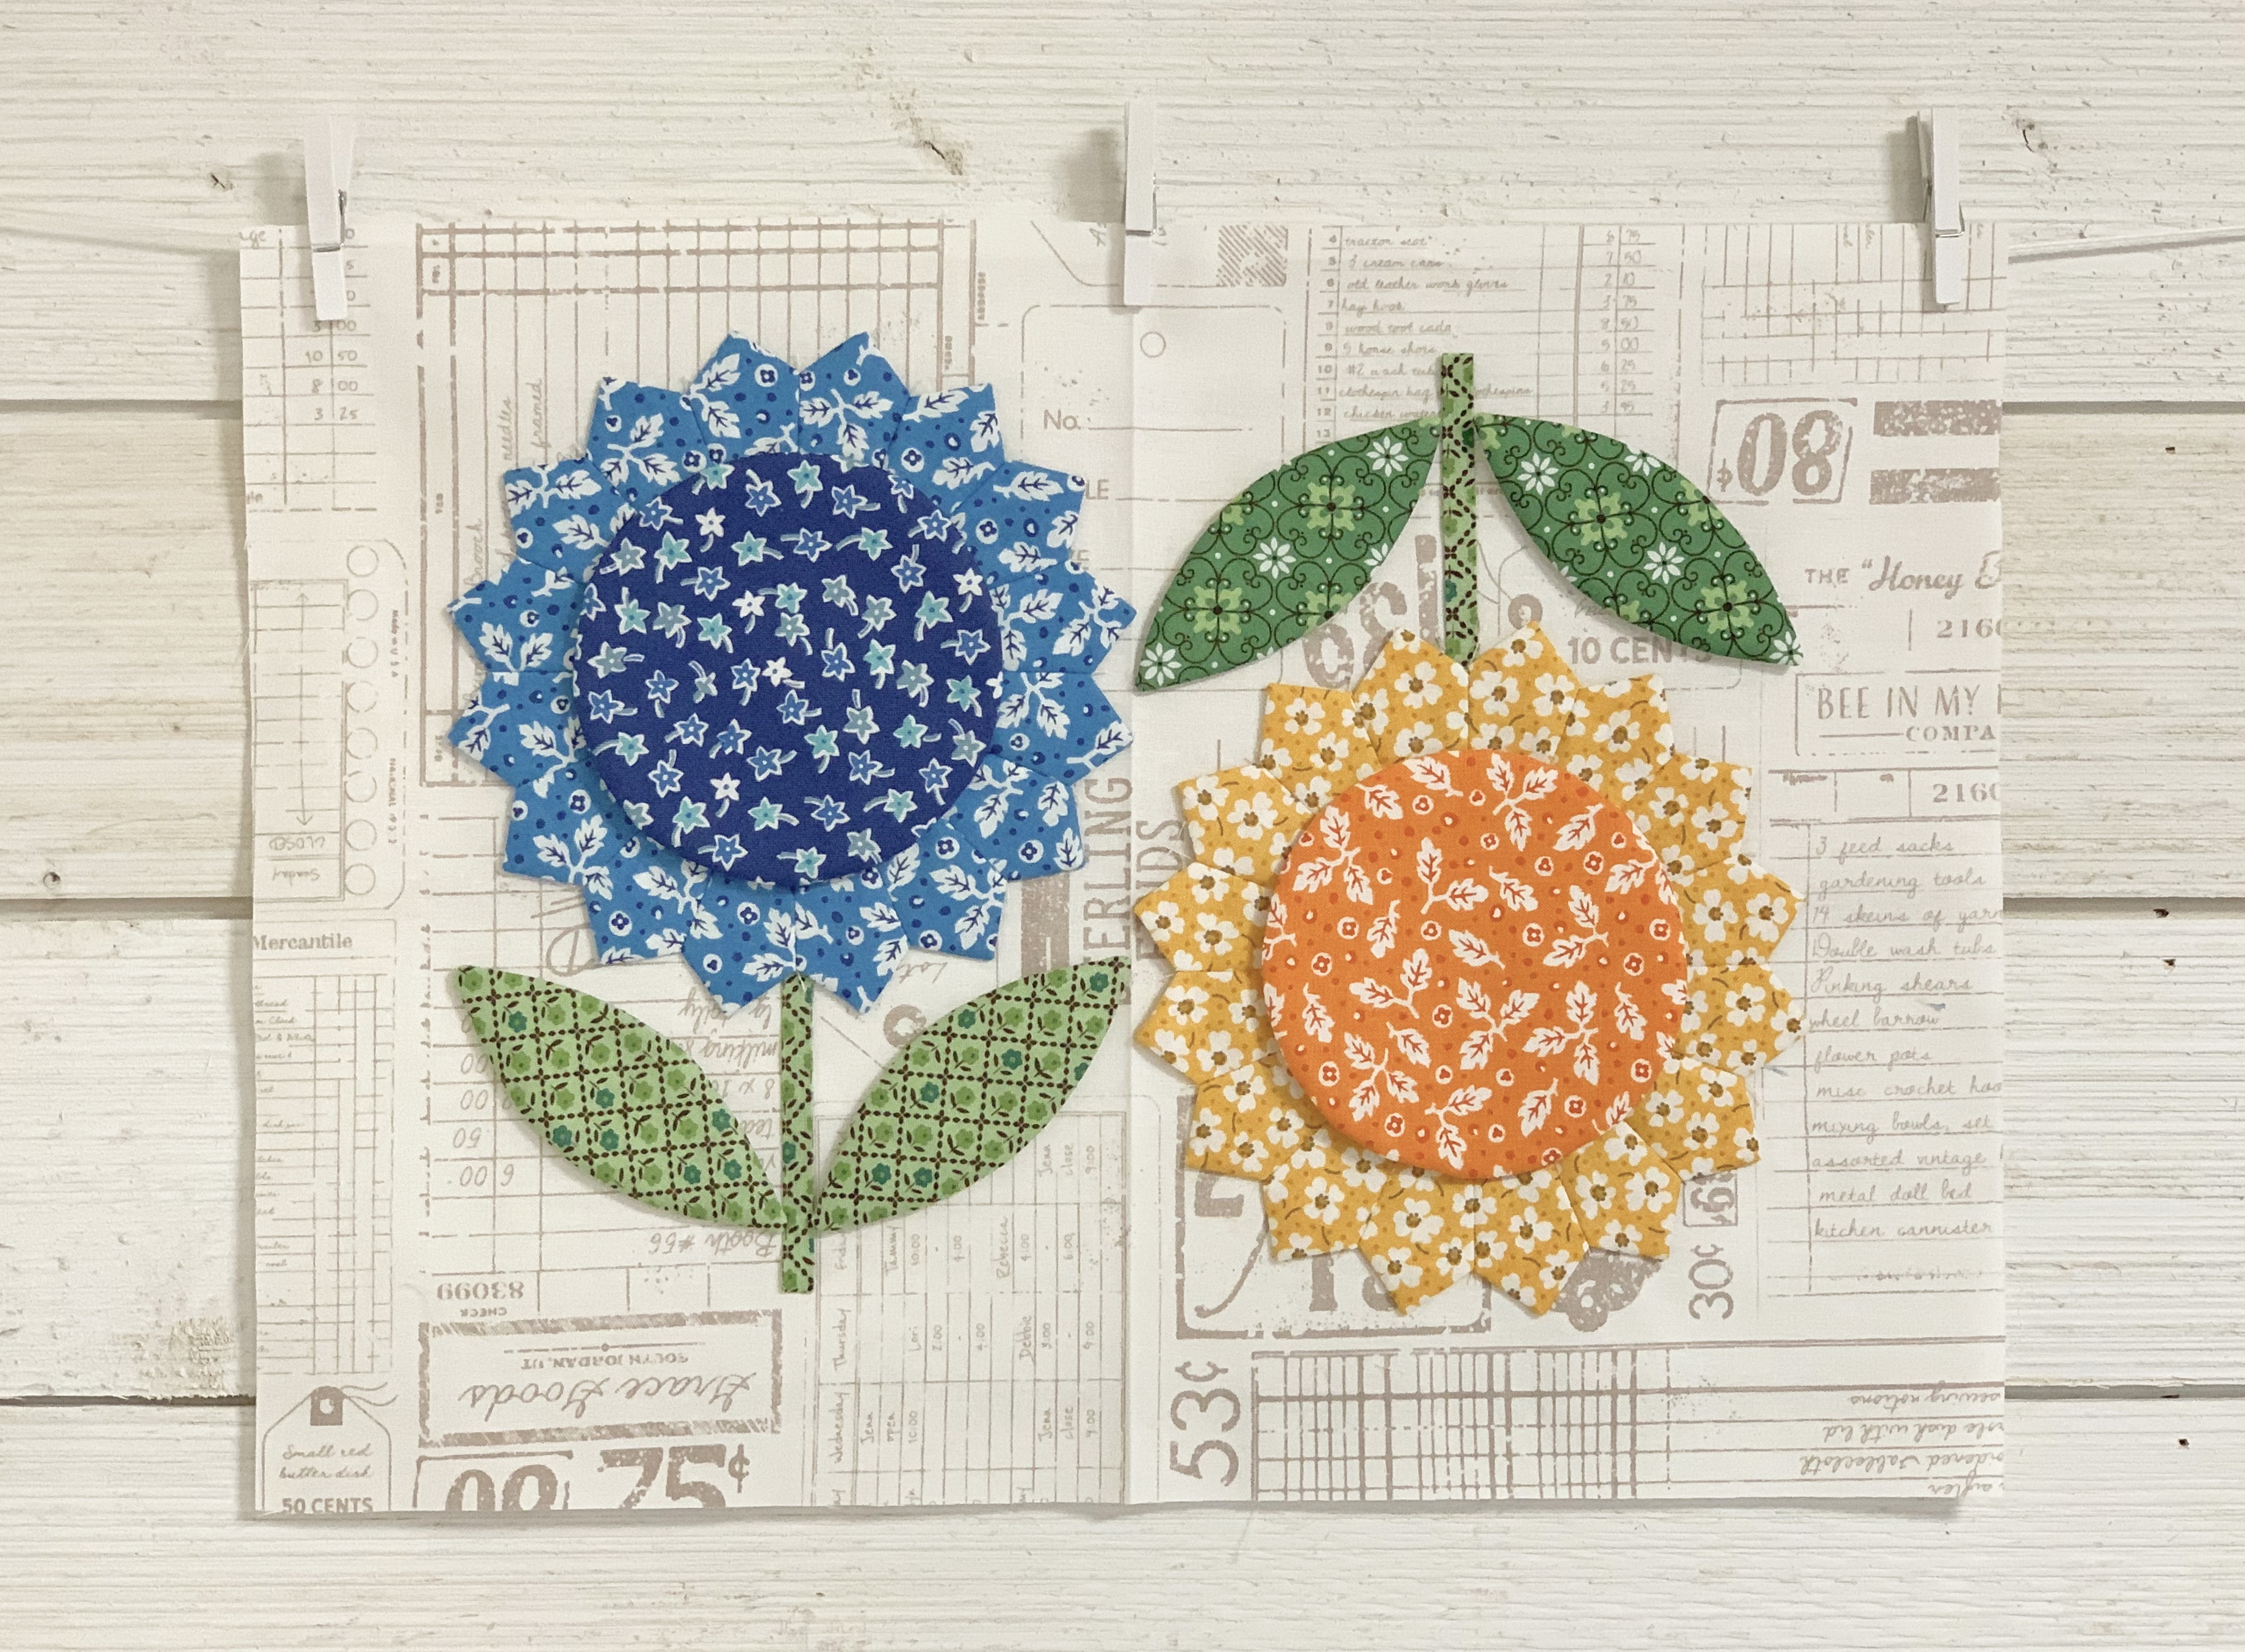
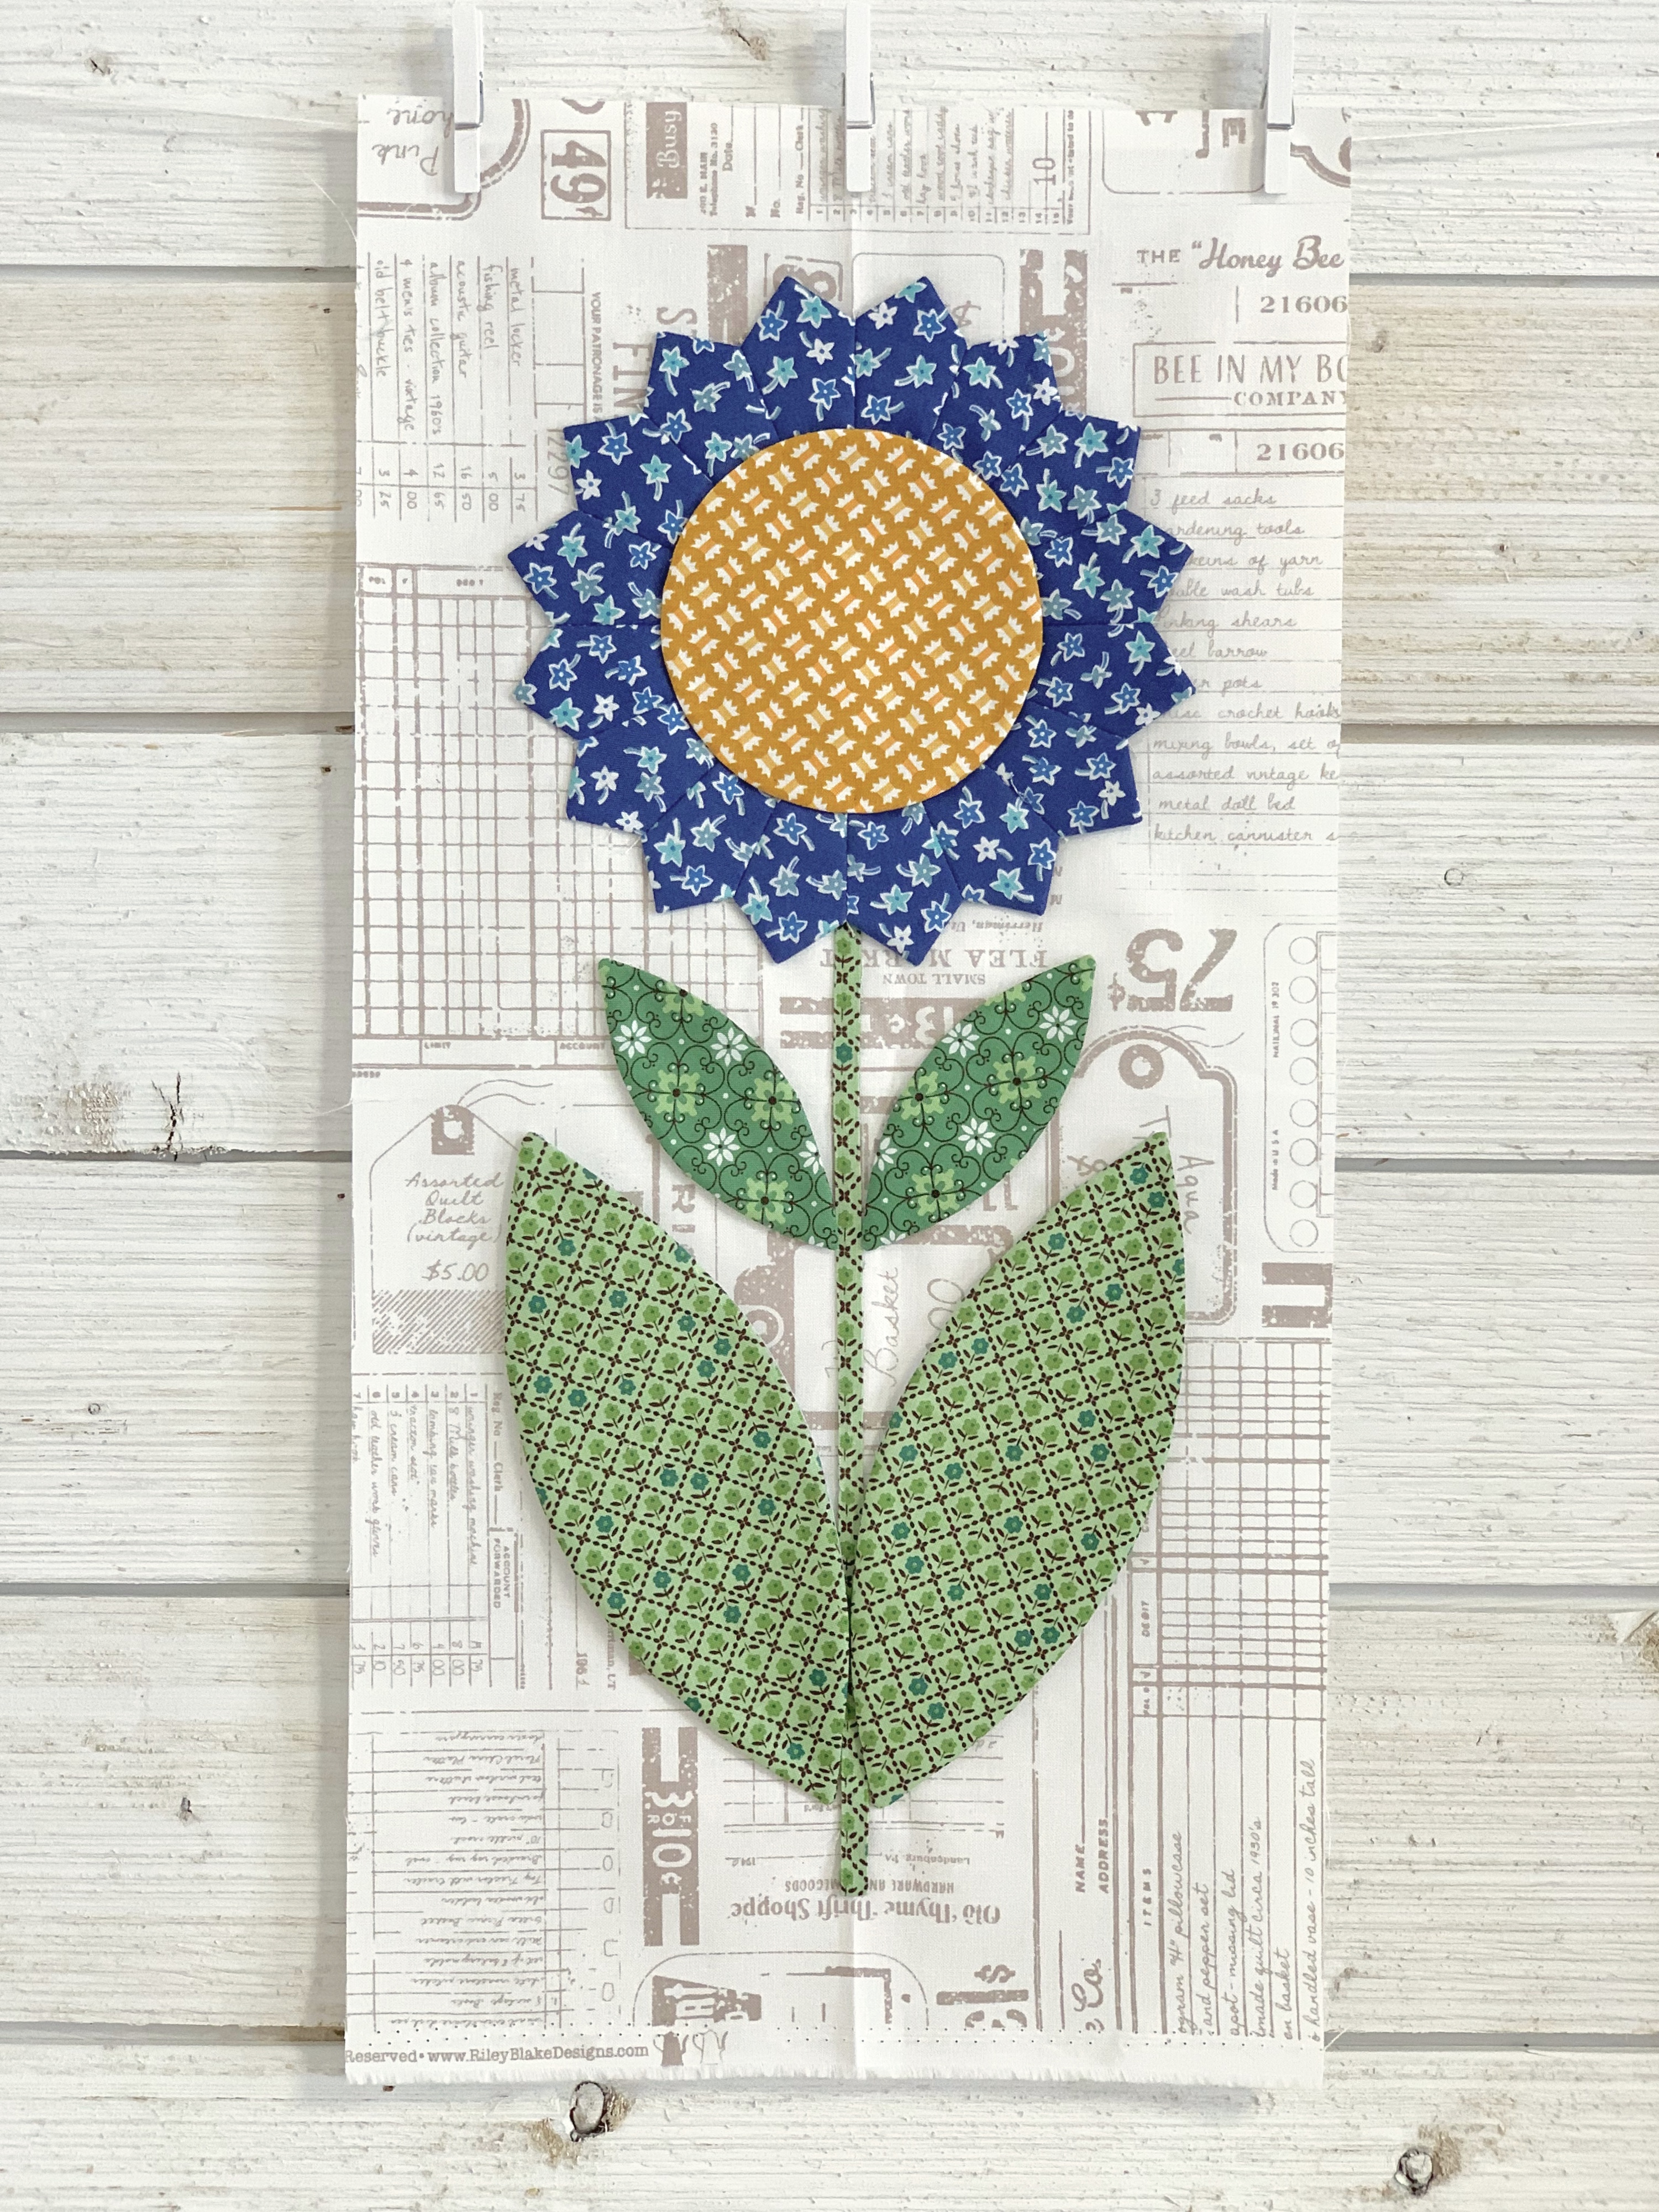
First up today we are going to make
BLOCK "B"
You will need to make three -
6 1/2" Flea Market Flowers
using 3 different prints.

To make Block "B" you will also need:
6 - small leaves
3 - 4" circles
3 - 1/4" stems cut 6" long
with one end pressed under
Background cut - 14" x 20"
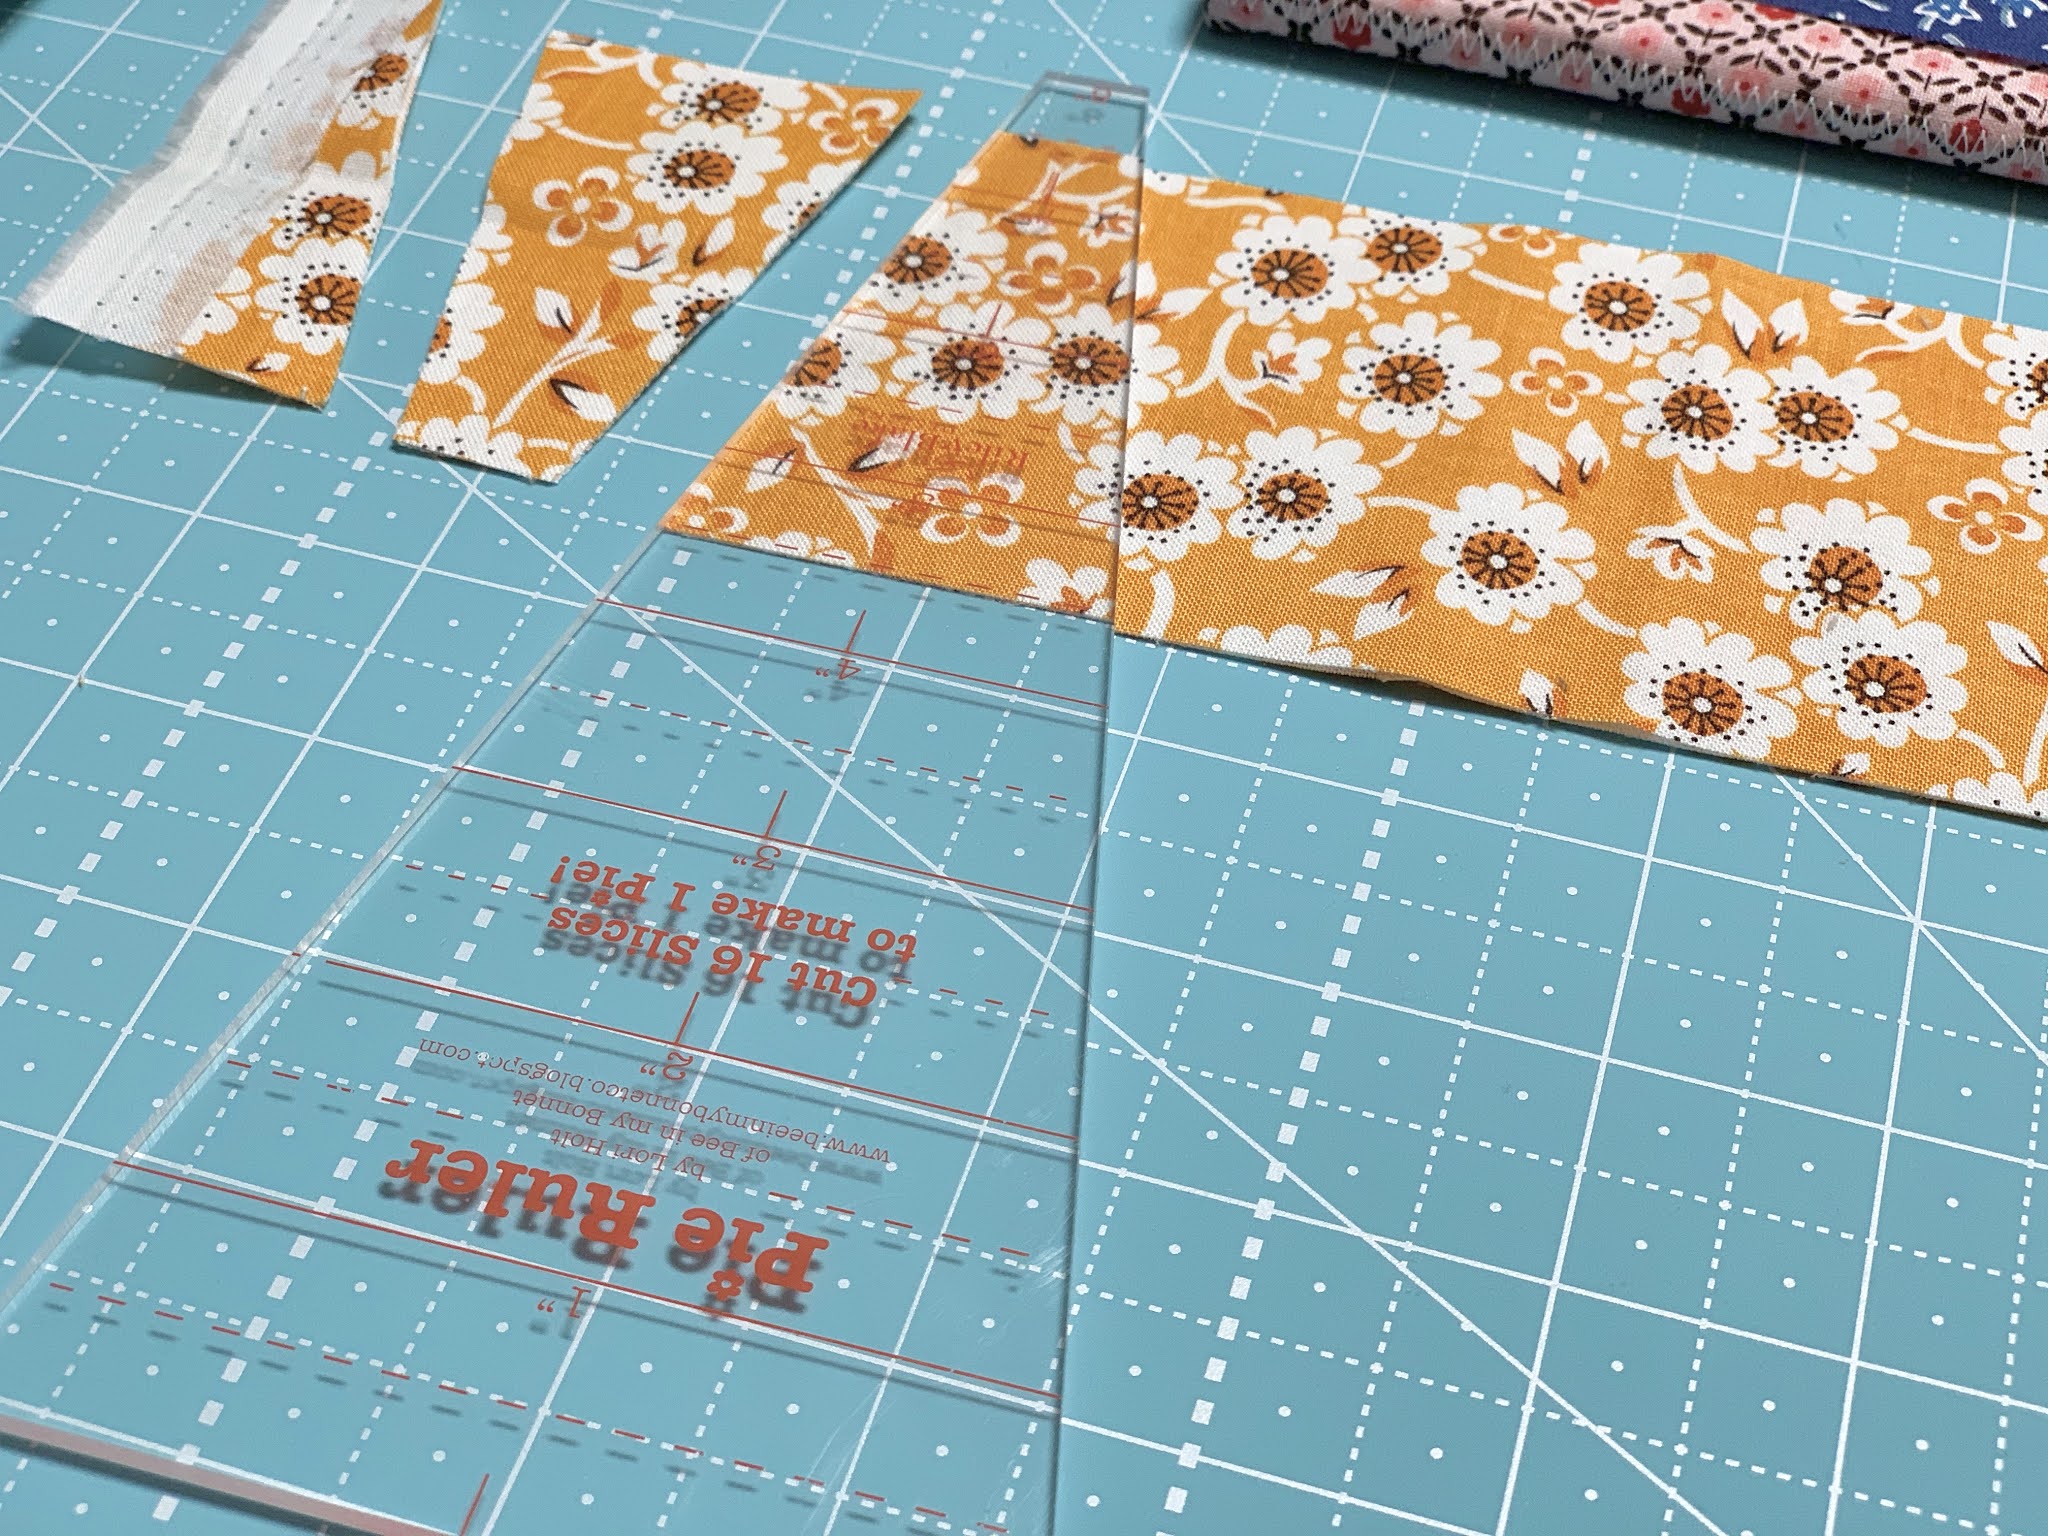
You will need to cut
2 - 3" x 21" strips
from EACH of the three prints.
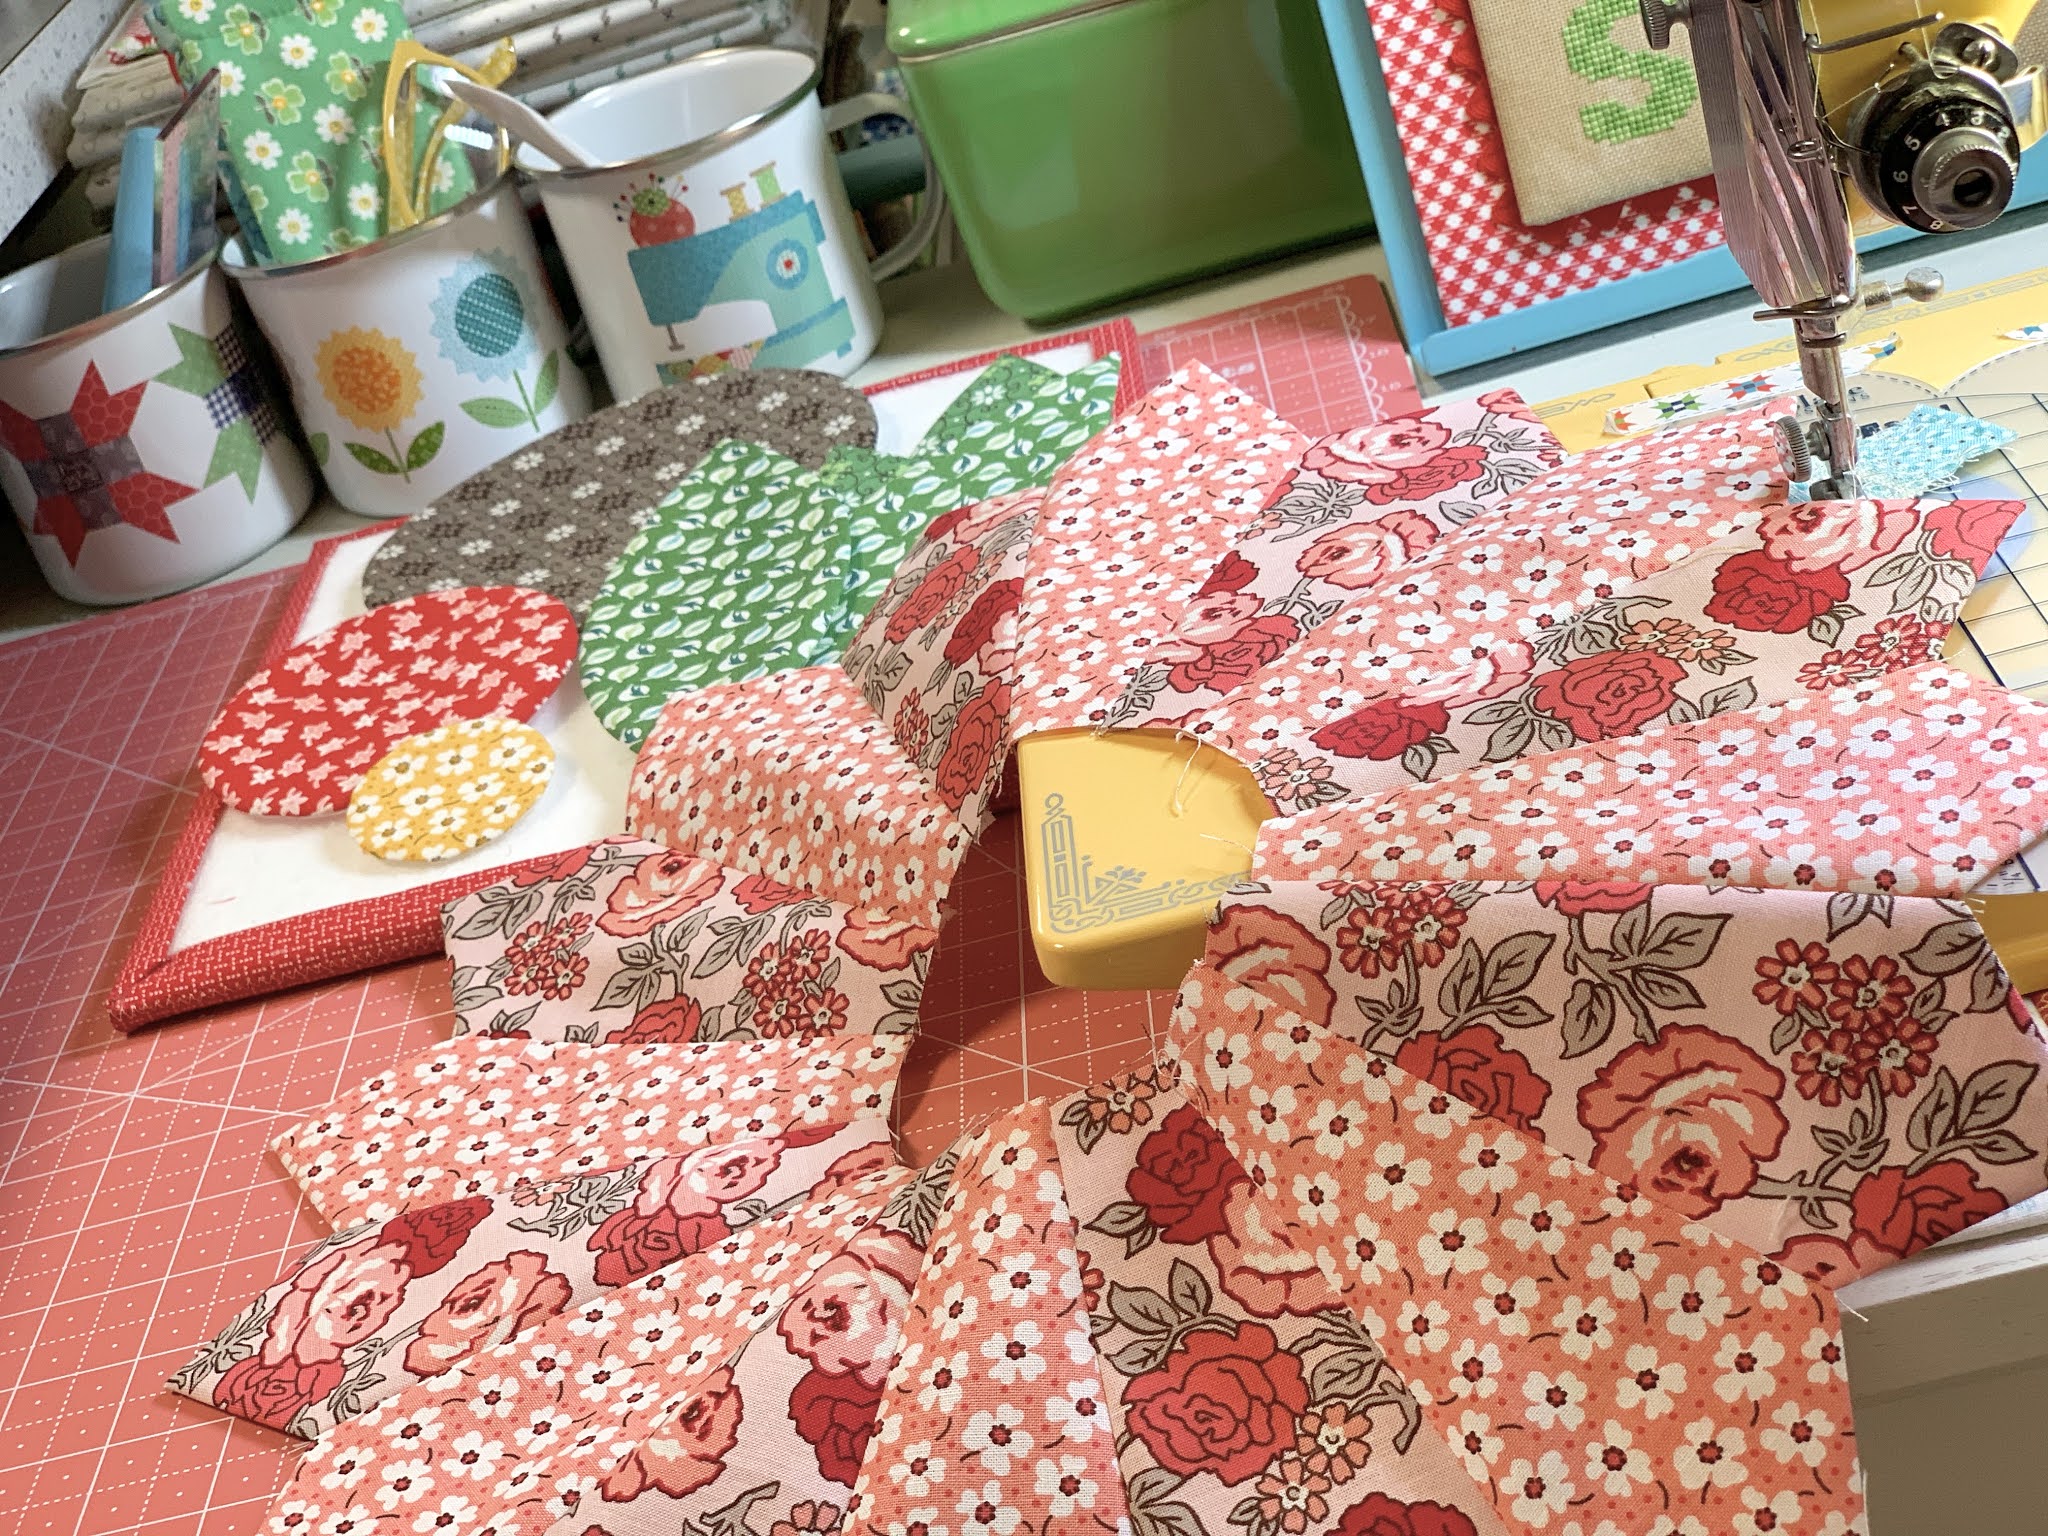
From each print cut 16 petals
to make the three 6 1/2" flowers.
Use the 4 1/2" and 7 1/2" lines
on the Pie Ruler and alternate
the ruler each time that you cut:)

Circles and leaves are sewn...

Flower petals...

And flowers!!

Press your background in half
so that you can place the
center flower right on that crease.
Lay your flowers out and then pin.

All three flowers together
should measure 17" across...

Like this:)
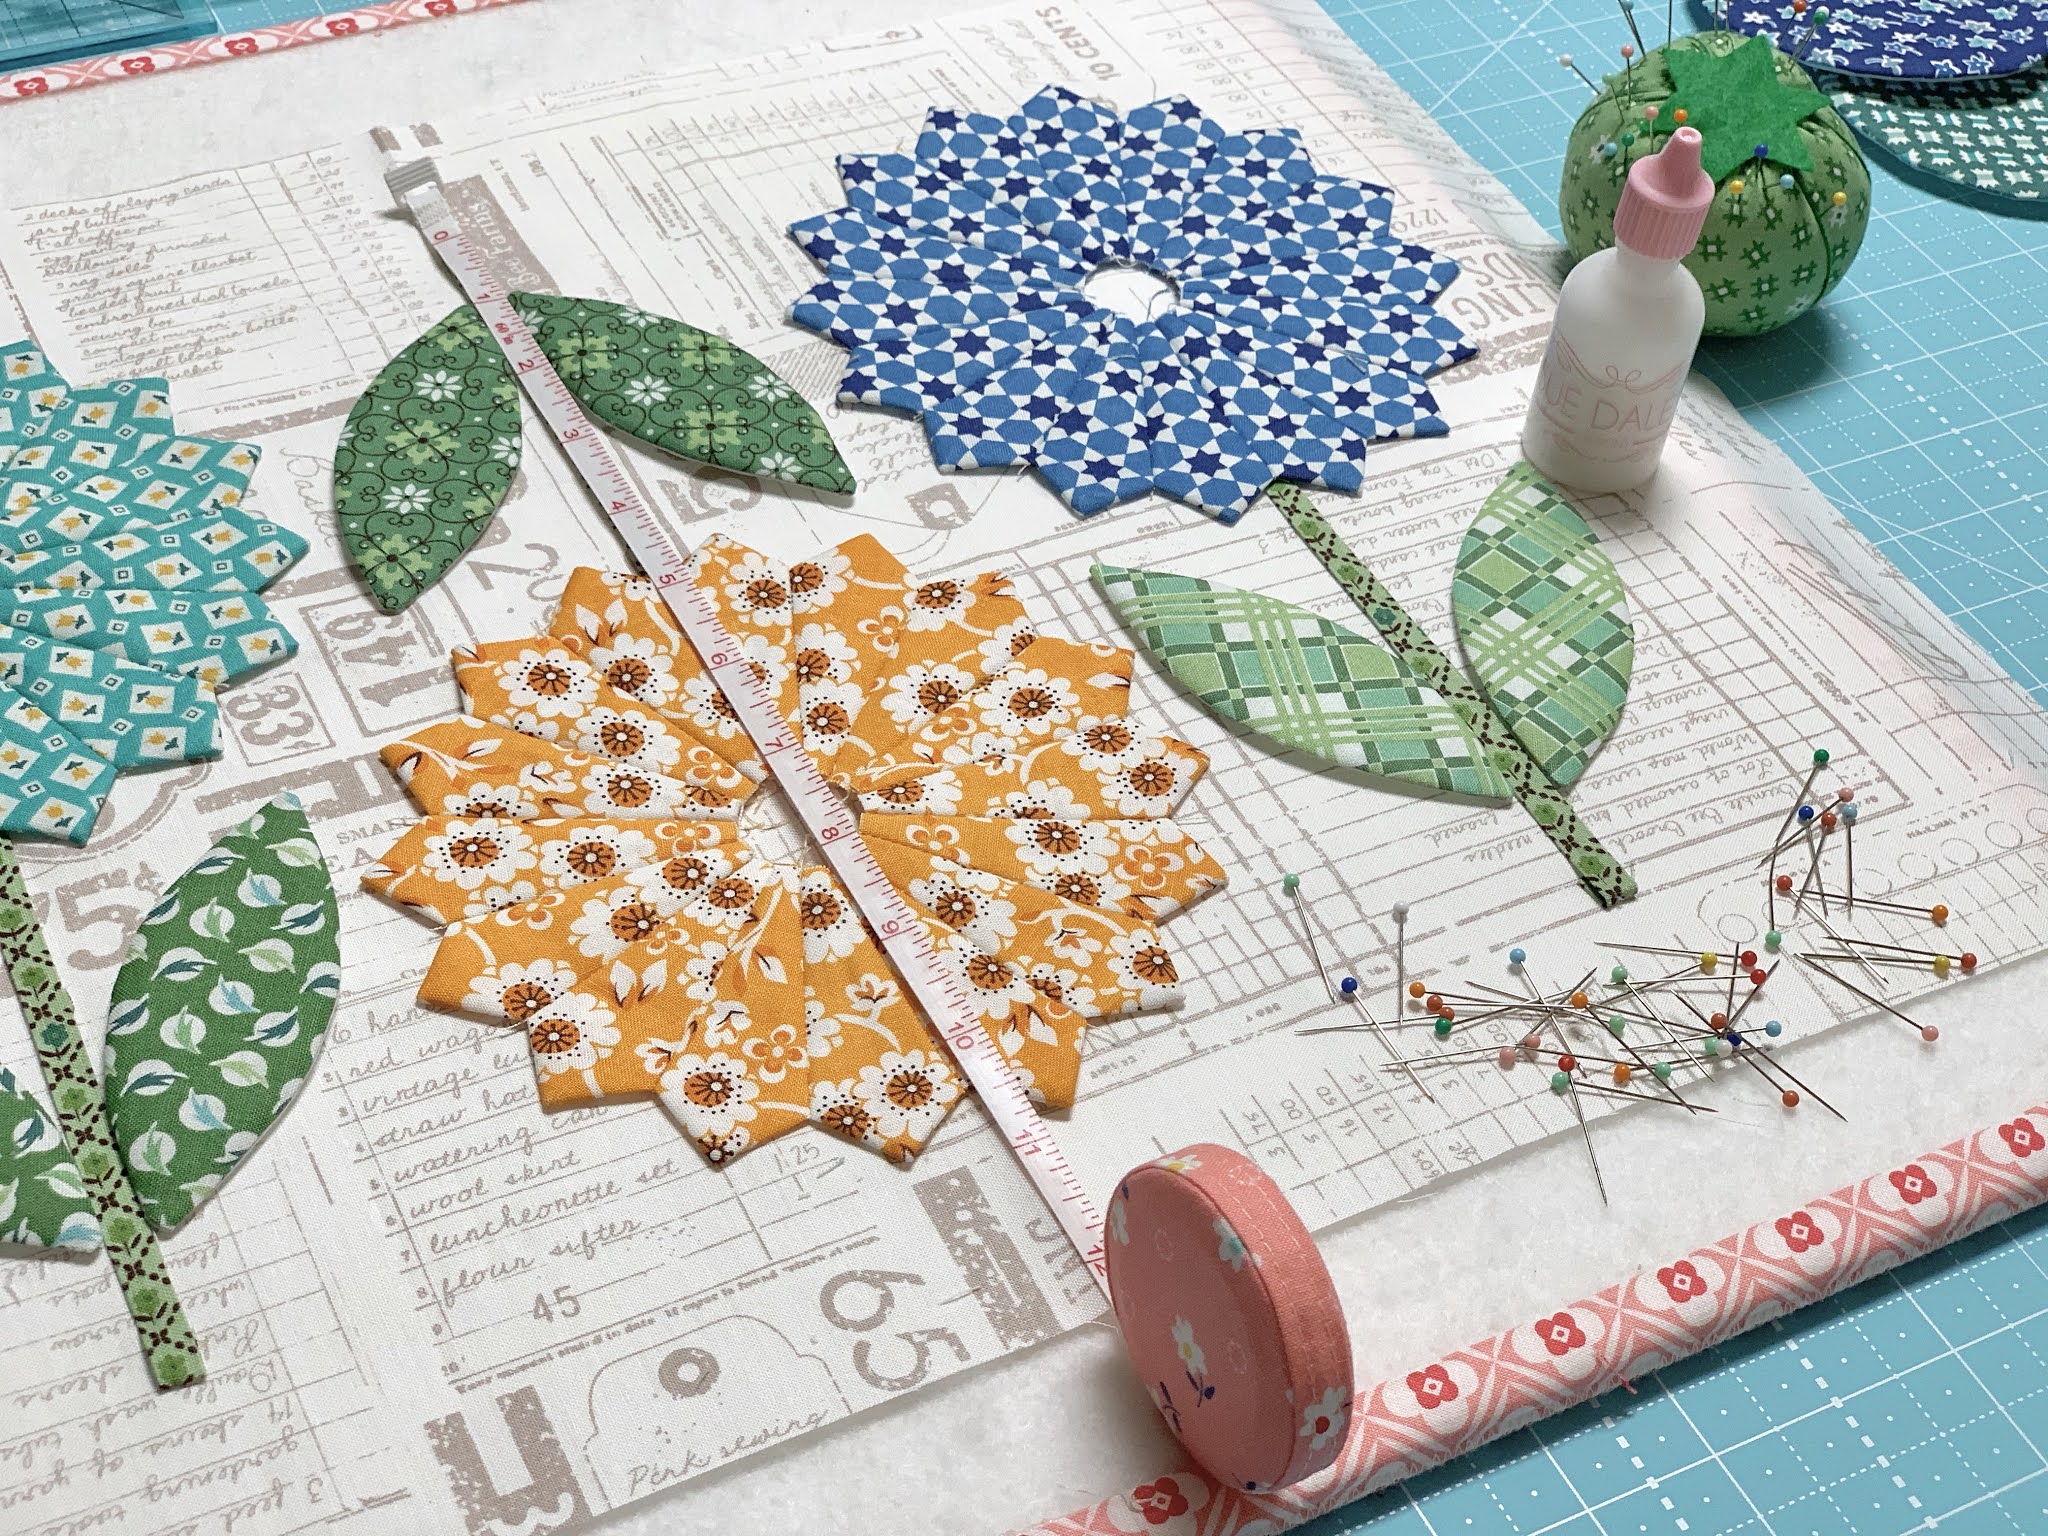
And 11" tall:)
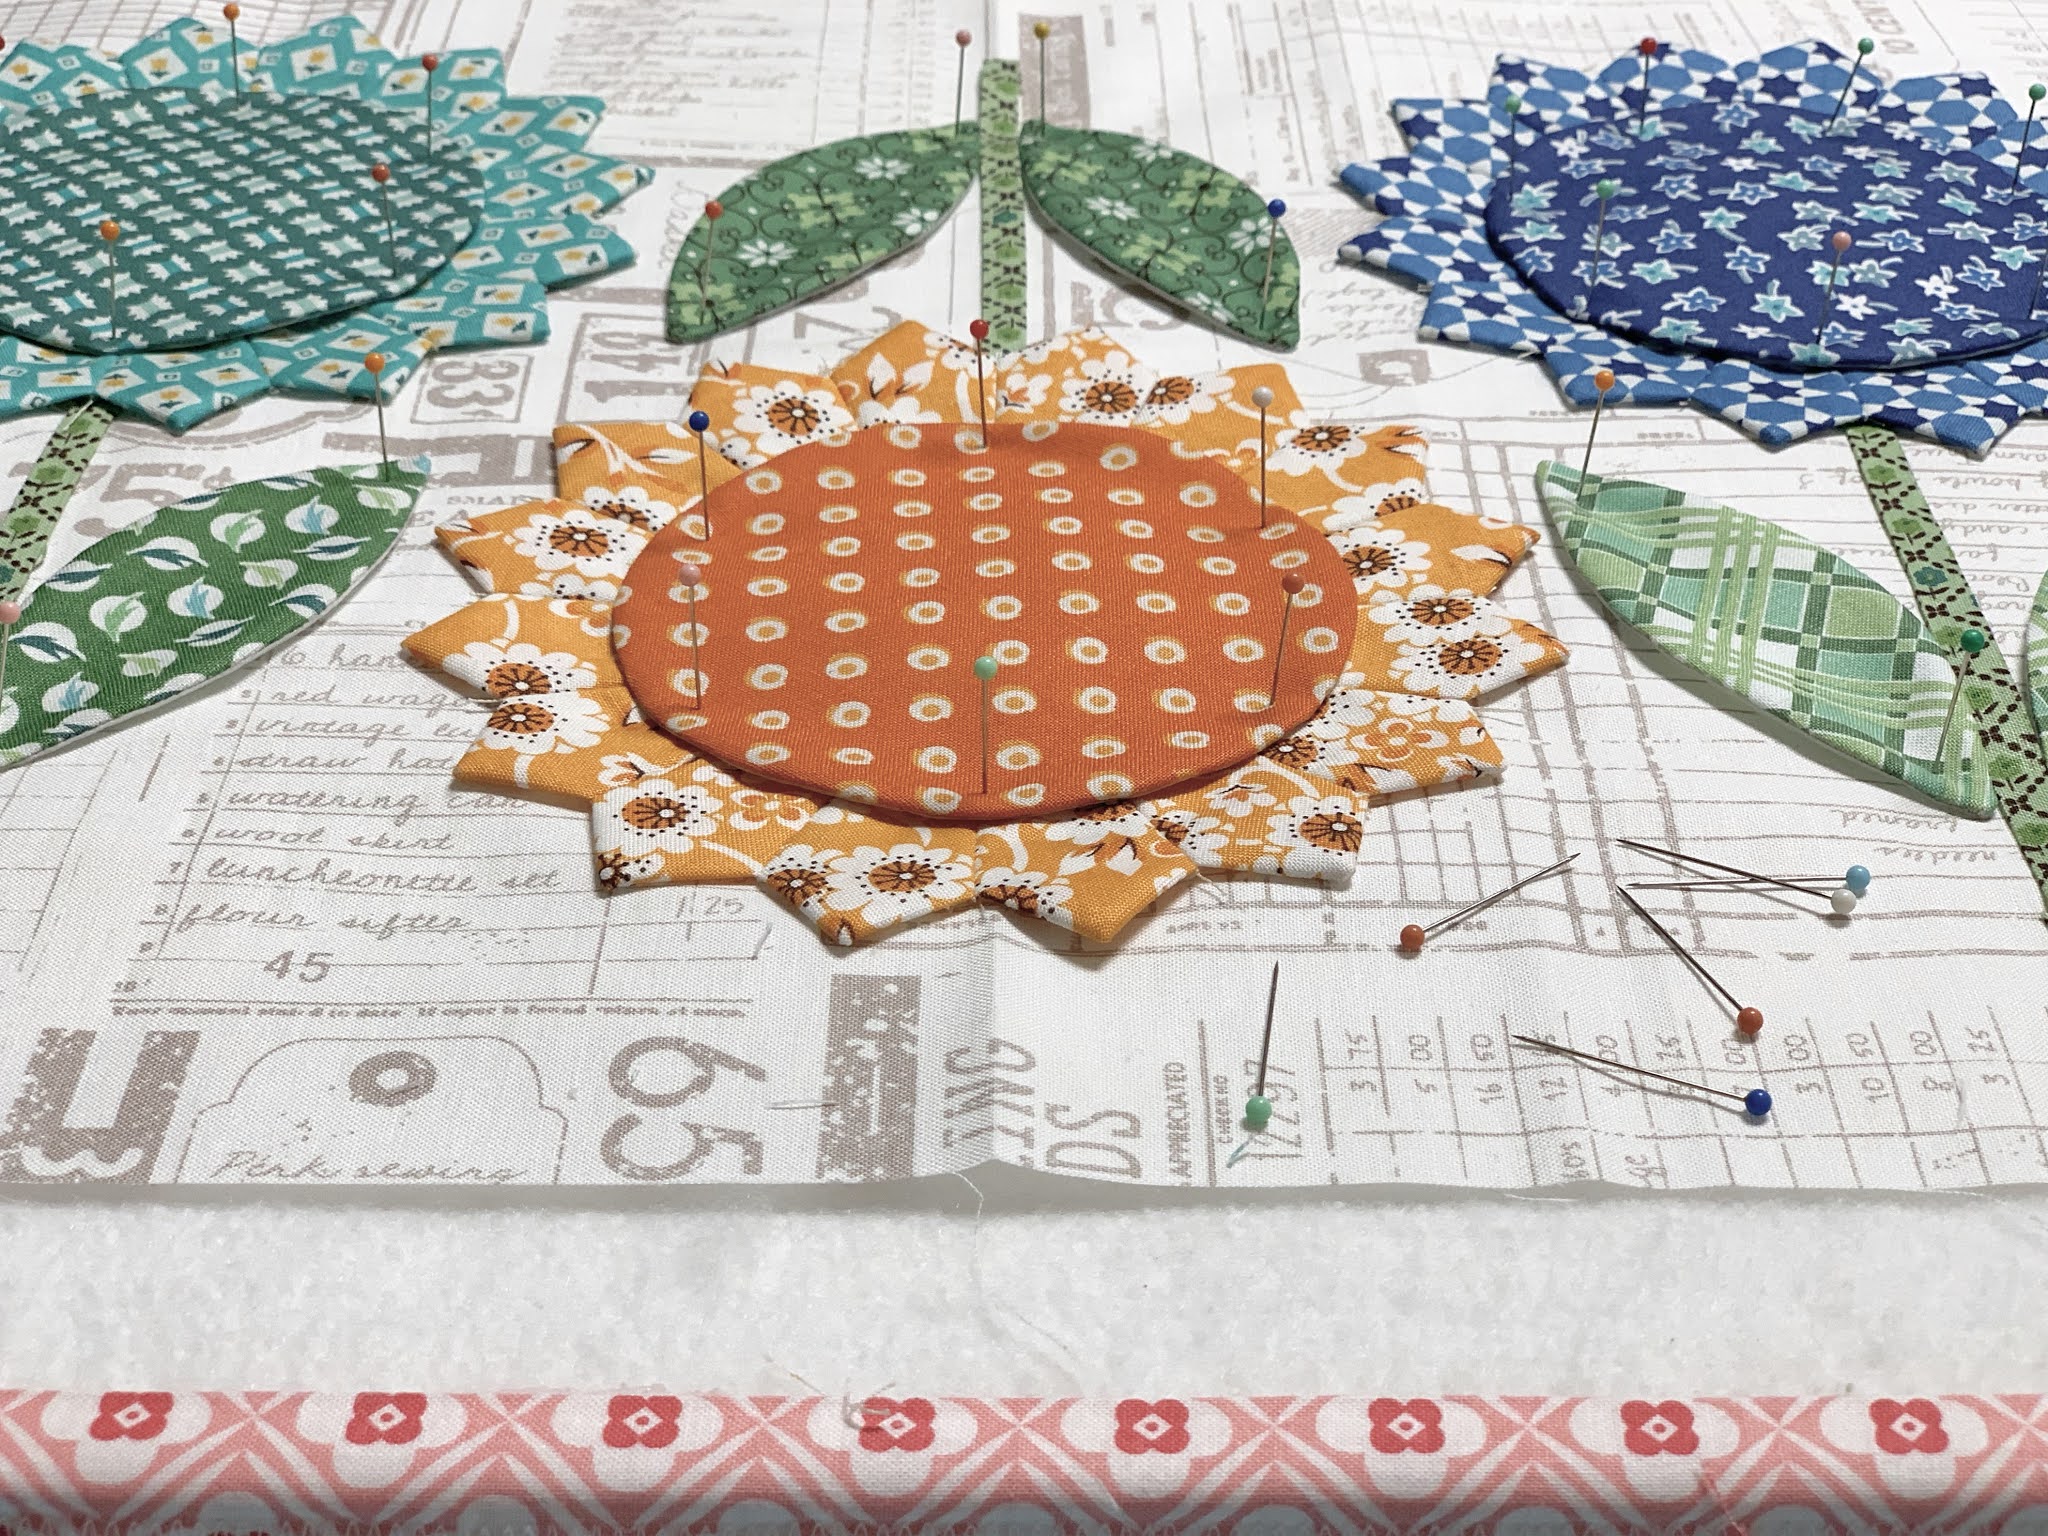
Add the centers...pin and glue:)

Ready for applique!!

I love these 3 little flowers in a row:)

Flea Market Flower
Block "B"
After applique trim it down to
12 1/2" x 18 1/2"
It will finish at 12" x 18"
after it's sewn into your quilt.

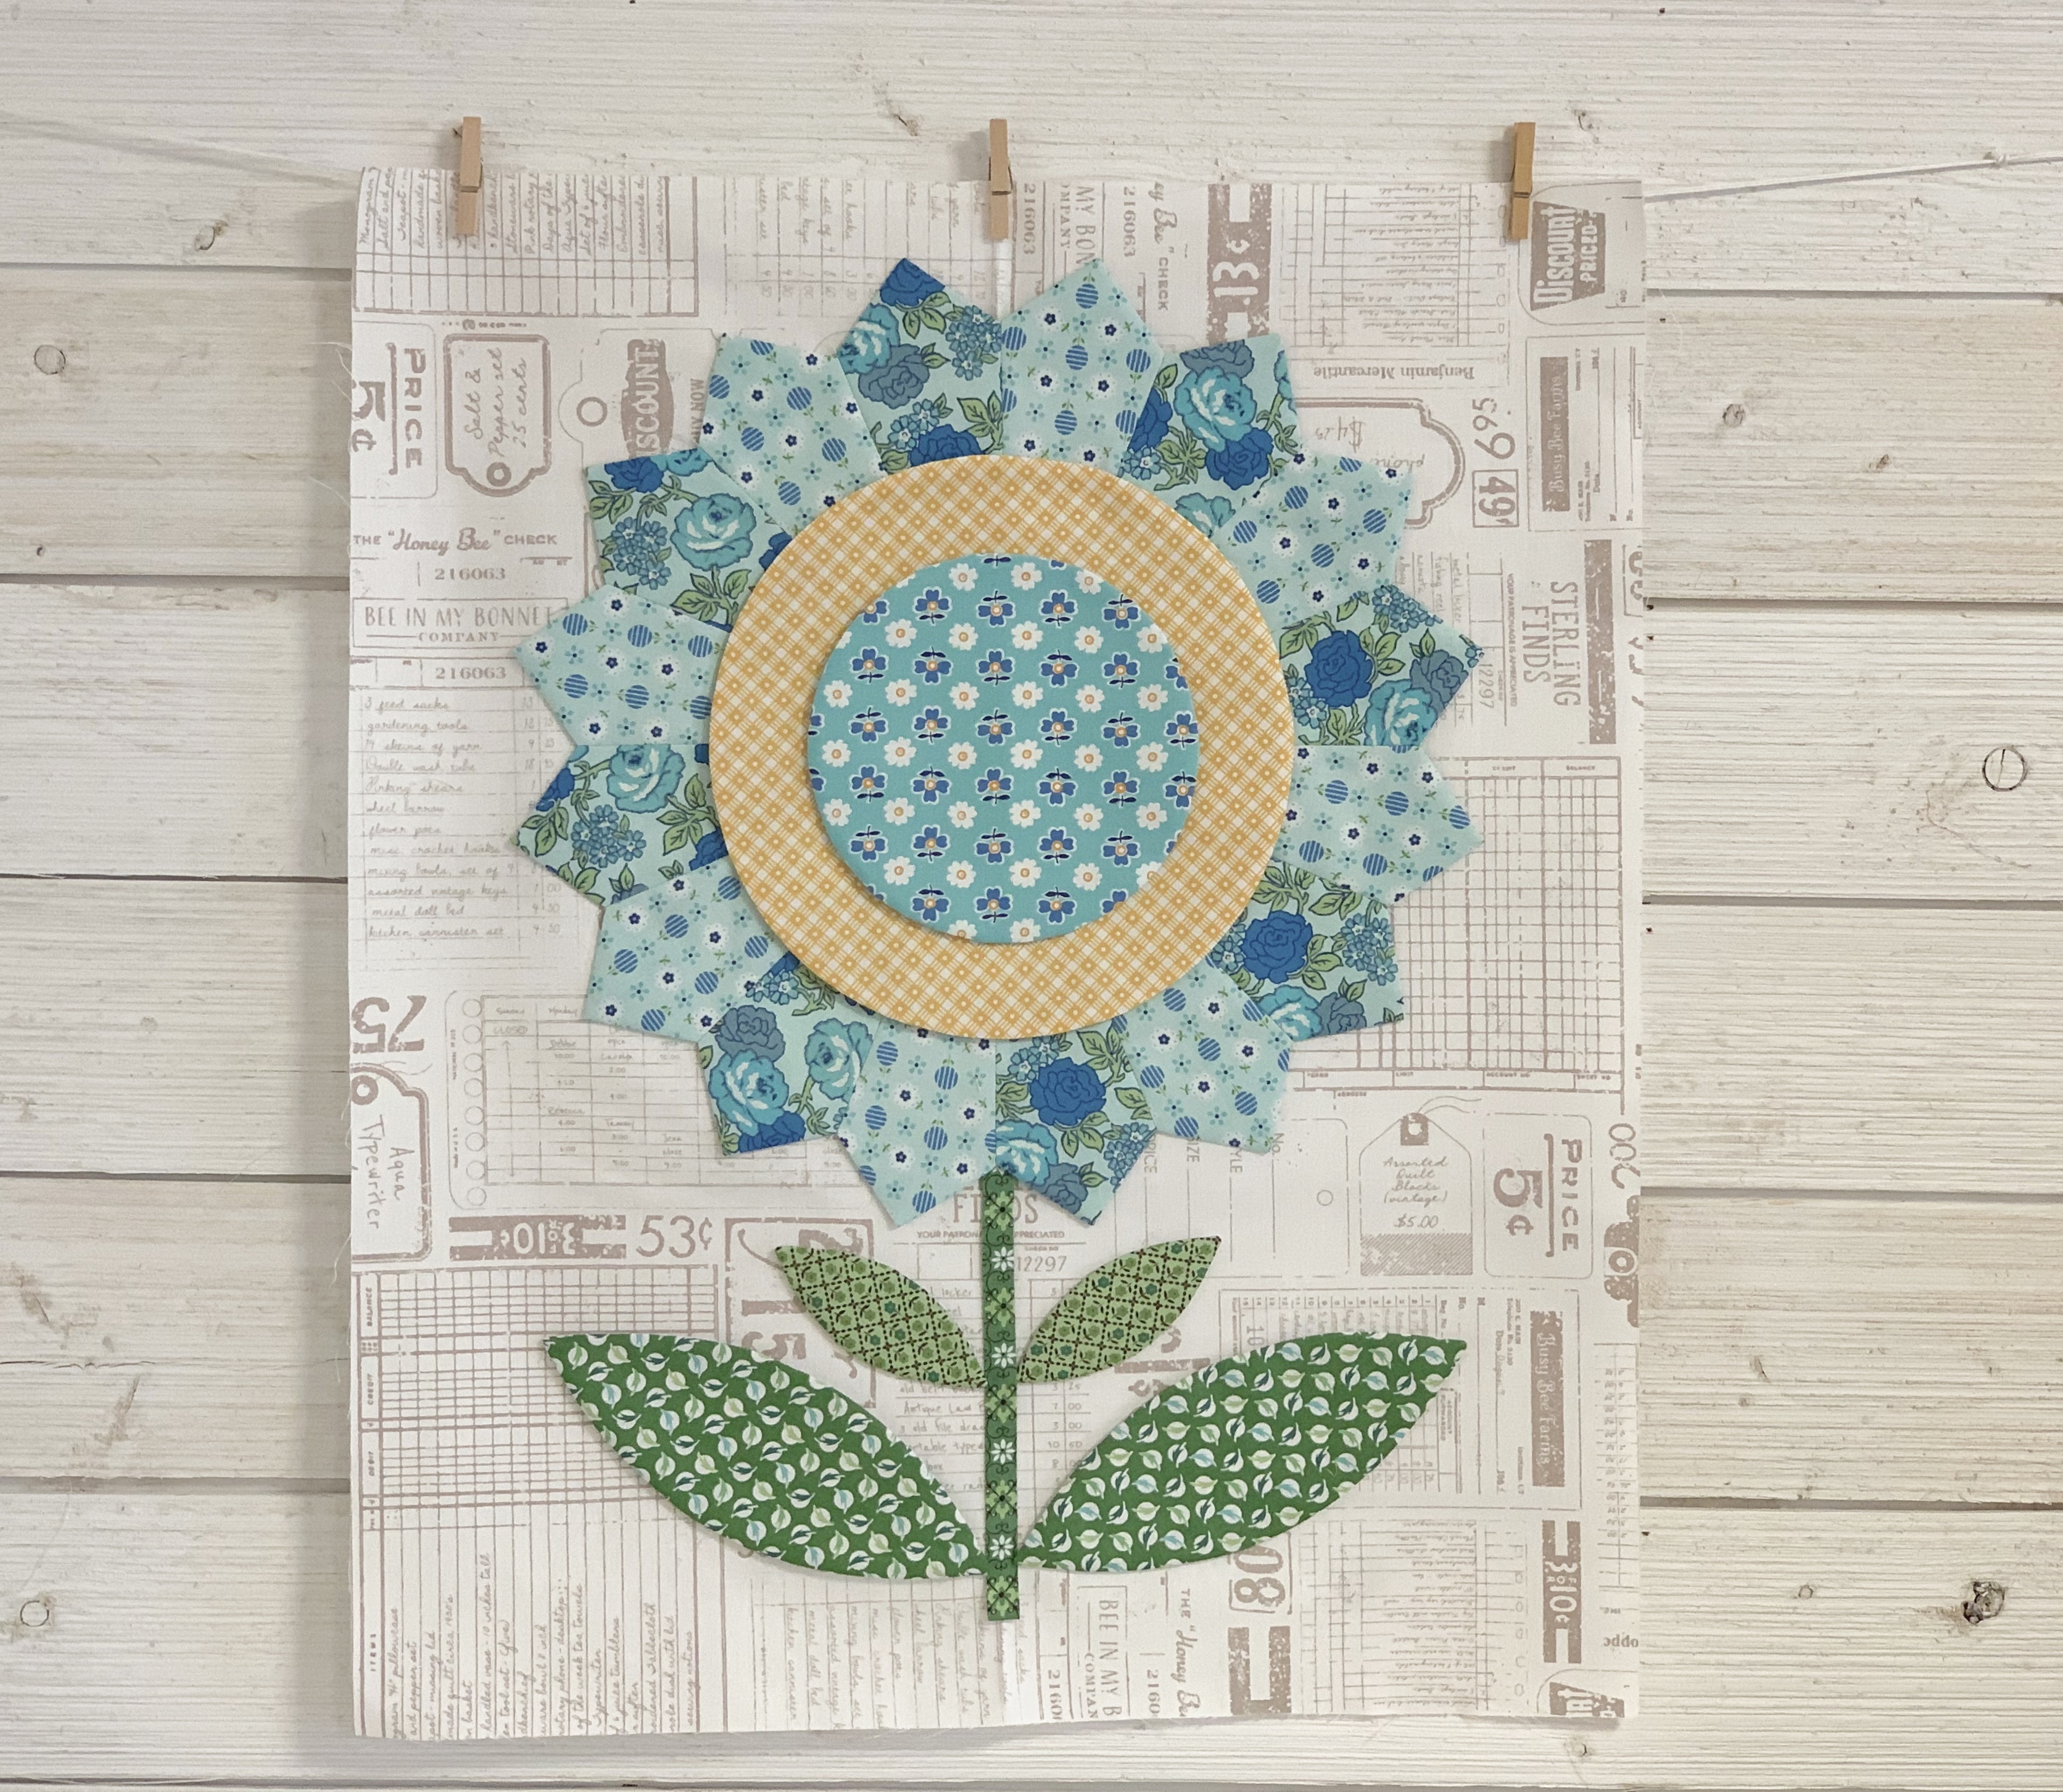
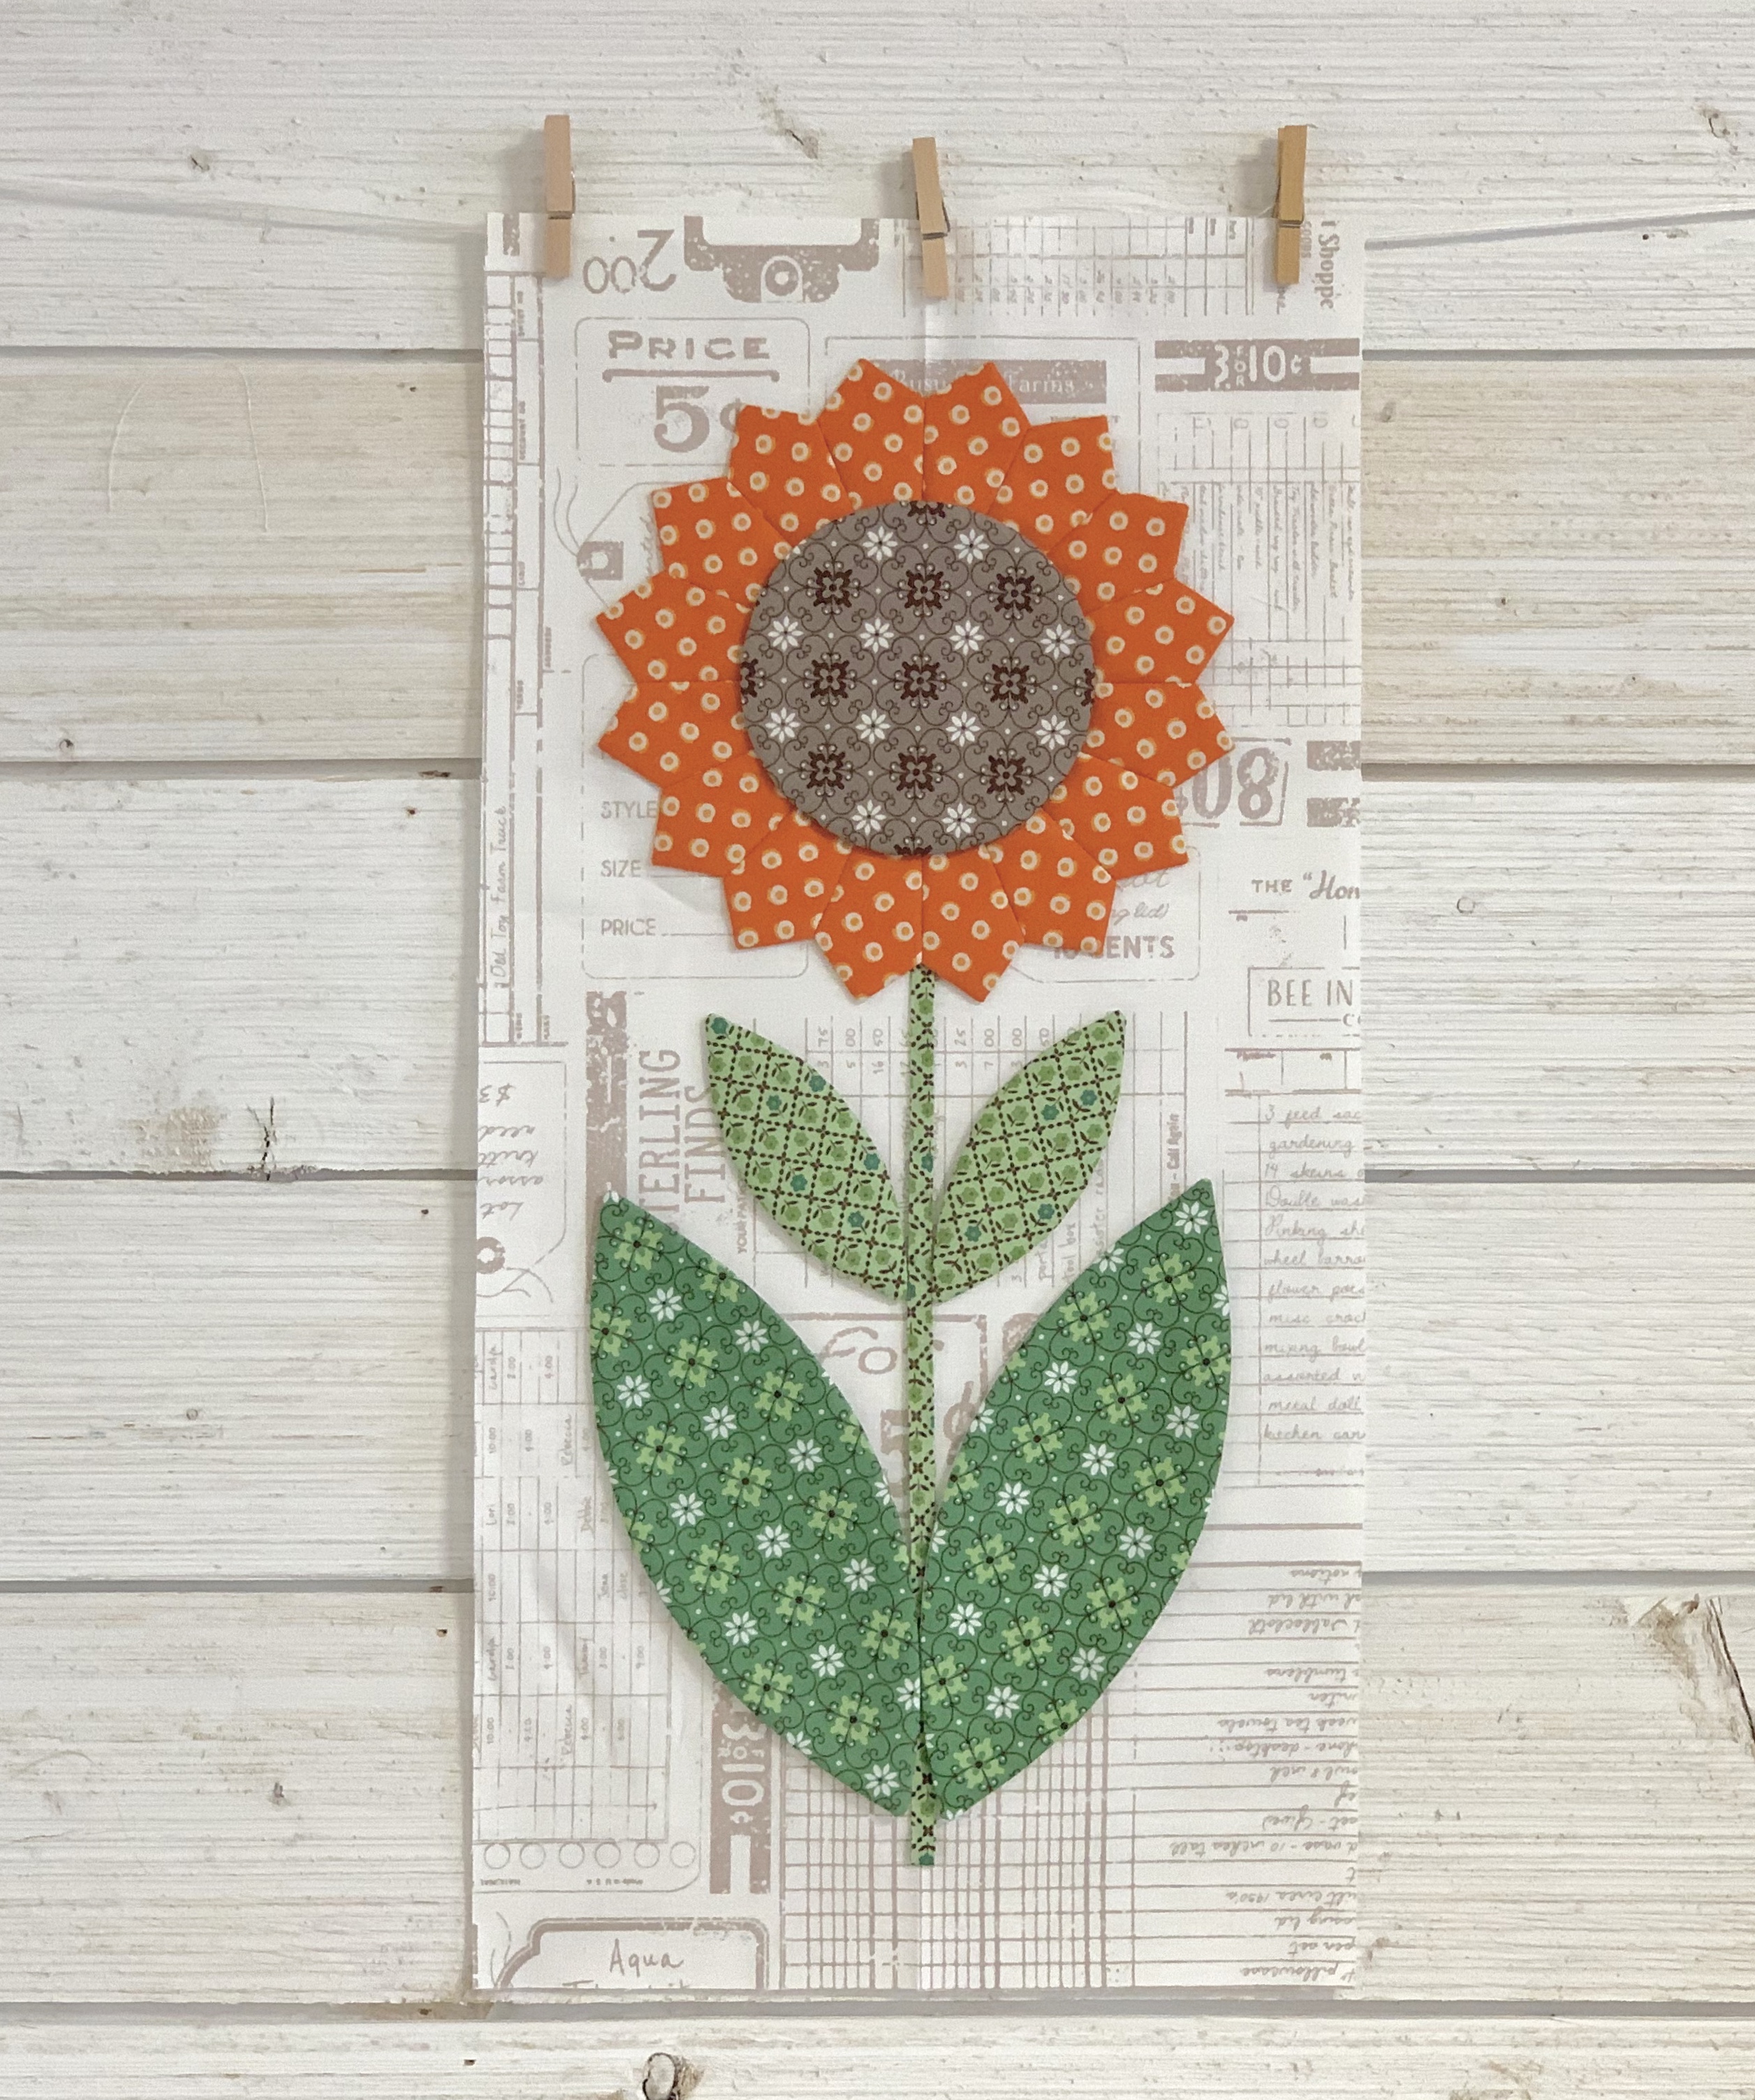
Block "A"
You will need to make
one - 15 1/2" flower
using two different prints:)

To make Block "A" you will also need:
4 - large leaves
1 - 2" circle
1 - 4" circle
1 - 6" circle
1 - 1/2" stem cut 11" long
with one end pressed under
Background cut - 20" x 26"

You will need to cut
2 - 6" x 21" strips
from EACH print to make
the petals for the flowers.
Cut 8 petals from each print
so that you have a total of 16.
Use the top of the Pie Ruler and the
6" line on the Ruler.
Alternate the ruler
each time that you cut:)

As per usual...
I sewed my circles and leaves first.
Now it's time for the petals:)

Petals are all sewn and pressed...
And flower is complete.
It's a big one!!!
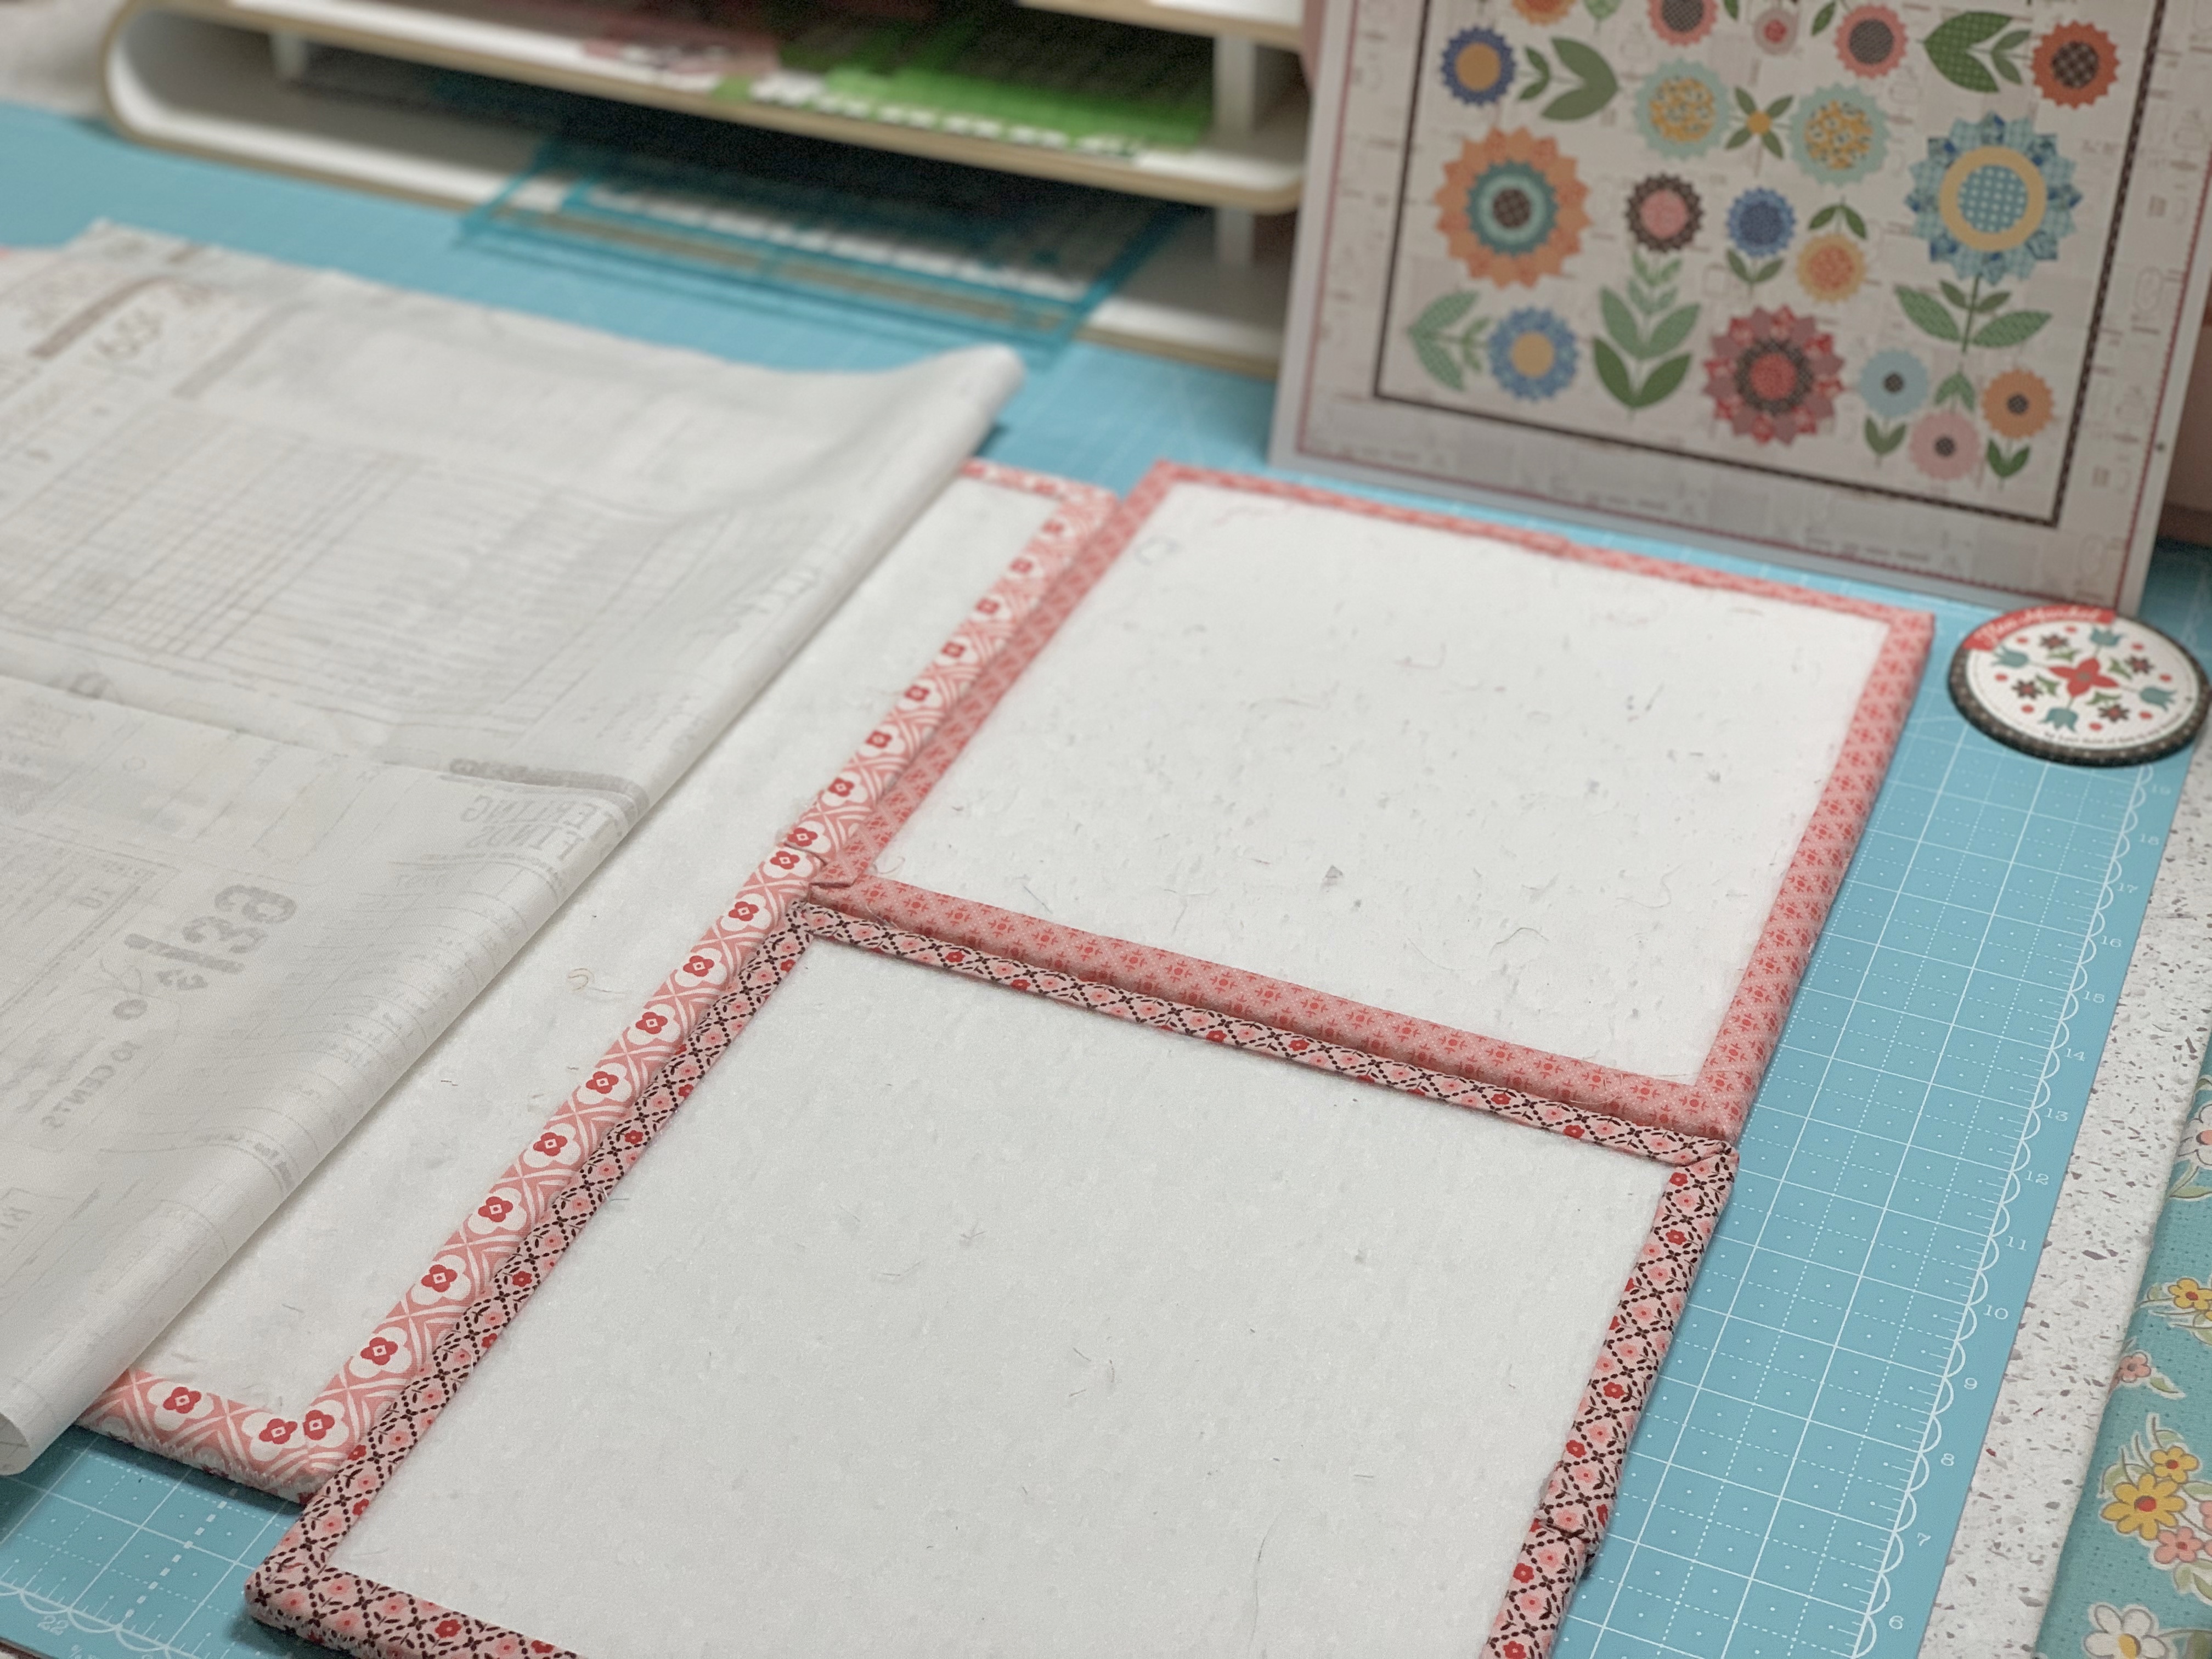
I used one large
and two small design boards
to lay out the background for this block.
I pressed my background
in half so that I
could center the flower easily.

I made my flower 23" tall
from the bottom of the stem
to the top of the flower tips.

I pinned all of the circles...

And finally the leaves!
I made sure that my leaves
were not wider than my flower.

After pinning everything into place
I used the Sue Glue and let it dry
before removing the pins.

I truly love this big beautiful flower!!
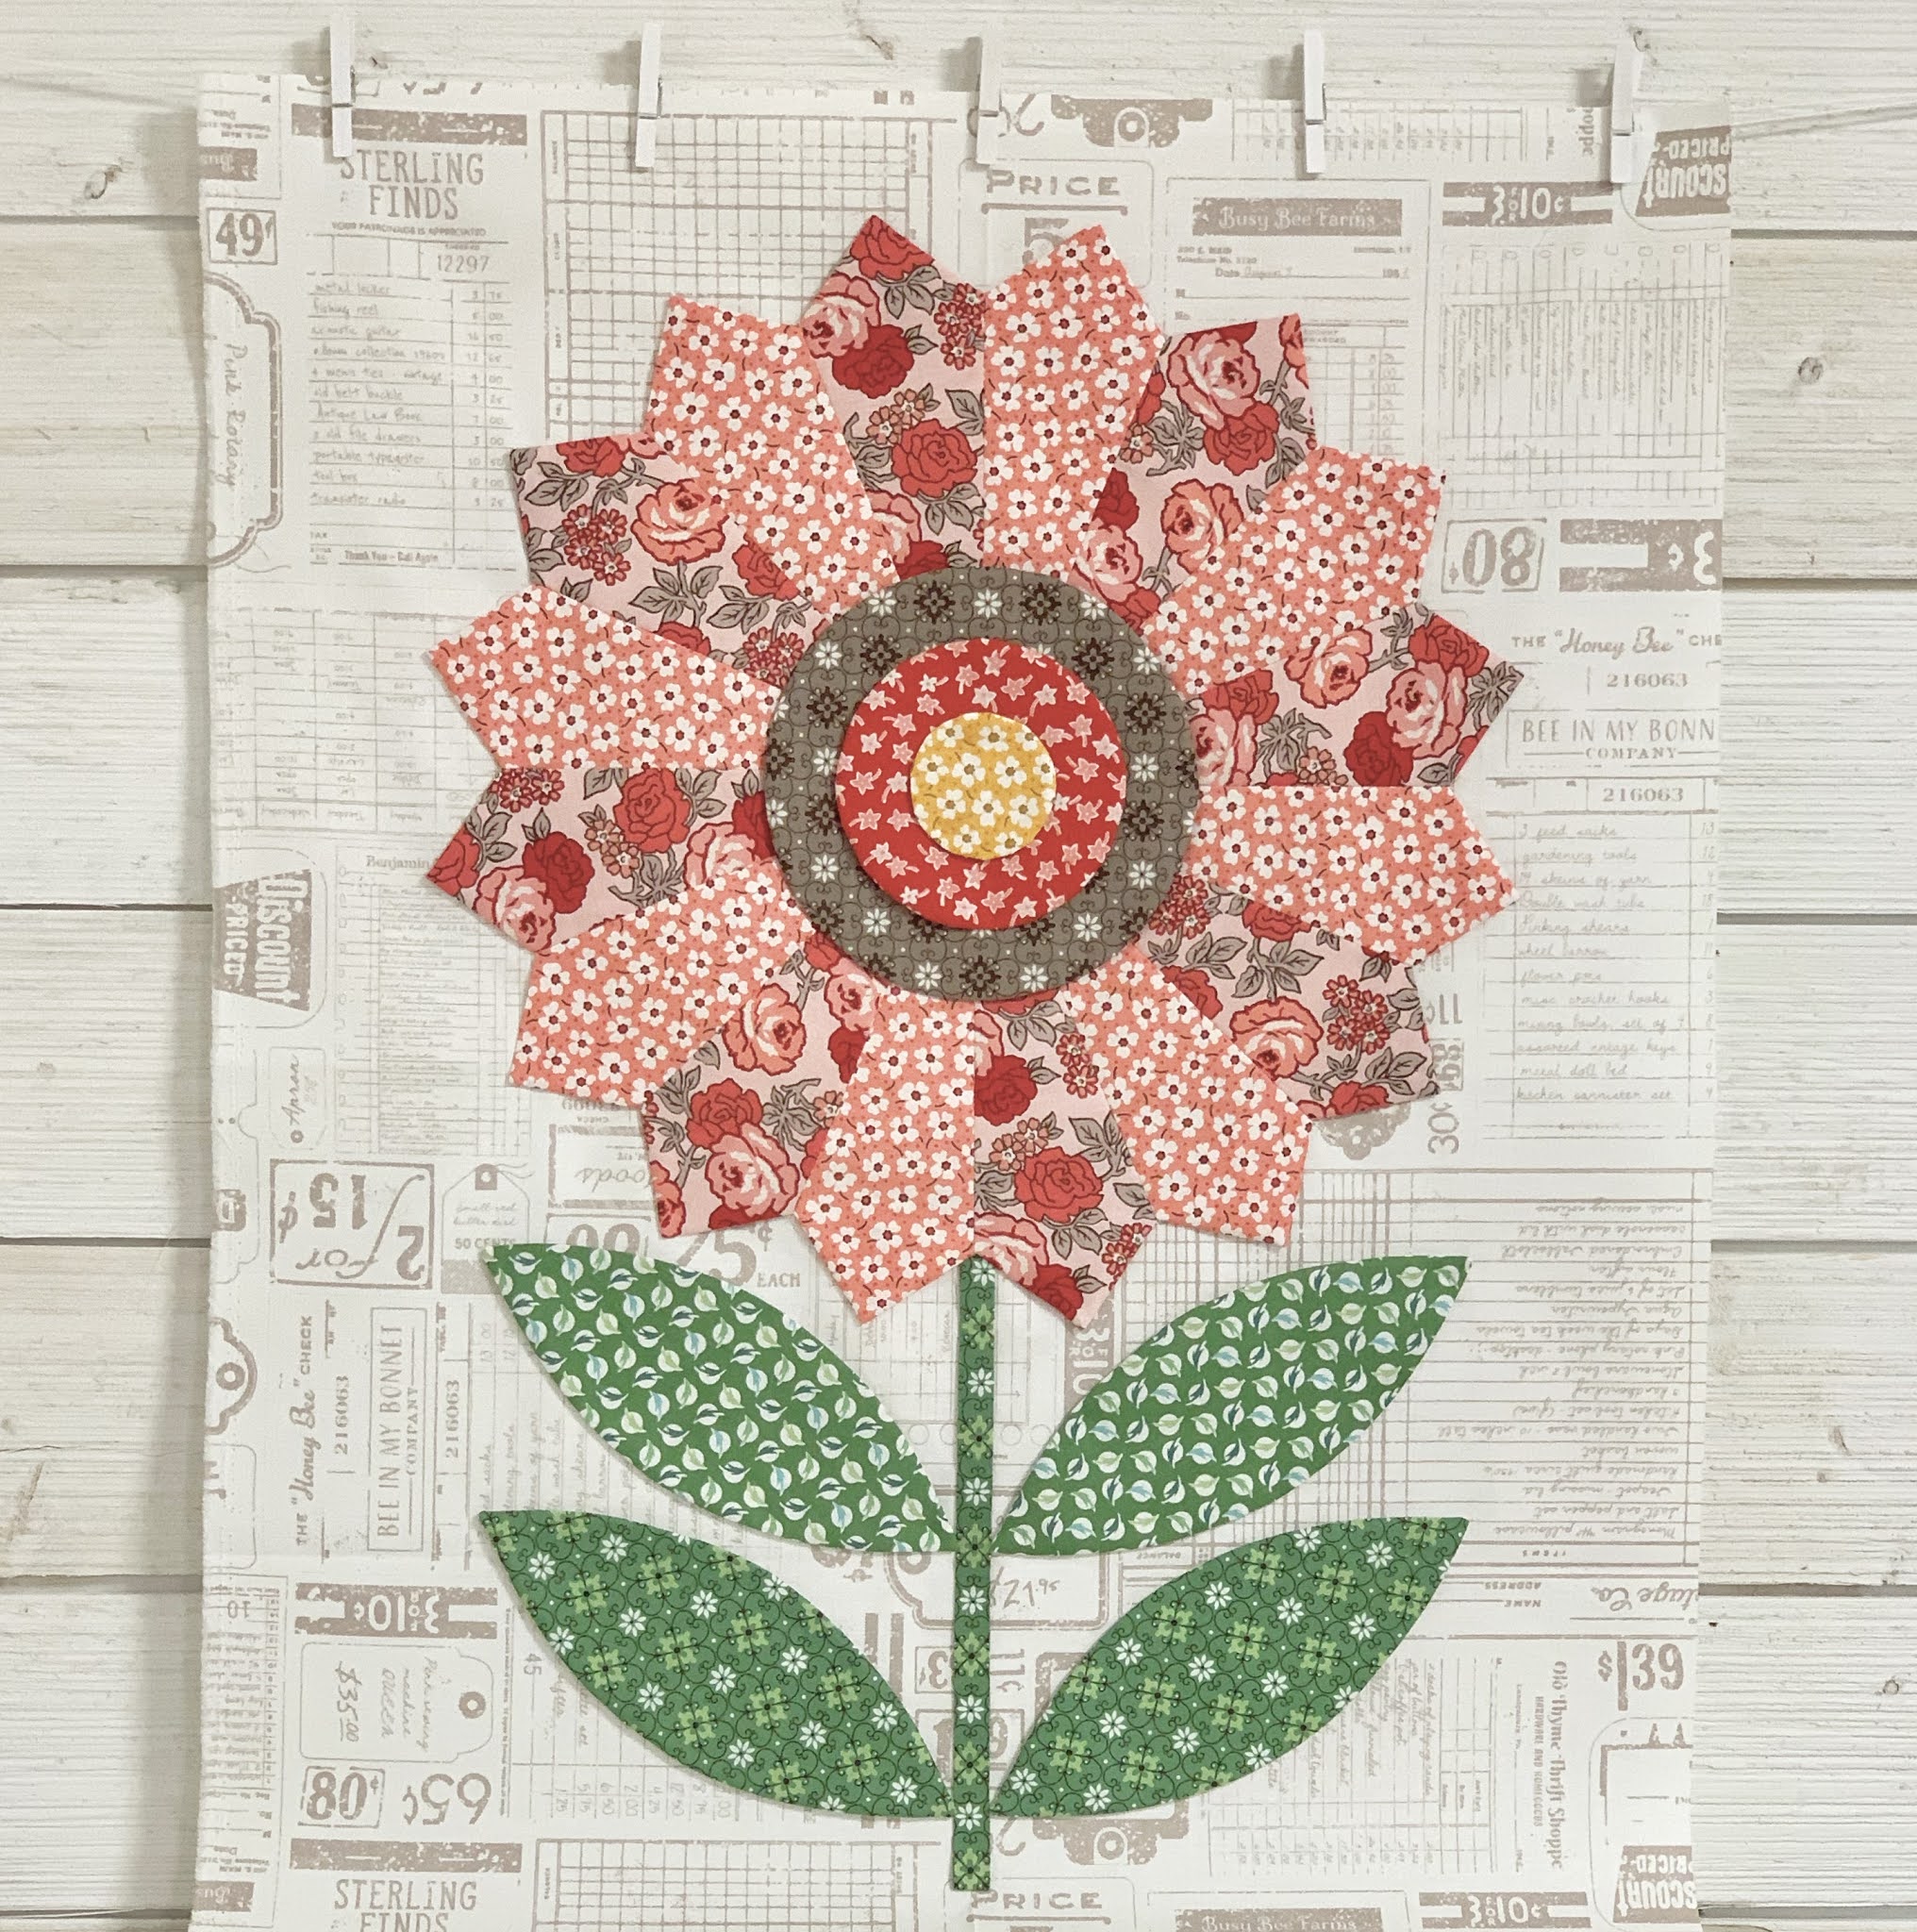
FLEA MARKET FLOWERS
BLOCK "A"
After applique trim it to
18 1/2" x 24 1/2"
It will finish at 18" x 24"
after it's sewn into your quilt:)

Thanks so much for joining me
this week for the very last
of the block tutorials.
It's been a lot of fun
"sowing" these flowers with you!!
I'll be back here next week
and I will show you
how I trim down a block or two
to prepare them for
sewing into my quilt:)
I'll also show you the label
that I made for the
back of my quilt and how I made it
just in case you
want to make one as well!
I'll chat with you later...
xx
Lori

3 comments:
Thank you so much for all your time and talents you share. This was my first sew along for me and not my last. It was great. Thanks for your tips too. I do appreciate everything. I learned from my grandmother and listening to you brings back wonderful memories. Thank you again. Love you material too.
This is my first Lori Holt sew along and I'm having so much fun with it. I absolutely love this project! While I'm excited to have this beautiful quilt almost finished, I'm going to miss working on it.
I started this quilt in the spring of 2022 and now as I approach Christmas I’m finishing it. I love this quilt, it been my psalm for quilting. When I get tired of piecing blocks or just a particular quilt, I turn to these flowers and my love of quilting is renewed. I’m going to miss this.
Post a Comment