

Hello and welcome to the


Grab your book


And your Farm Girl Vintage Fabric...

And let's make some Farm Girl Blocks!
Our first Farm Girl Block
for this week is
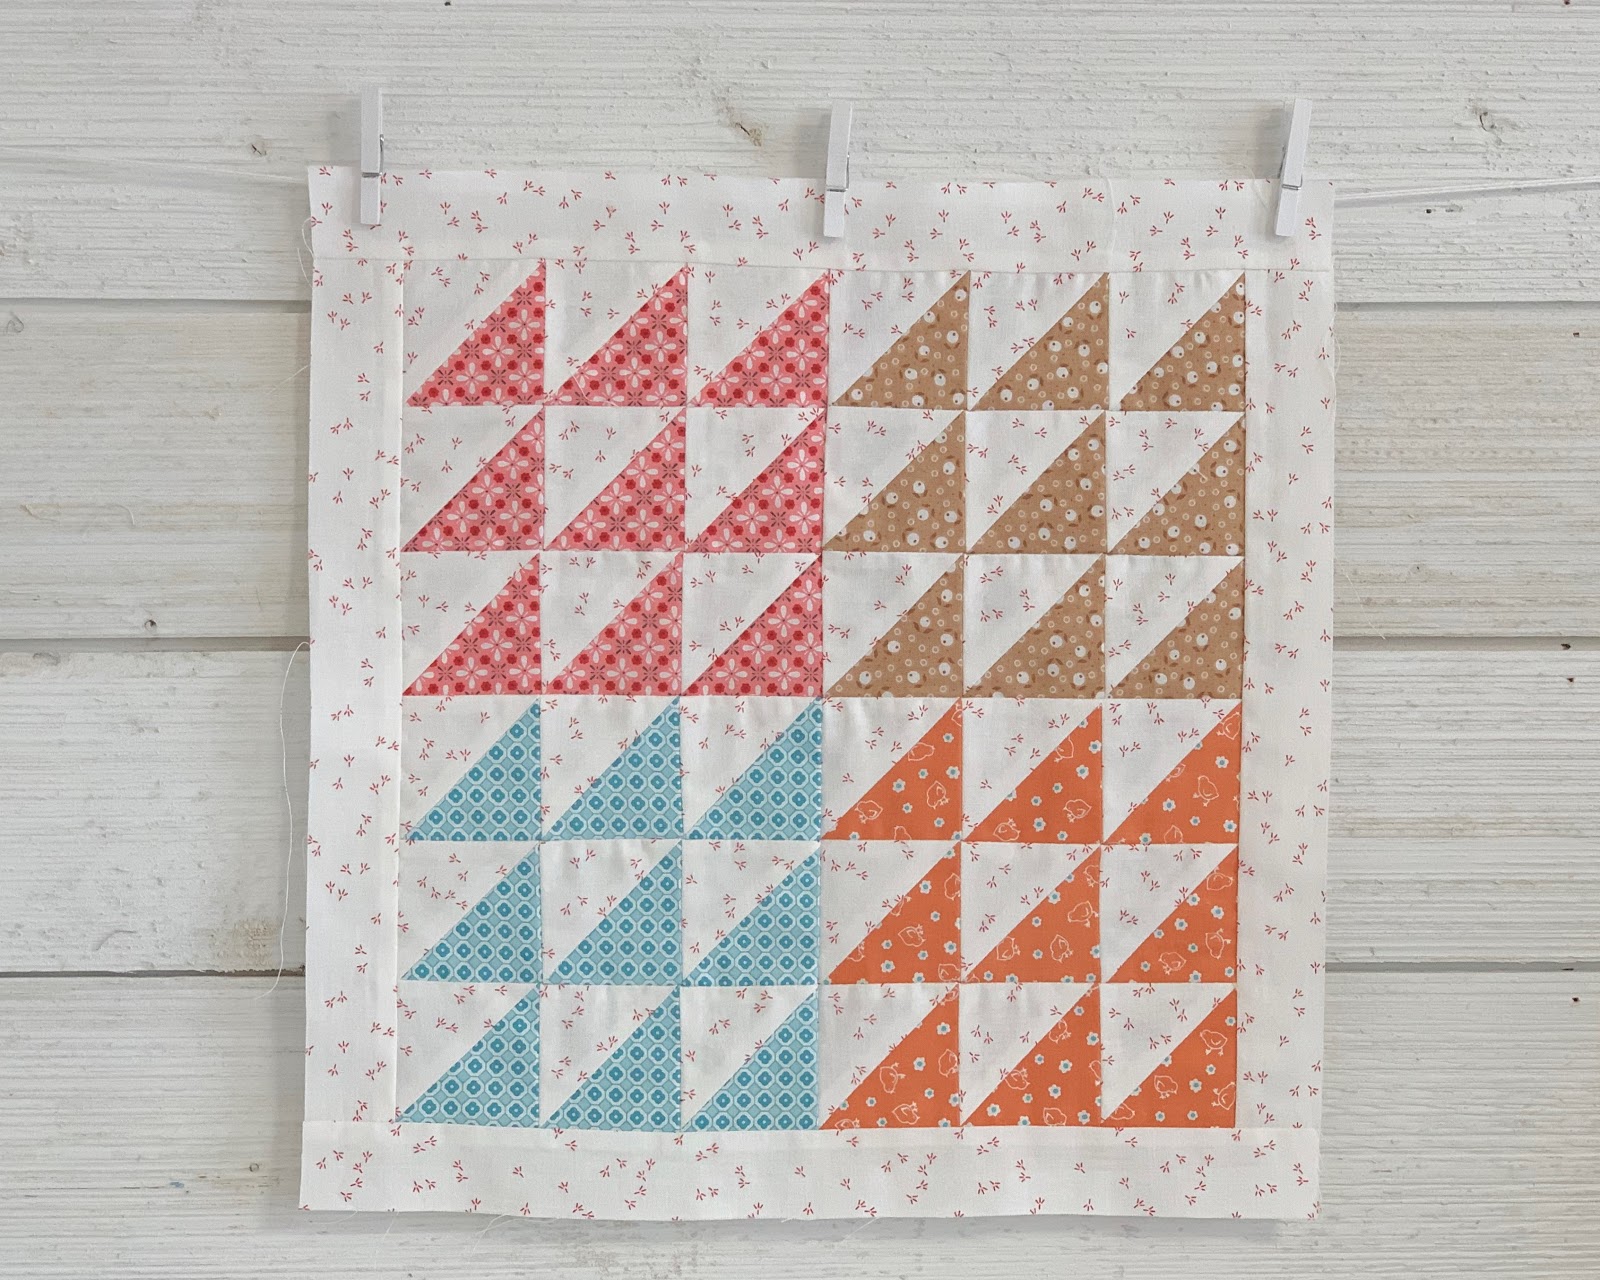
SCRAP QUILT
on page 118 of the book.

I love this block and I named it
Scrap Quilt because it's the perfect way
to use up those leftover trimmings
from Easy Corner Triangles:)
I learned from my grandma and her sisters
how to use scraps to make
something beautiful and amazing...
and that is a very valuable lesson
that I have never forgotten.

This doll quilt is made from scraps
and the pattern is on
page 187 of the book.

I styled this photo with
vintage storytelling books and an
adorable pair of vintage baby shoes:)

I also made a 6" Scrap Quilt Block
for my 6" Farm Girl Block Sampler Quilt.
I used one of the segments from the
12" block cutting and made each
half square triangle
in a different print...
I used leftover scraps...YaY!

Our next Farm Girl Block is
SEWING BASKETS
on page 119 of the book.

This is a sweet traditional little
basket block and I just had to
add it into the book....

I mean look how adorable it is
in this doll quilt!
The pattern for this sweet
little quilt is on page 188.

I chose to do this quilt in
red and pinks...
because I LOVE that color combo
and it goes perfect with this
"queen of sewing" themed rag doll!

I also made this one in a
6" size for my
6" Farm Girl Block Sampler Quilt.
I again made this one scrappy happy:)

I have been out of town and so
I didn't have time to make a
6" Quilting Day Block last week...
but I whipped one up this week!
It's for my sampler quilt too.

That means that I have
added three more blocks...

And now with the addition of
these three I have made seven so far.

Okay...before we go I want to
talk a little more about the
doll quilts in the book.
I have had someone ask me
how to make the blocks into 3" size
that are used for the doll quilts.
This is explained in the book
but I thought I would show you a visual.

So here is a 12" Block and a 6" Block.
You can see that the 6" is 1/4 size of the 12".
In other words...the 12" Block is made up of four 6" units that are simply sewn together.

That means that when you make a unit
from the 6" block cutting...
you will get 1/4 size of a
6" block which is...of course 3"

Those 3" units are what you use
to make the doll quilts.

I designed 8 blocks for the book
that consist of four blocks sewn together.
I used those 8 blocks
to make the 8 doll quilts.
You DO NOT have to figure out
the measurements for yourself.
They are in the book:
When making a 3" unit...
use the 6" block cutting and instead
of sewing the four units together
to form a 6" block...
keep them separate to make a doll quilt.
Make as many 3" units that
you need to make the
small, medium or large doll quilts.

Here are all eight of the doll quilts...
each on a vintage doll bed.
All of these patterns are on pages
186 thru 191 in the book.
I hope this helps anyone else
that may have needed clarification.

Thank you once again for
joining me on the farm today...
let's meet up back here next week
for two more Farm Girl Blocks!
xx
Lori

3 comments:
You always have the cutest farm and vintage pics! Love your doll quilts and the tiny sized blocks you can sew them with. My granddaughter received a small sewing machine for Christmas - and how I wish she lived closer, so that we could sew together. Till then I'll keep sewing little samples for her to follow :)!
Thanks for this I love your guilting
Kitty and Cow made my day. I am almost done for these two blocks. 12" of course
Post a Comment