

"TOMATOES BLOCK"

Welcome to Week Ten of the
"CALICO GARDEN"
Sew Along!
Join me here each week
when I will be doing tutorials
on the blocks for the quilt.
Of course because we are all sewing
from all around the world
we all have different time zones...
But I will be posting each Monday
right here on my blog
and you can follow my tutorials
any time each week that
is convenient for you.
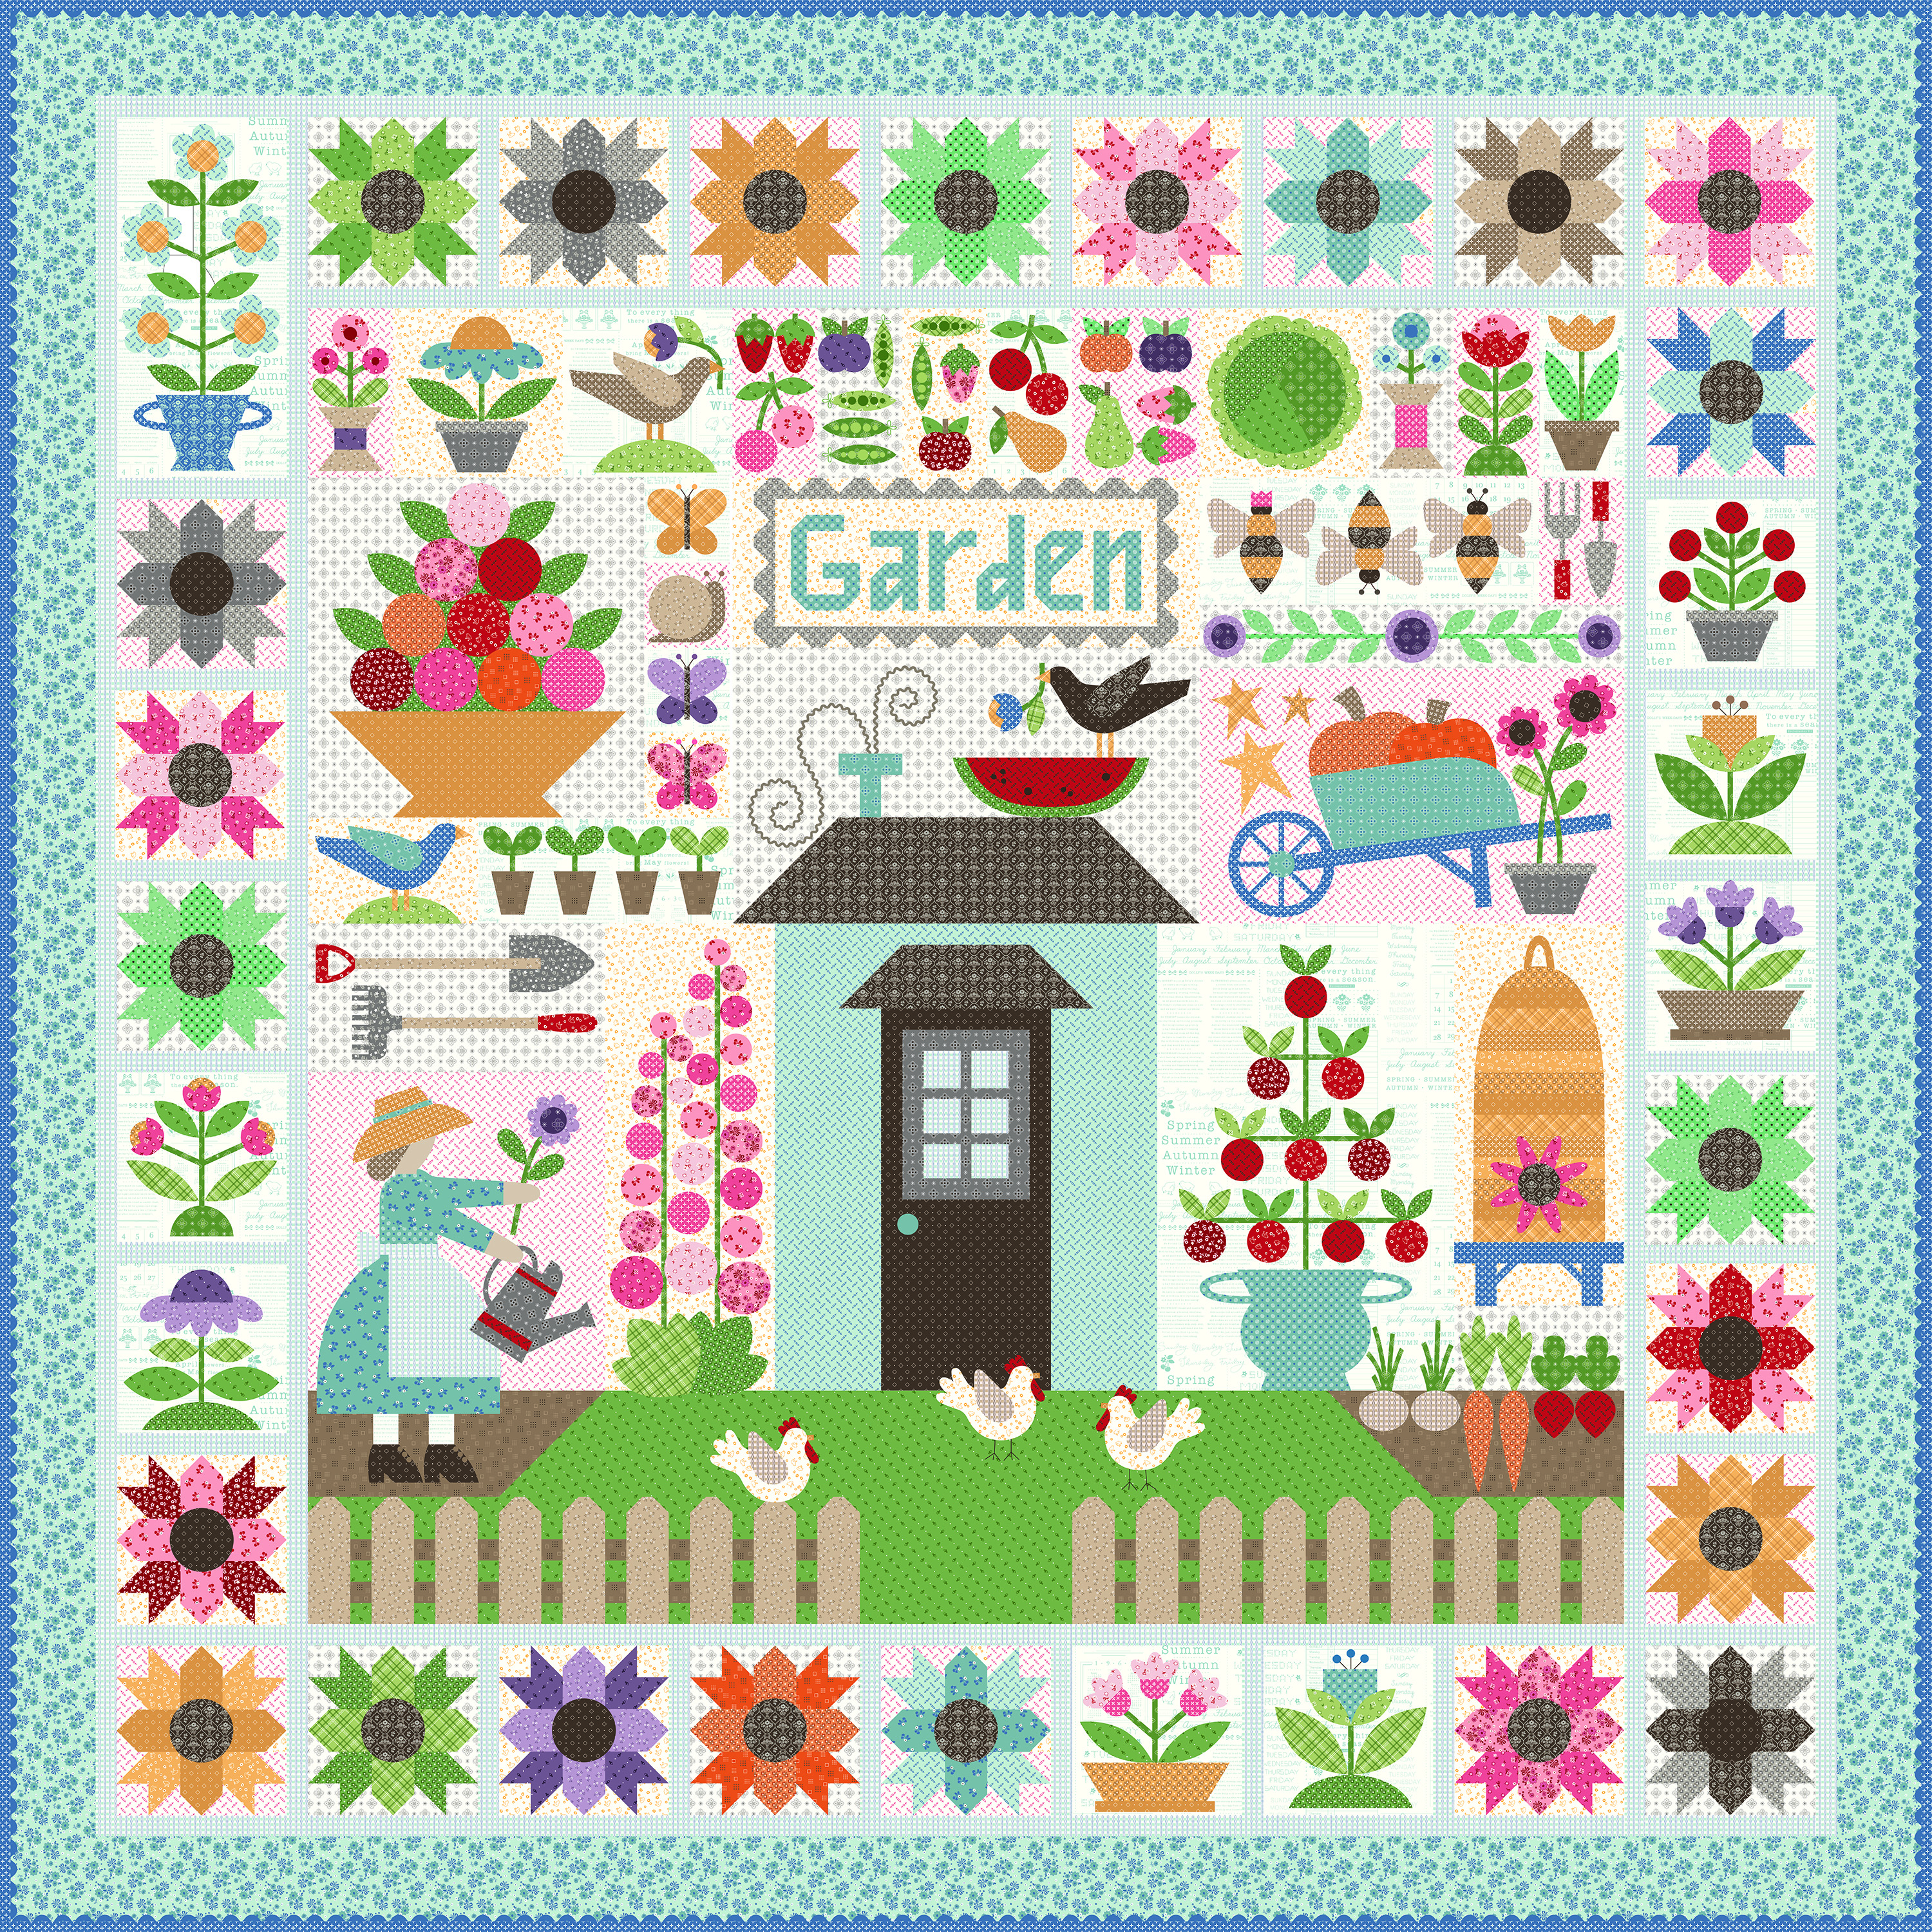
We are making the
Calico Garden Quilt
90" x 90"

The quilt is made with my latest fabric
collection called Calico...
I hope that you all have all
received your templates and
fabric kits by now...
and that we are all ready to begin!!
If you still need them ...
just do a quick google search for
"Calico Garden Quilt Kit"
to find shops who still have some left.

We are also using the
Calico Garden
Sew Simple Shapes
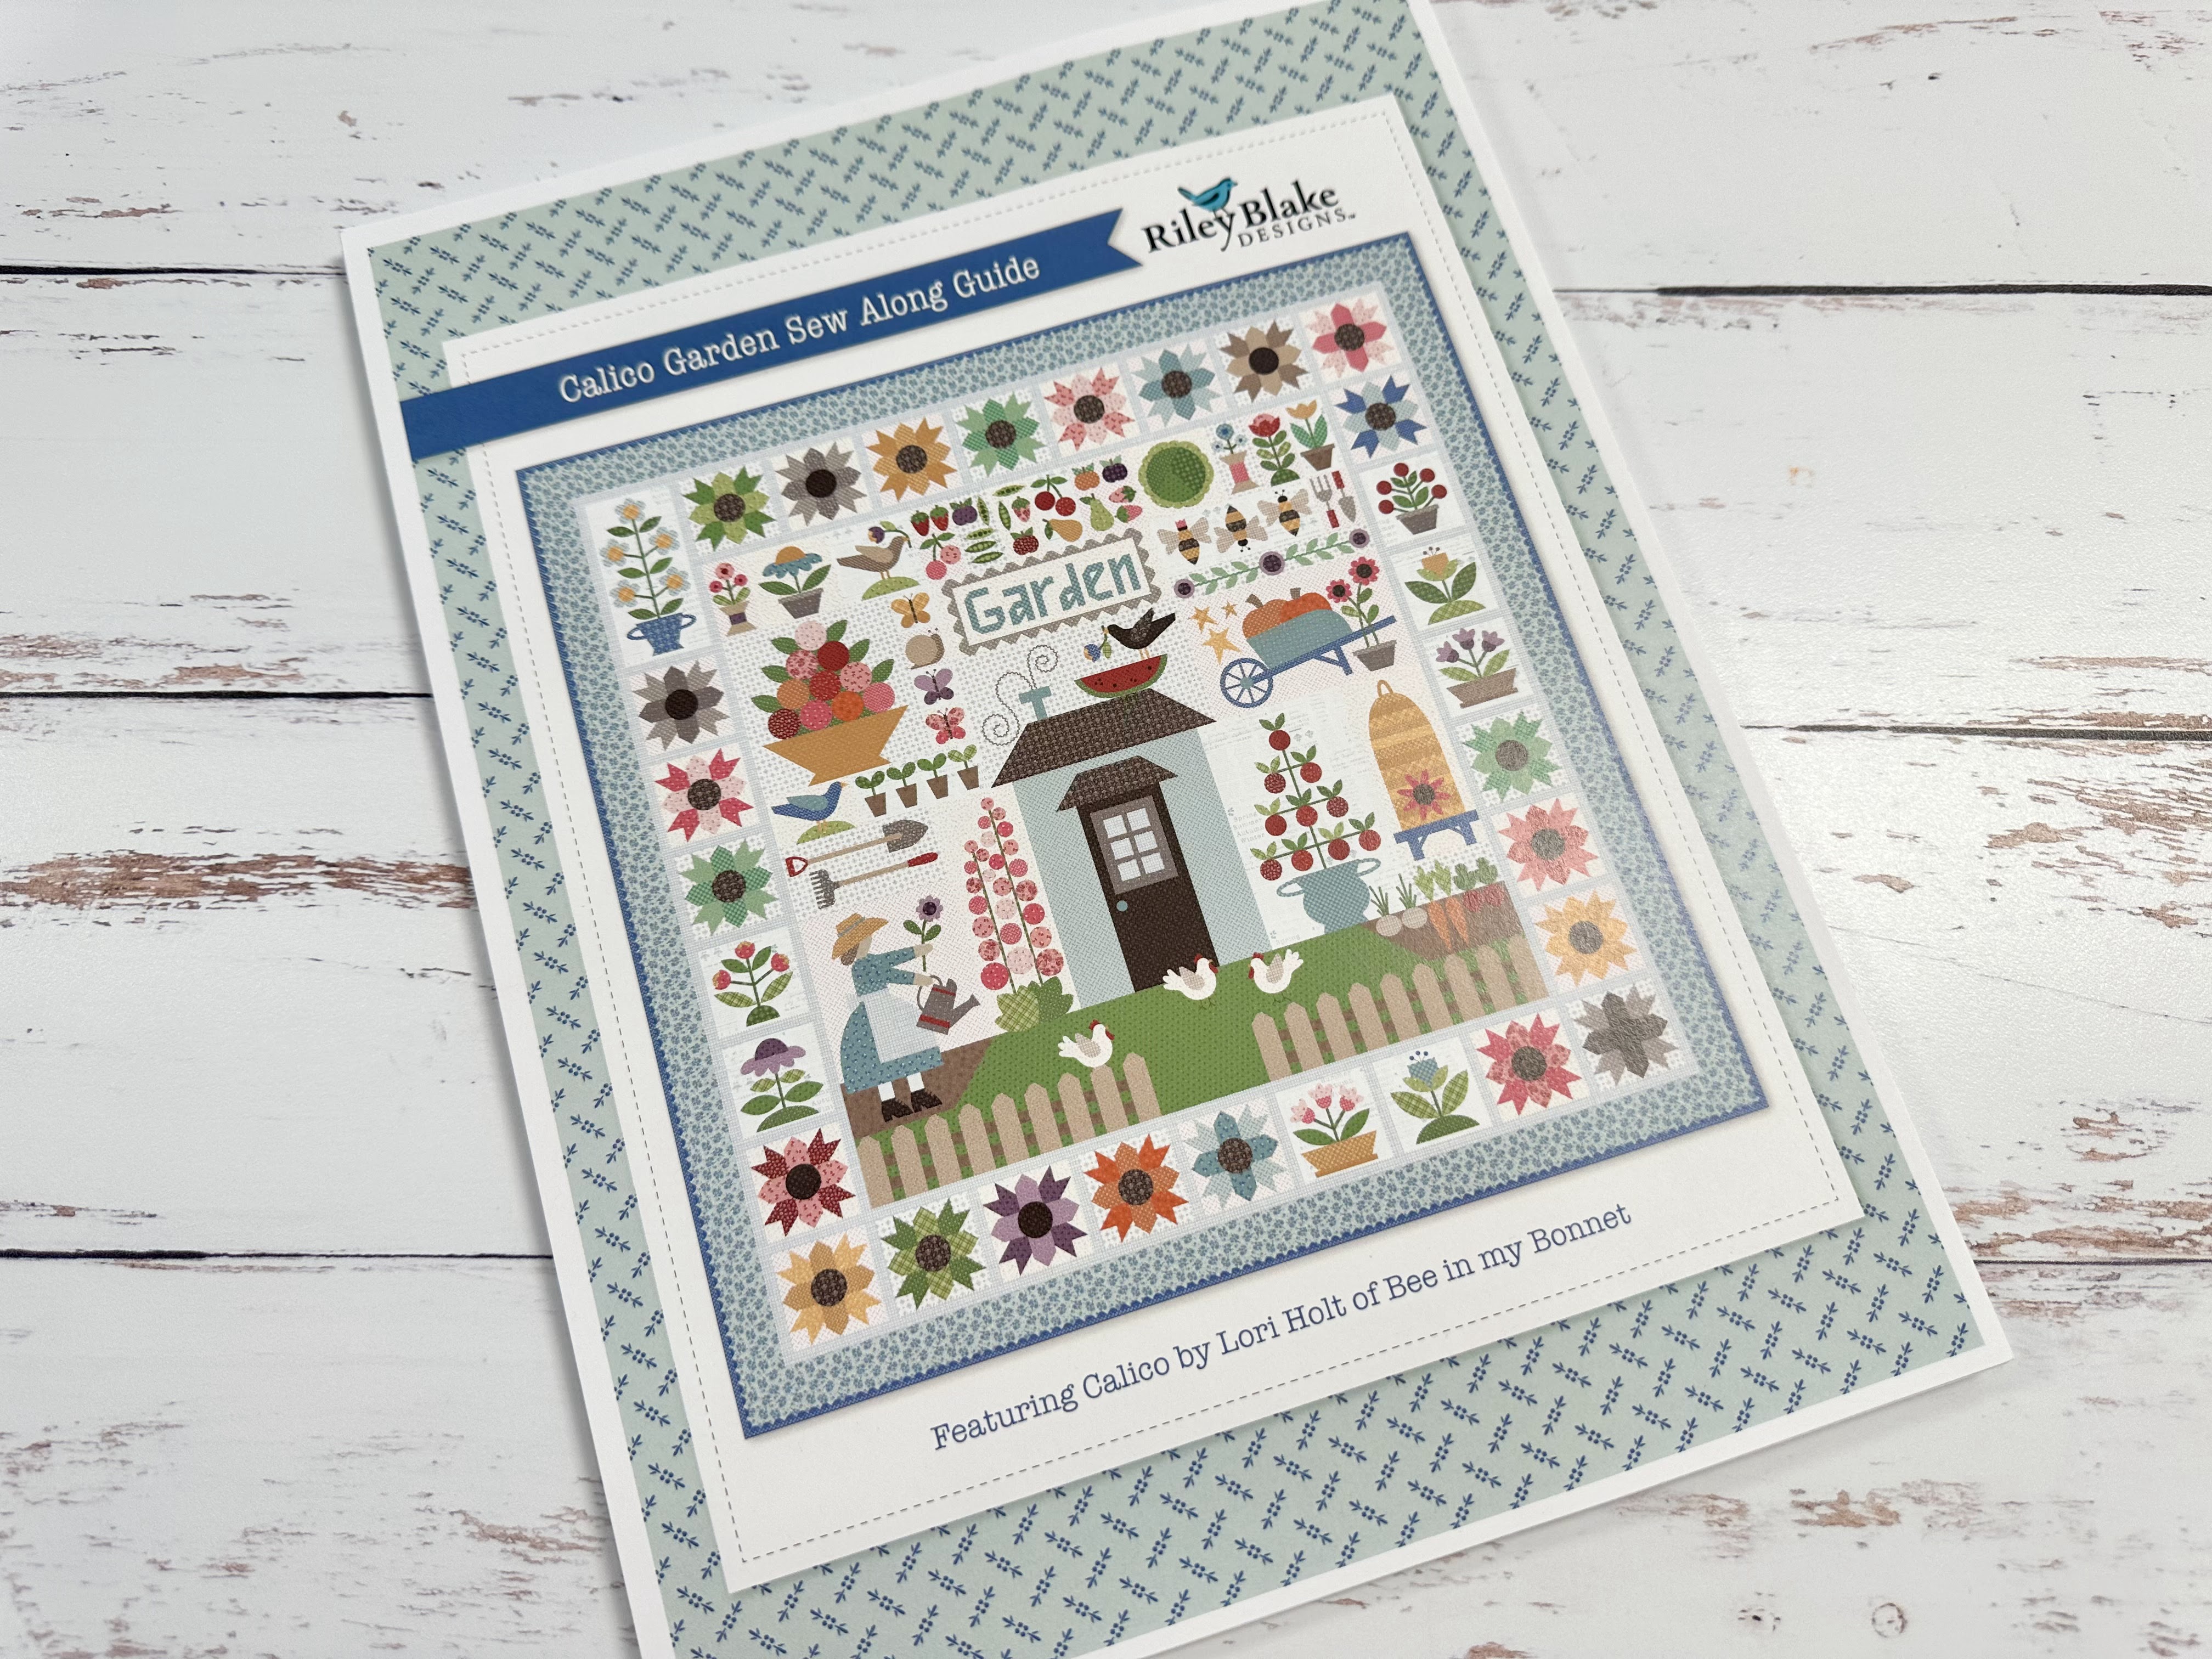
I have posted the
post which details all of the supplies
for the sew along and how it works.
I have also given the link there
for the free PDF Download
of the Sew Along Guide
to download the sew along guide.
As per the sew along guide
cutting instructions
you should have everything for your
Tomatoes Block
all cut and ready to go!
As per usual for week one in my
Sew Simple Shape Sew Alongs
the FIRST week tutorial is a video.
Because I now have my own
I have posted the
Blue Coneflower Block
Tutorial there.
to visit my channel and watch the
tutorial and I hope that you love it!
Pretty please leave me a comment
over there and let me know:)
If you like what you see
and my other videos there...
click on subscribe and click on the bell
to be notified whenever
I post another tutorial:)

that I showed you
how to make in my video:)

for the tutorial on my
PURPLE CONEFLOWER BLOCK

to go to my tutorial for the
CALICO STAR FLOWER BLOCK

to go to my tutorial for the
Morning Glory Blocks

to go to my tutorial for the
PRIMROSE BLOCKS

to go to my tutorial for the
RED ROSES and MUMS BLOCK

to go to my tutorial for the
Forget Me Not Block

to go to my tutorial for the
PICKET FENCE and GRASS BLOCKS

to go to my prepping tutorial for
HENS and ROOT VEGGIES

to go to my tutorial on the
HOLLYHOCKS and
RAKE and SHOVEL BLOCK

to go to my tutorial for the
GARDEN GIRL

to go to my tutorial for the
BEE SKEP BLOCK

This week...
let's grow our
TOMATOES BLOCK

Here is my Tomatoes Block Kit.
Everything is all cut...
all traced and ready to go!
Here is a list of the
Calico Garden
Sew Simple Shapes
needed for this block:
10 - O-4
1 - O-17
20 - O-66
1 - O-87
5 - O-88
You will also need to cut
and prepare 1/4"
straight bias strip for the stems:
1 - 13" long
1 - 9 1/2" long
1 - 6" long
1 - 3 1/2" long
You will need to cut you background
16" x 24"
as per the sew along guide cutting.
Make sure to press it in half
for easy placement of your shapes:)

After sewing all of your shapes...
bee sure to clip the four cleavage
areas on the garden urn before turning:)
None of the other shapes need clipping.

All pressed and ready for their close up:)
Now over to the work table!

Start by centering the garden urn
at the bottom and using your ruler
and the pressing in your
background to center it.
Pin it into place but don't glue yet.
Glue the small oval onto the
center of the large oval...

When it's dry cut it in half.
These are your garden urn handles:)

Tuck them underneath the sides
about 1/8" down from top and so the
handles measure 10" from tip to tip.
Use the lines on your ruler
to keep them straight!

Pin and glue the handles and then
tuck the center stem underneath the
top of the urn centered on your
pressing line on the background.
Glue the stem down and now you
can glue the urn down as well.
Pin and glue the tomato at the top ...
making sure that the stem measures
exactly 11 3/4" from the TOP of the
urn to the BOTTOM of the tomato.

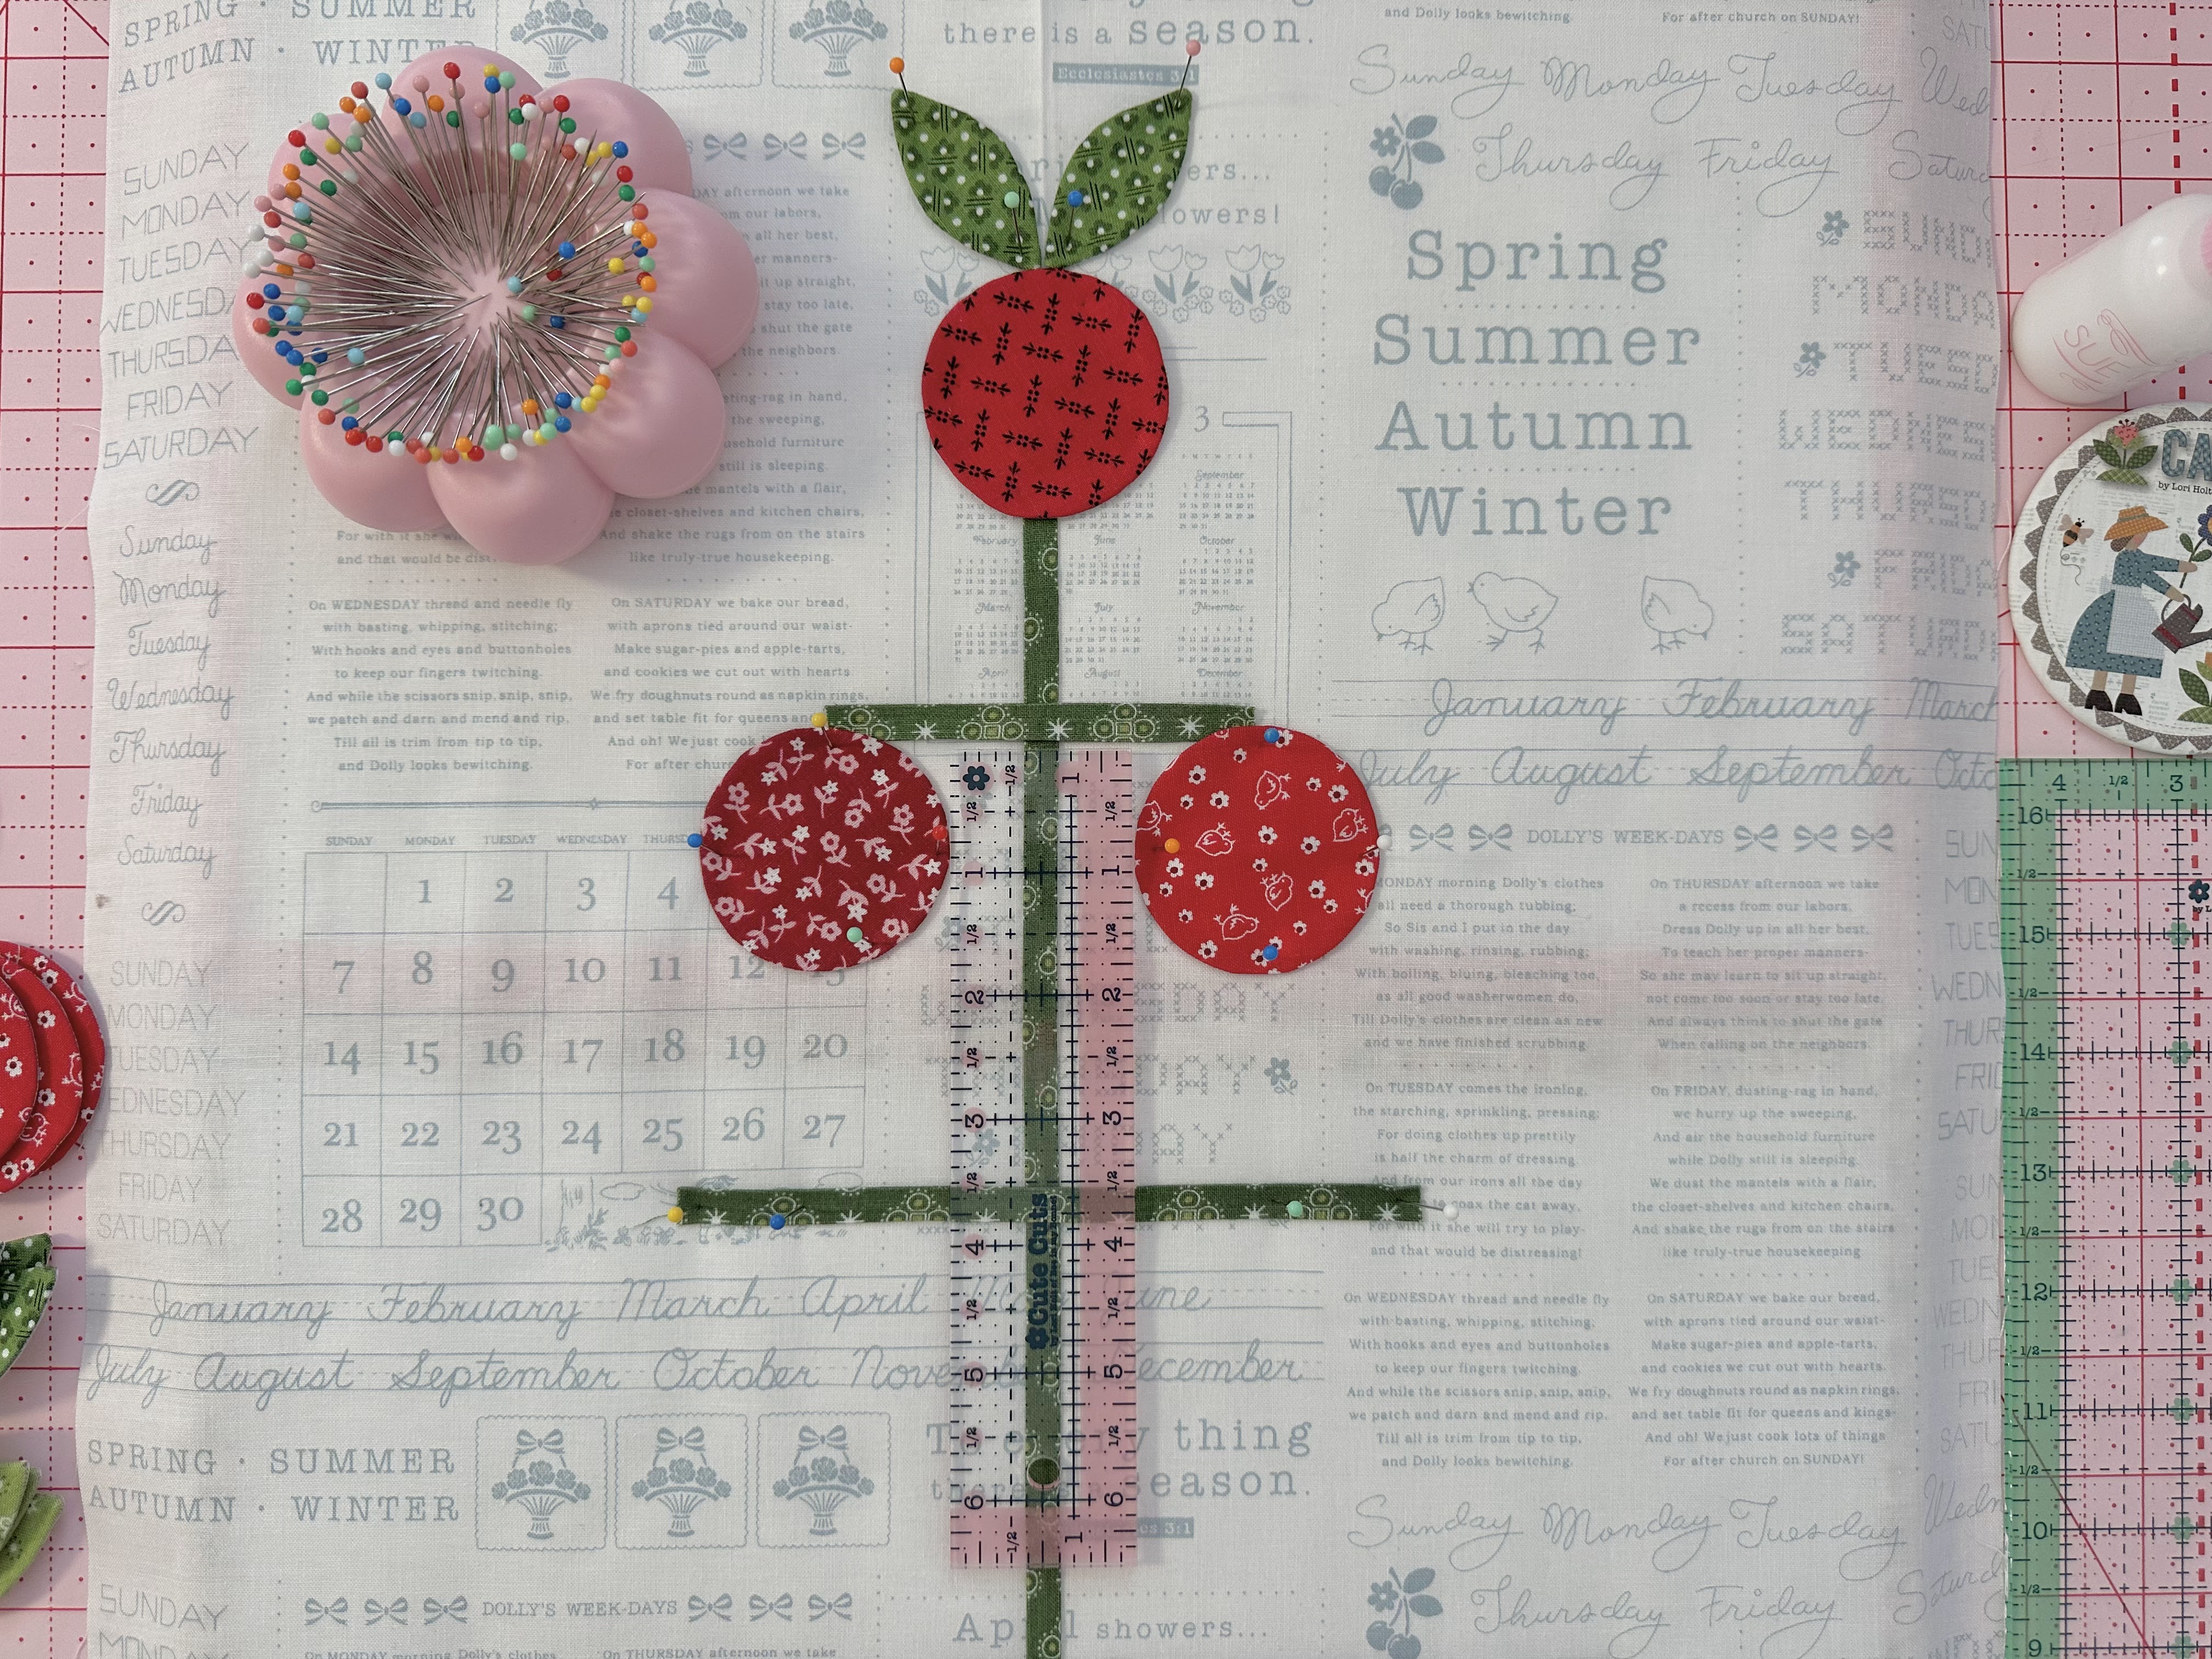
Now we will measure and glue the
remaining stems working from the bottom up.
It's very important to use
your rulers to keep things straight
with every step along the way.
Measure up 2 1/8" from the
urn top to place your stem.
Also use a ruler horizontally
to make sure your stem is centered.
Let me explain...
Because this stem is 9 1/2" long...
I placed my ruler with the
4 3 /4" mark centered on the stem
(which is measures half of 9 1/2")
so that I knew where my stem should
land on each end when glueing.
I used a ruler horizontally
with the two remaining stems as well...
using it on the halfway mark of
each stem length for correct placement
of the ends each time I glued.
Good rulers are important!

Now measure 3 5/8" up from that stem
and glue the 6" stem into place.

Again measure 3 5/8" up
from the 6" stem and glue your final stem
that measures 3 1/2" long.
YaY!
Stems are glued and now and next
I'll explain how I glue each set
of leaves on top of each tomato.

Start by pinning each bottom leaf corner
at the top center of the tomato.
Now all that you need to do is
simply to measure the top corners
of the leaves to be 2 1/2" apart
and place a pin in them.
That is their placement...
on each and every tomato...
easy peasy!
Now let's talk tomato placement.
Each tomato is placed with the stem
end on the center top of the tomato...
and the tomato top is
about half way up into the stem.
These two tomatoes on the 3 1/2" stem
should measure 1 1/2" apart like this.

Next I pinned and glued the
center tomato on the 6 1/2" stem
and then added the leaves in the
same way as I previously explained.

Then I added a tomato to each side
and these should measure 1" apart.

Now for the bottom four tomatoes.
The two in the center are 1 1/2" apart...

And then the two outside tomatoes are
1" apart from the inside tomatoes.

These four bottom tomatoes
should measure 11 1/2" wide.
Now to finish up with all of the
leaves working from the top down!

Remember that all of the remaining
leaf tips should measure 2 1/2" apart
just like the others:)


Last four set of leaves to pin and glue.
P.S. Doubling up on these
1 1/2" x 6 1/2" rulers really helps!


P.S. again...
can I just tell you how much that
I love this
Flower Power Pin Bowl?
I want one in every color!
For me it makes pinning faster:)

Okay...one final measurement for you.
It should measure 21" from the
bottom of the garden urn
to the tips of the top leaves
on the top tomato:)
After you applique ...
press from the back and
trim your block down to
14 1/2" x 22 1/2"
I'll use my 14 1/2" Trim-It Ruler
for that when it comes time...
using it for the width
and for centering
like I've shown you before.
***It would work to trim the
bottom background edge 1/4" longer
than the bottom of the urn if you
want it to sit on the grass when the
blocks are sewn together...
but take note that is optional!
You could always leave the bottom
of the urn un-appliqued until then.


I love this block and I love me
some fresh garden tomatoes!!!
No plastic grocery store tomatoes
for this farm girl:)
Have fun growing tomatoes
in your garden this week:)
Once again...
thanks so much for doing the
Calico Garden Sew Along
Are you having fun yet?
I sure am:)
I'll meet you right back here
on my blog next week for the
Potting Shed and
Roof and Chimney Block tutorials!
Until then...
Happy Calico Garden sewing!!
xx
Lori

4 comments:
Lori, you are so talented. I adore your look and have a few of your cross stitch patterns. Working on Vintage Housewife at the moment. So many people (including me) enjoy the unstitcher which is another inspired tool you’ve created. My wish is the next version of the unstitcher will have a bigger handle with a hole in the top (and a ring in the hole?). So you can secure it to a project bag or wear on a chain, etc.
I’m doing your see along:) so fun to see each block come to life. Starting to think ahead to ideas on patterns/approach to quilting this type of quilt. Any ideas or tips?
I wanted to spend the hot AZ summer quilting, never quilted before. Lori I've watched almost every video you have on YouTube. They've been really helpful in my preparation. My first quilt is going to be the Prim Star runner. Wish me luck!
I’m love your work! I’m participating in this sew along as it goes and also working on your Let’s Bake quilt as well. I own almost every quilt kit & have a lot of sewing to do! Look forward to your future quilt alongside!
Post a Comment