

"WHEEL BARROW BLOCK"

Welcome to Week Twelve of the
"CALICO GARDEN"
Sew Along!
Join me here each week
when I will be doing tutorials
on the blocks for the quilt.
Of course because we are all sewing
from all around the world
we all have different time zones...
But I will be posting each Monday
right here on my blog
and you can follow my tutorials
any time each week that
is convenient for you.
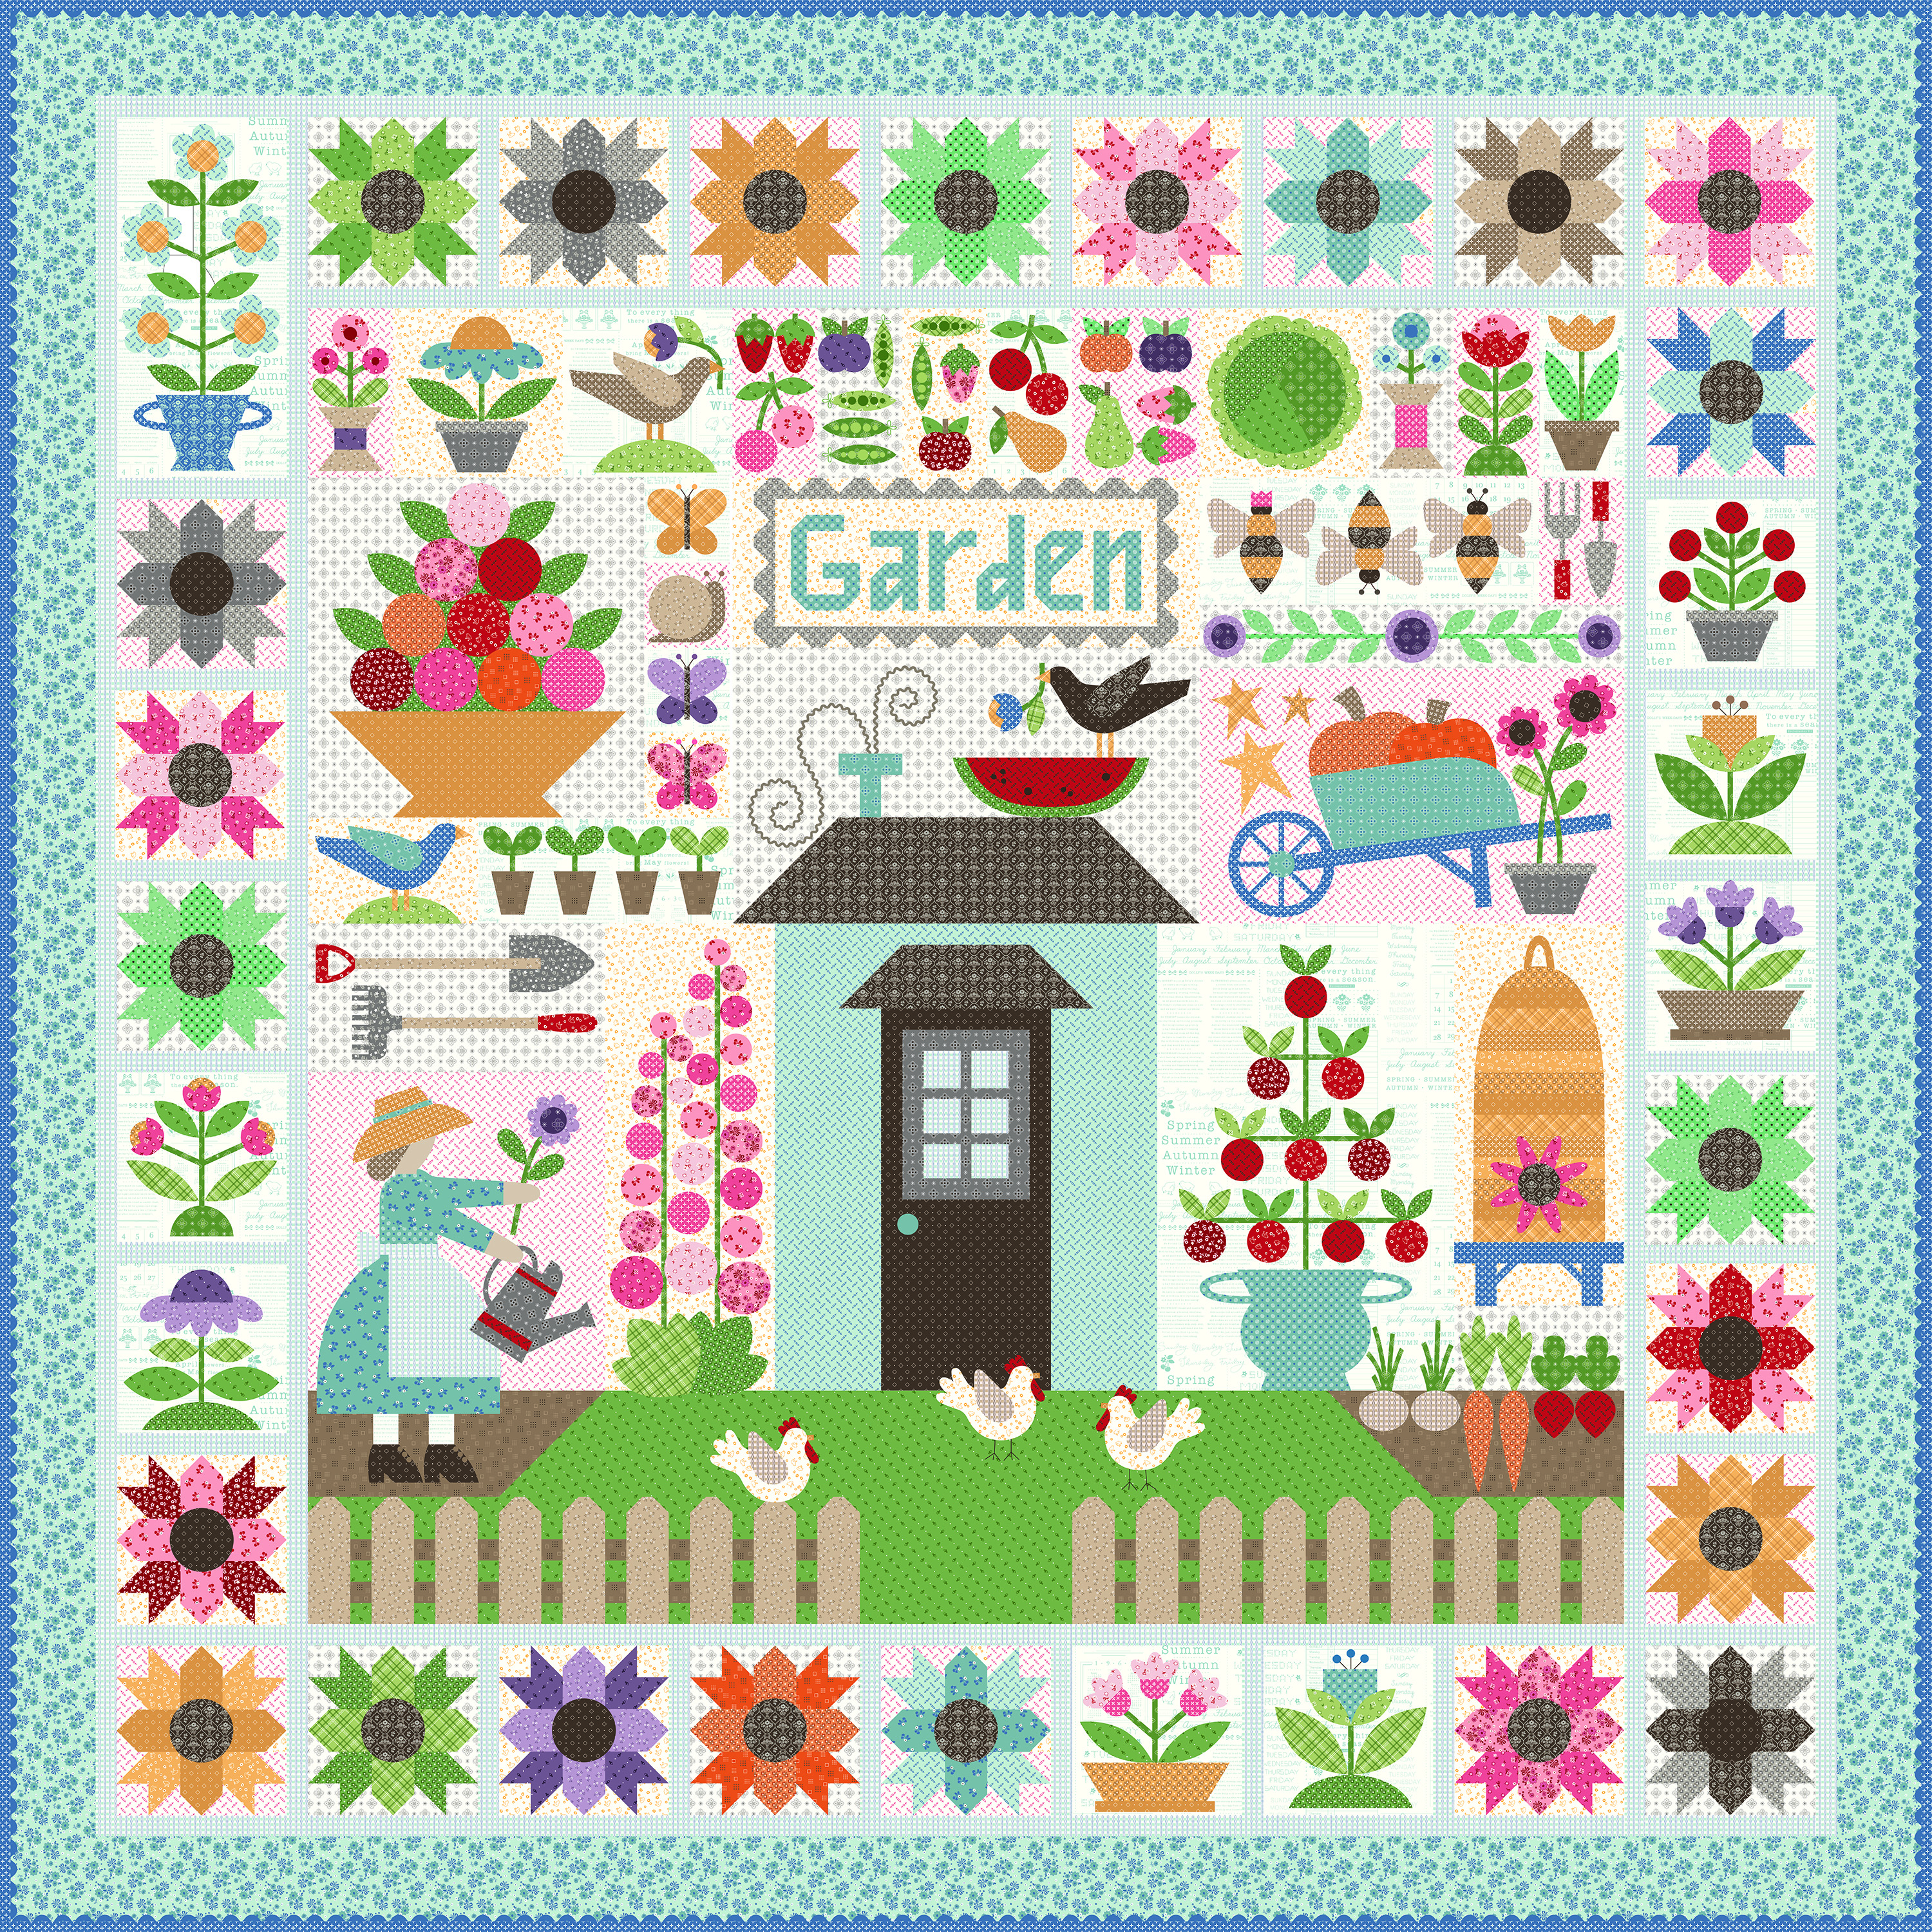
We are making the
Calico Garden Quilt
90" x 90"

The quilt is made with my latest fabric
collection called Calico...
I hope that you all have all
received your templates and
fabric kits by now...
and that we are all ready to begin!!
If you still need them ...
just do a quick google search for
"Calico Garden Quilt Kit"
to find shops who still have some left.

We are also using the
Calico Garden
Sew Simple Shapes
I have posted the
post which details all of the supplies
for the sew along and how it works.
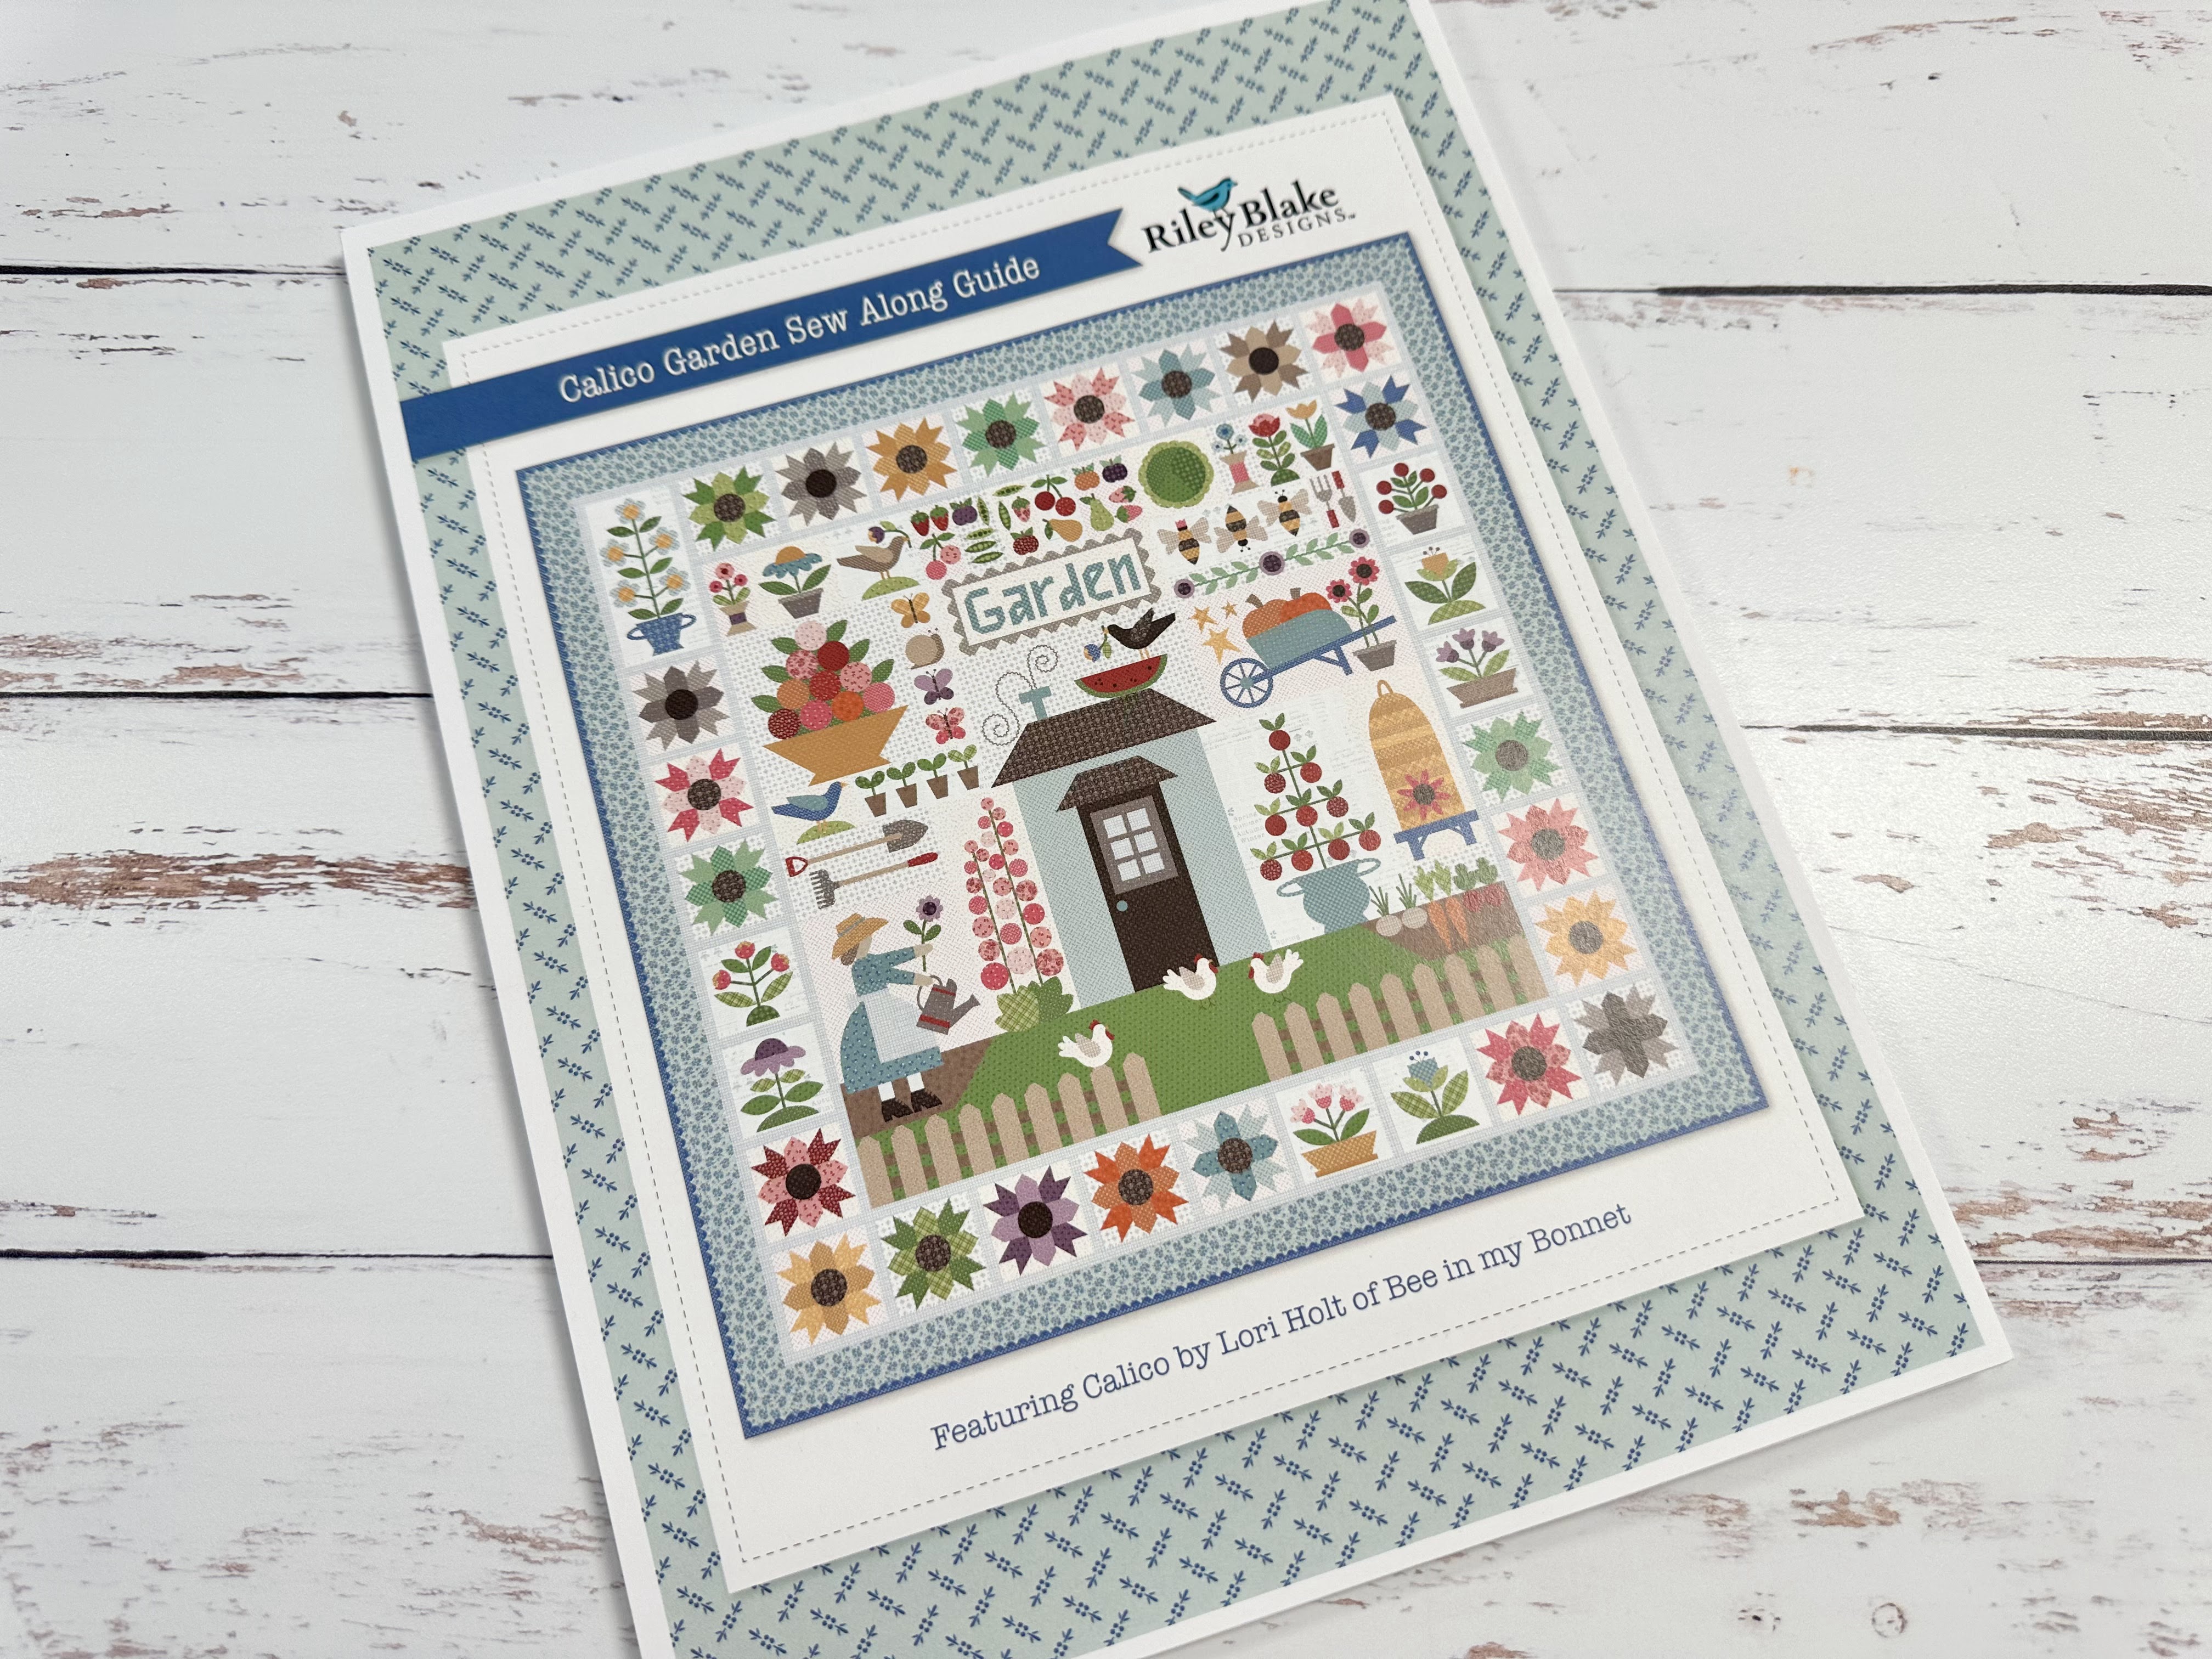
I have also given the link there
for the free PDF Download
of the Sew Along Guide
to download the sew along guide.
As per the sew along guide
cutting instructions
you should have everything for
your Wheel Barrow block
all cut and ready to go!
As per usual for week one in my
Sew Simple Shape Sew Alongs
the FIRST week tutorial is a video.
Because I now have my own
I have posted the
Blue Coneflower Block
Tutorial there.
to visit my channel and watch the
tutorial and I hope that you love it!
Pretty please leave me a comment
over there and let me know:)
If you like what you see
and my other videos there...
click on subscribe and click on the bell
to be notified whenever
I post another tutorial:)

that I showed you
how to make in my video:)

for the tutorial on my
PURPLE CONEFLOWER BLOCK

to go to my tutorial for the
CALICO STAR FLOWER BLOCK

to go to my tutorial for the
Morning Glory Blocks

to go to my tutorial for the
PRIMROSE BLOCKS

to go to my tutorial for the
RED ROSES and MUMS BLOCK

to go to my tutorial for the
Forget Me Not Block

to go to my tutorial for the
PICKET FENCE and GRASS BLOCKS

to go to my prepping tutorial for
HENS and ROOT VEGGIES

to go to my tutorial on the
HOLLYHOCKS and
RAKE and SHOVEL BLOCK

to go to my tutorial for the
GARDEN GIRL

to go to my tutorial for the
BEE SKEP BLOCK

to go to my tutorial for the
TOMATOES BLOCK

Last week we made the
Click on the name of the blocks
to go to these tutorials!

This week we will be making the
WHEEL BARROW BLOCK

Here are my fabrics and Shapes for the
Wheel Barrow Block all cut...
all traced and ready to go!
Here is a list of the
Calico Garden
Sew Simple Shapes
needed for this block:
2 - 0-1
1 - O-2
1 - 0-7
1 - 0-8
1 - 0-11
1 - 0-12
2 - 0-16
1 - 0-21
1 - O-37
1 - O-38
1 - O-39
1 - O-45
1 - O-46
1 - O-47
3 - 0-63
For the Flower Pot -
You will need a piece of 6" long
prepared 1/2" straight bias.
Press under both ends
so that it measures 4 1/2" wide.
You will also need to cut
and prepare 1/4"
straight bias strips for the spokes:
4 - 5" long
You will need a 3 1/2" long strip
of 1/2" straight bias from same print
Also from this print you will need a 21"
long strip of 3/4" prepared straight bias
for the long handle and leg.
Press one end under and cut it to
measure 15 1/2" long for the handle.
From the remainder, press one end under
and cut the leg to measure 3 1/2"
You will also need two
1/4" cut on the bias because
they are curved stems for the flowers:
2 - 8" long and pressed on a curve
Cut your background
14" x 22"

For the flower pot you will trace the
top two sections of the shape
and leave the bottom section off:)

When you trace the pumpkin stems
trace one in reverse...

And glue the 4 - 5" long strips
onto your fabric square for the spokes
BEFORE
you sew the circle Sew Simple Shape.
I used the lines on my mat to center the strips.
You could easily use your
4 1/2" Trim It Ruler by placing it
on the Easy Trace Light Box.
When you glue them down...
trim a little less than half off
of one of the spokes like this.
The circle will cover the raw edge:)

Next sew your circle...trim and turn.
After shaping and pressing
it will look like this:)

All of the sewn shapes in the front
are the ones that need
some clipping before turning.

***NOTE***
The stars will be fussy to turn
and look crazy when you do!
But no worries...it's do-able.
This is what mine looked like before
shaping and just after turning.
My biggest tip is to clip the
interfacing ALMOST to the points...
probably 1/4" away.
That way you can turn each point
by kind of just opening them up
if that makes sense.

Use the seam roller
(like how I showed you in my week one video)
to shape ONE point at a time and
press one point at a time
until you can press the entire star
and then use the clapper on them.

These are all of my shapes that
needed clipping... all turned and shaped
and pressed and ready to go!

And now the rest:)
Let's go to the work table
and start the prep!

The first step is to glue
the stems onto the pumpkins...
(the shorter pumpkin has a taller stem)
Glue the top onto the flower pot...
the centers in the flowers and
the circle into the center of spokes
(leave half un-glued for handle)
and then the spokes onto the wheel!

It's actually a very simple layout and
I was surprised how quick it was.
If you use your
12 1/2" and 20 1/2" Trim-It Rulers
when laying out they will help
a lot to keep you with those sizes.
I took a bunch of measurement pics
for you to help along the way!
Above pic shows that the end of the
handle to end of wheel measures 18"

11" tall from the bottom of wheel
to tip of star...

as well as the flowers and flower pot.

8 1/4" from bottom of handle/
top of stem.

7 1/4" for the short pumpkin:)

Pumpkins together are a little under 9" wide...

The leg is 3" tall...

And here are reference measurements
for the space between the
wheel...bracket and leg.

Just keep in mind to keep the
entire width less than 20"...
because that's what it will finish at.


Once you have pinned everything and
you are happy with the placement...

It's time to glue it all down:)

Let the glue dry for a few minutes
and then remove the pins.

Now it's ready for applique!

I love this block and I was excited
to do it because it represents
fall in the garden:)

After you Block is appliquéd...
press it from the back and use the
12 1/2" Trim-It for the height...
the 20 1/2" Trim-It for width
and trim it down to
12 1/2" x 20 1/2"


Enjoy making your wheel barrow...
pumpkins and flowers this week:)

a few of these blocks together
but not quite yet:)
Just like patience makes a garden grow...
it's the same for growing a quilt!
Thanks so much for joining me for the
Calico Garden Sew Along
I'll meet you right back here
on my blog next week for
three block tutorials!
Climbing Vine - Bee's - Garden Tools
Until then...
Happy Calico Garden sewing!!
xx
Lori

1 comment:
Thank you so much for this quilt along, love your videos. I am behind, but having fun.
Post a Comment