

"MEMORIAL DAY BLOCK"

Welcome to week TEN of the
"MERCANTILE SAMPLER"
Sew Along!
Are you ready to sew with me?
I hope that you will join me here each week
when I will be doing two tutorials
weekly...every Monday and Friday.

We are making the
Mercantile Sampler Quilt
88" x 88"

.jpeg)

The quilt is made with my fabric
collection called Mercantile:)

We are piecing all 25 blocks
and then turning them into a
12" circle to applique onto a
4-Patch Block background!
I detail all of the supplies
that you need to make the quilt in my
Bee Prepared post right here on my blog.
I have already posted the
post which not only details
all of the supplies needed but
explains how this sew along works.
I have also given the links there
for the free PDF Download
of the Sew Along Guides
to download the sew along guide
if you have not downloaded yet.
to download the sampler block
sew along guide.

As per usual for the first block in my
new fabric collection Sew Alongs
that FIRST tutorial is a video.
Because I now have my own
I have posted the
Birthday Cake Block
Tutorial there.
to visit my channel and watch the
tutorial and I hope that you love it!
Pretty please leave me a comment
over there and let me know:)
If you like what you see
and my other videos there...
click on subscribe and click on the bell
to be notified whenever
I post another tutorial:)
ANGEL STAR BLOCK
for the tutorial and blog post

For the tutorial and blog post

GRANDMA'S QUILT BLOCK
for the tutorial and blog post

PUZZLE BLOCK
for the tutorial and blog post

DUCK AND DUCKLINGS BLOCK
for the tutorial and blog post

SPOOL AND BOBBINS BLOCK
for the tutorial and blog post

SODA POP STAR BLOCK
for the tutorial and blog post

SHOPPING BASKET BLOCK
for the tutorial and blog post

9-PATCH STAR BLOCK
for the tutorial and blog post

PEONY BLOCK
for the blog post and tutorial

CHICKADEE BLOCK
for the blog post and tutorial

TOWN DAYS BLOCK
for the blog post and tutorial

YARD GOODS BLOCK
for that blog post and tutorial

CHURN DASH BLOCK
for that blog post and tutorial

FLOWER POT BLOCK
for that blog post and tutorial

CROSS ROADS BLOCK
for that blog post and tutorial

SWEET DREAMS BLOCK
for that blog post and tutorial

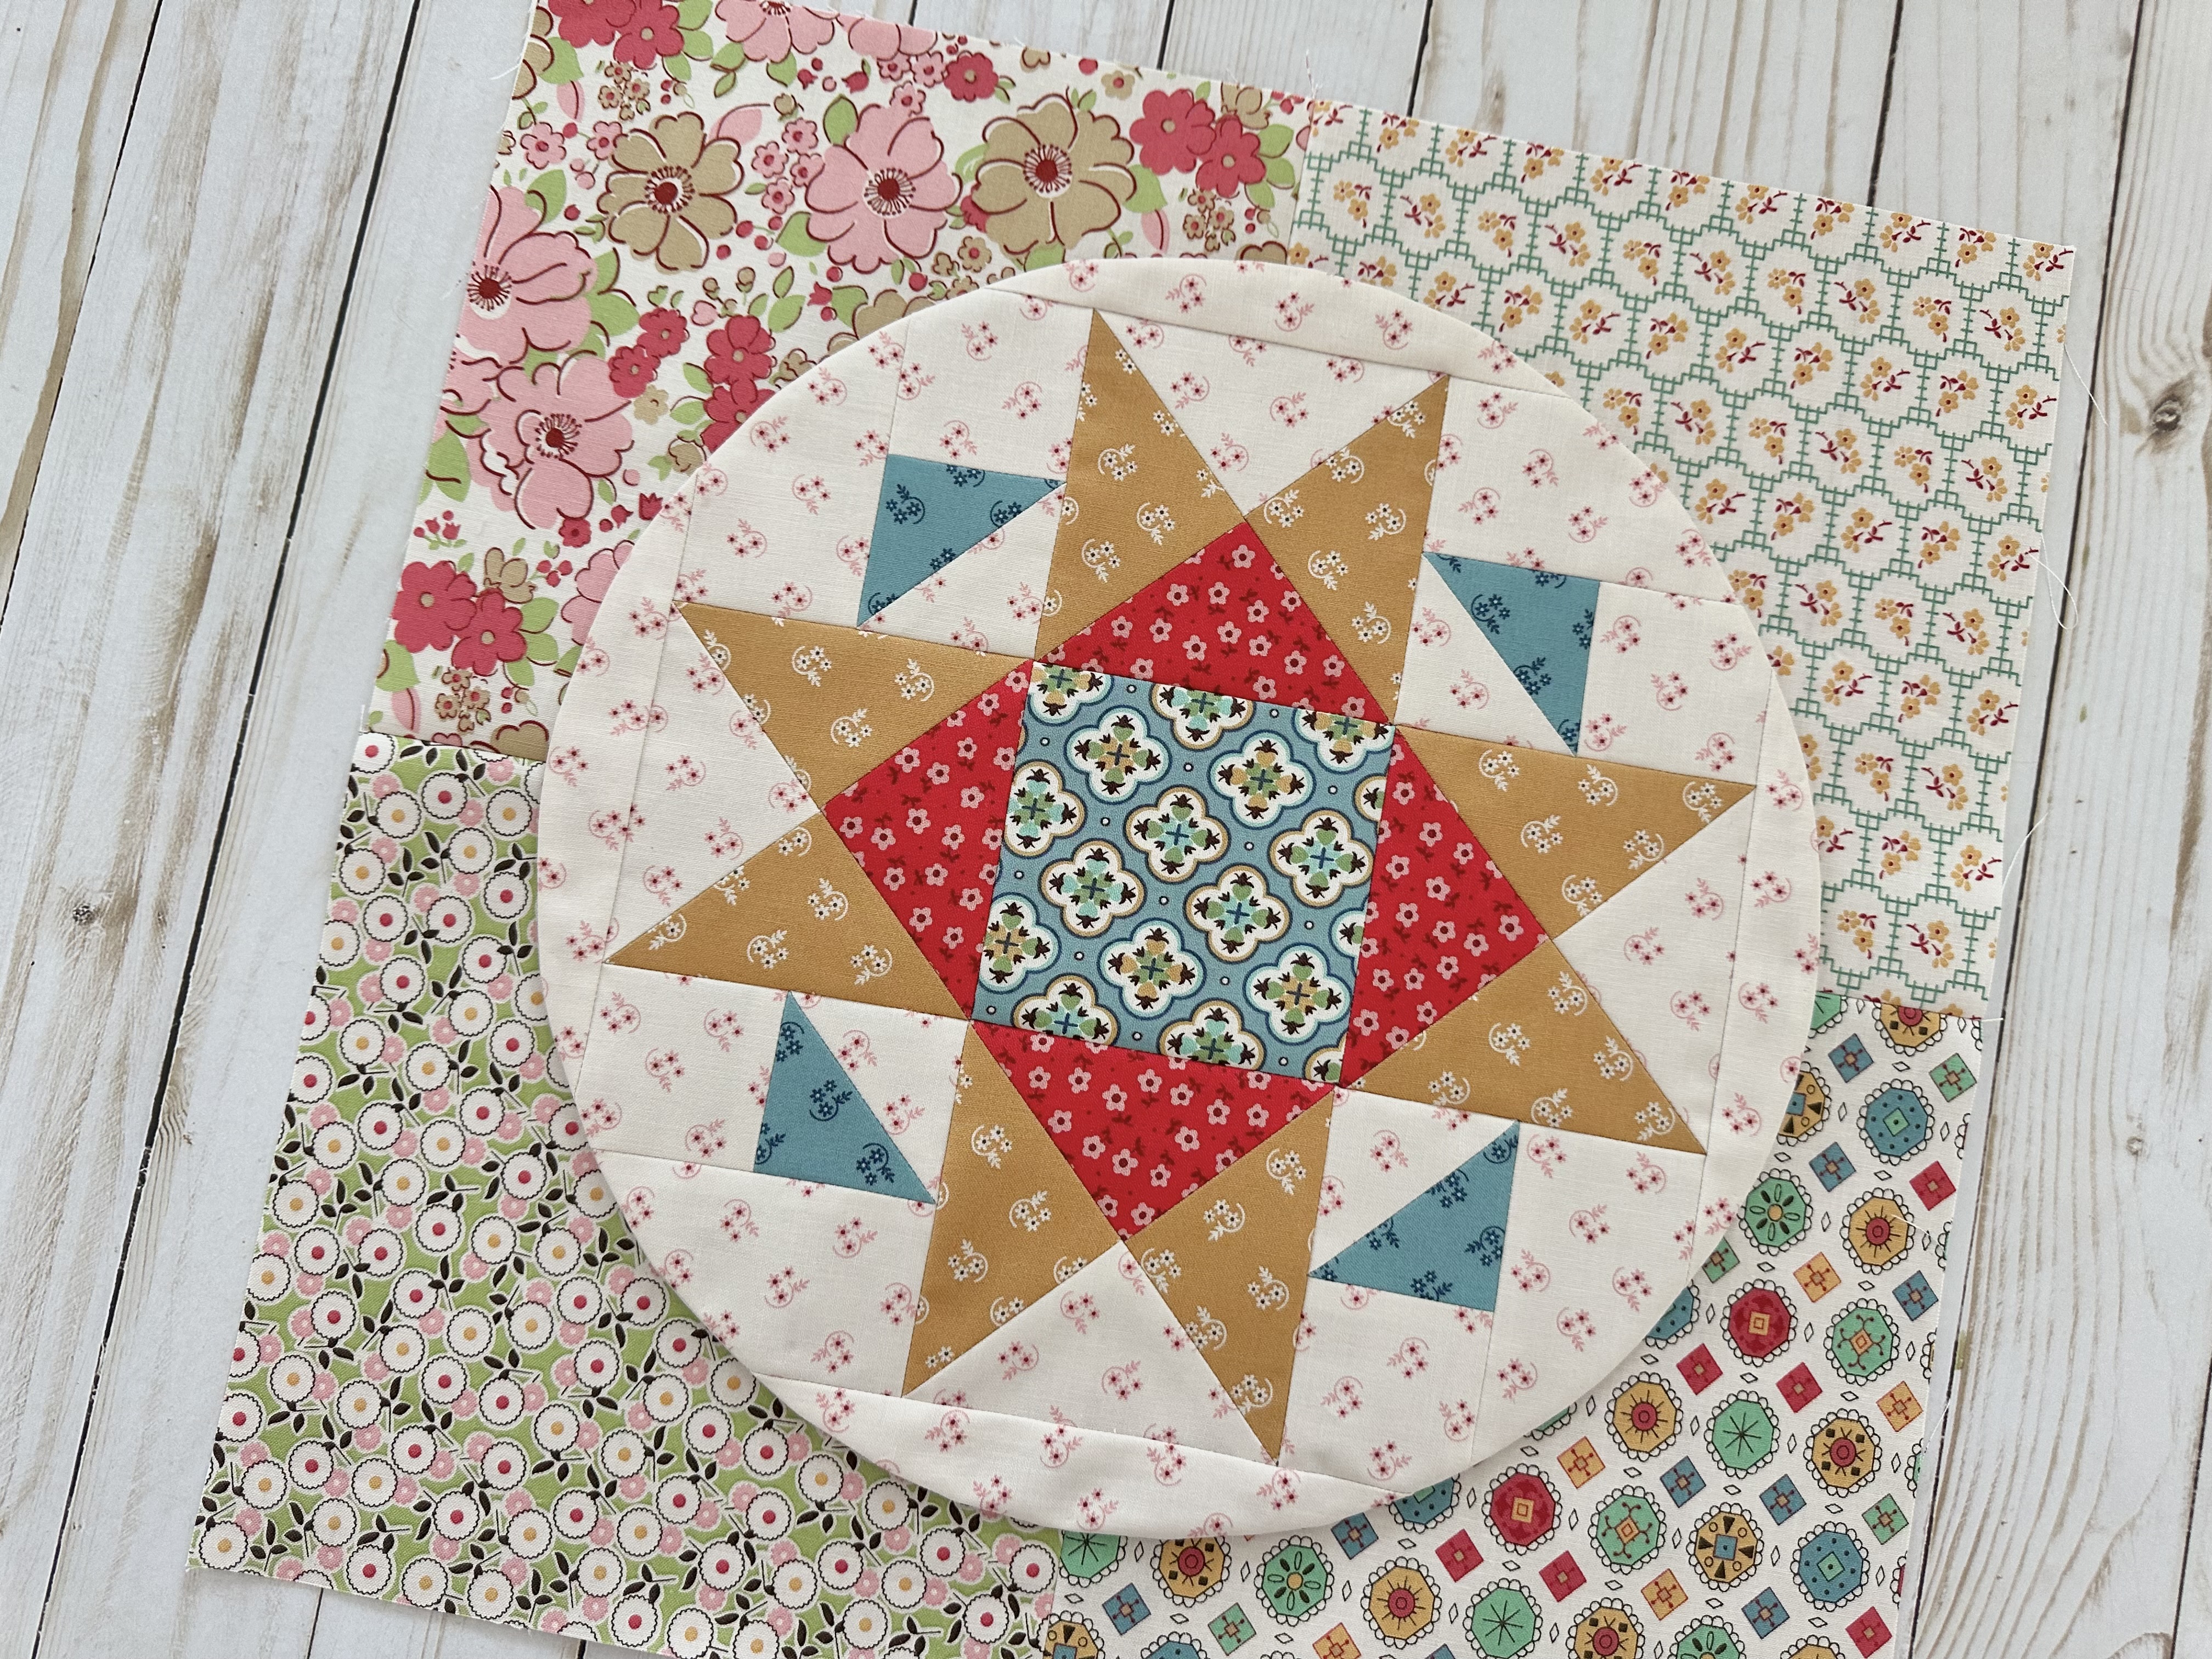
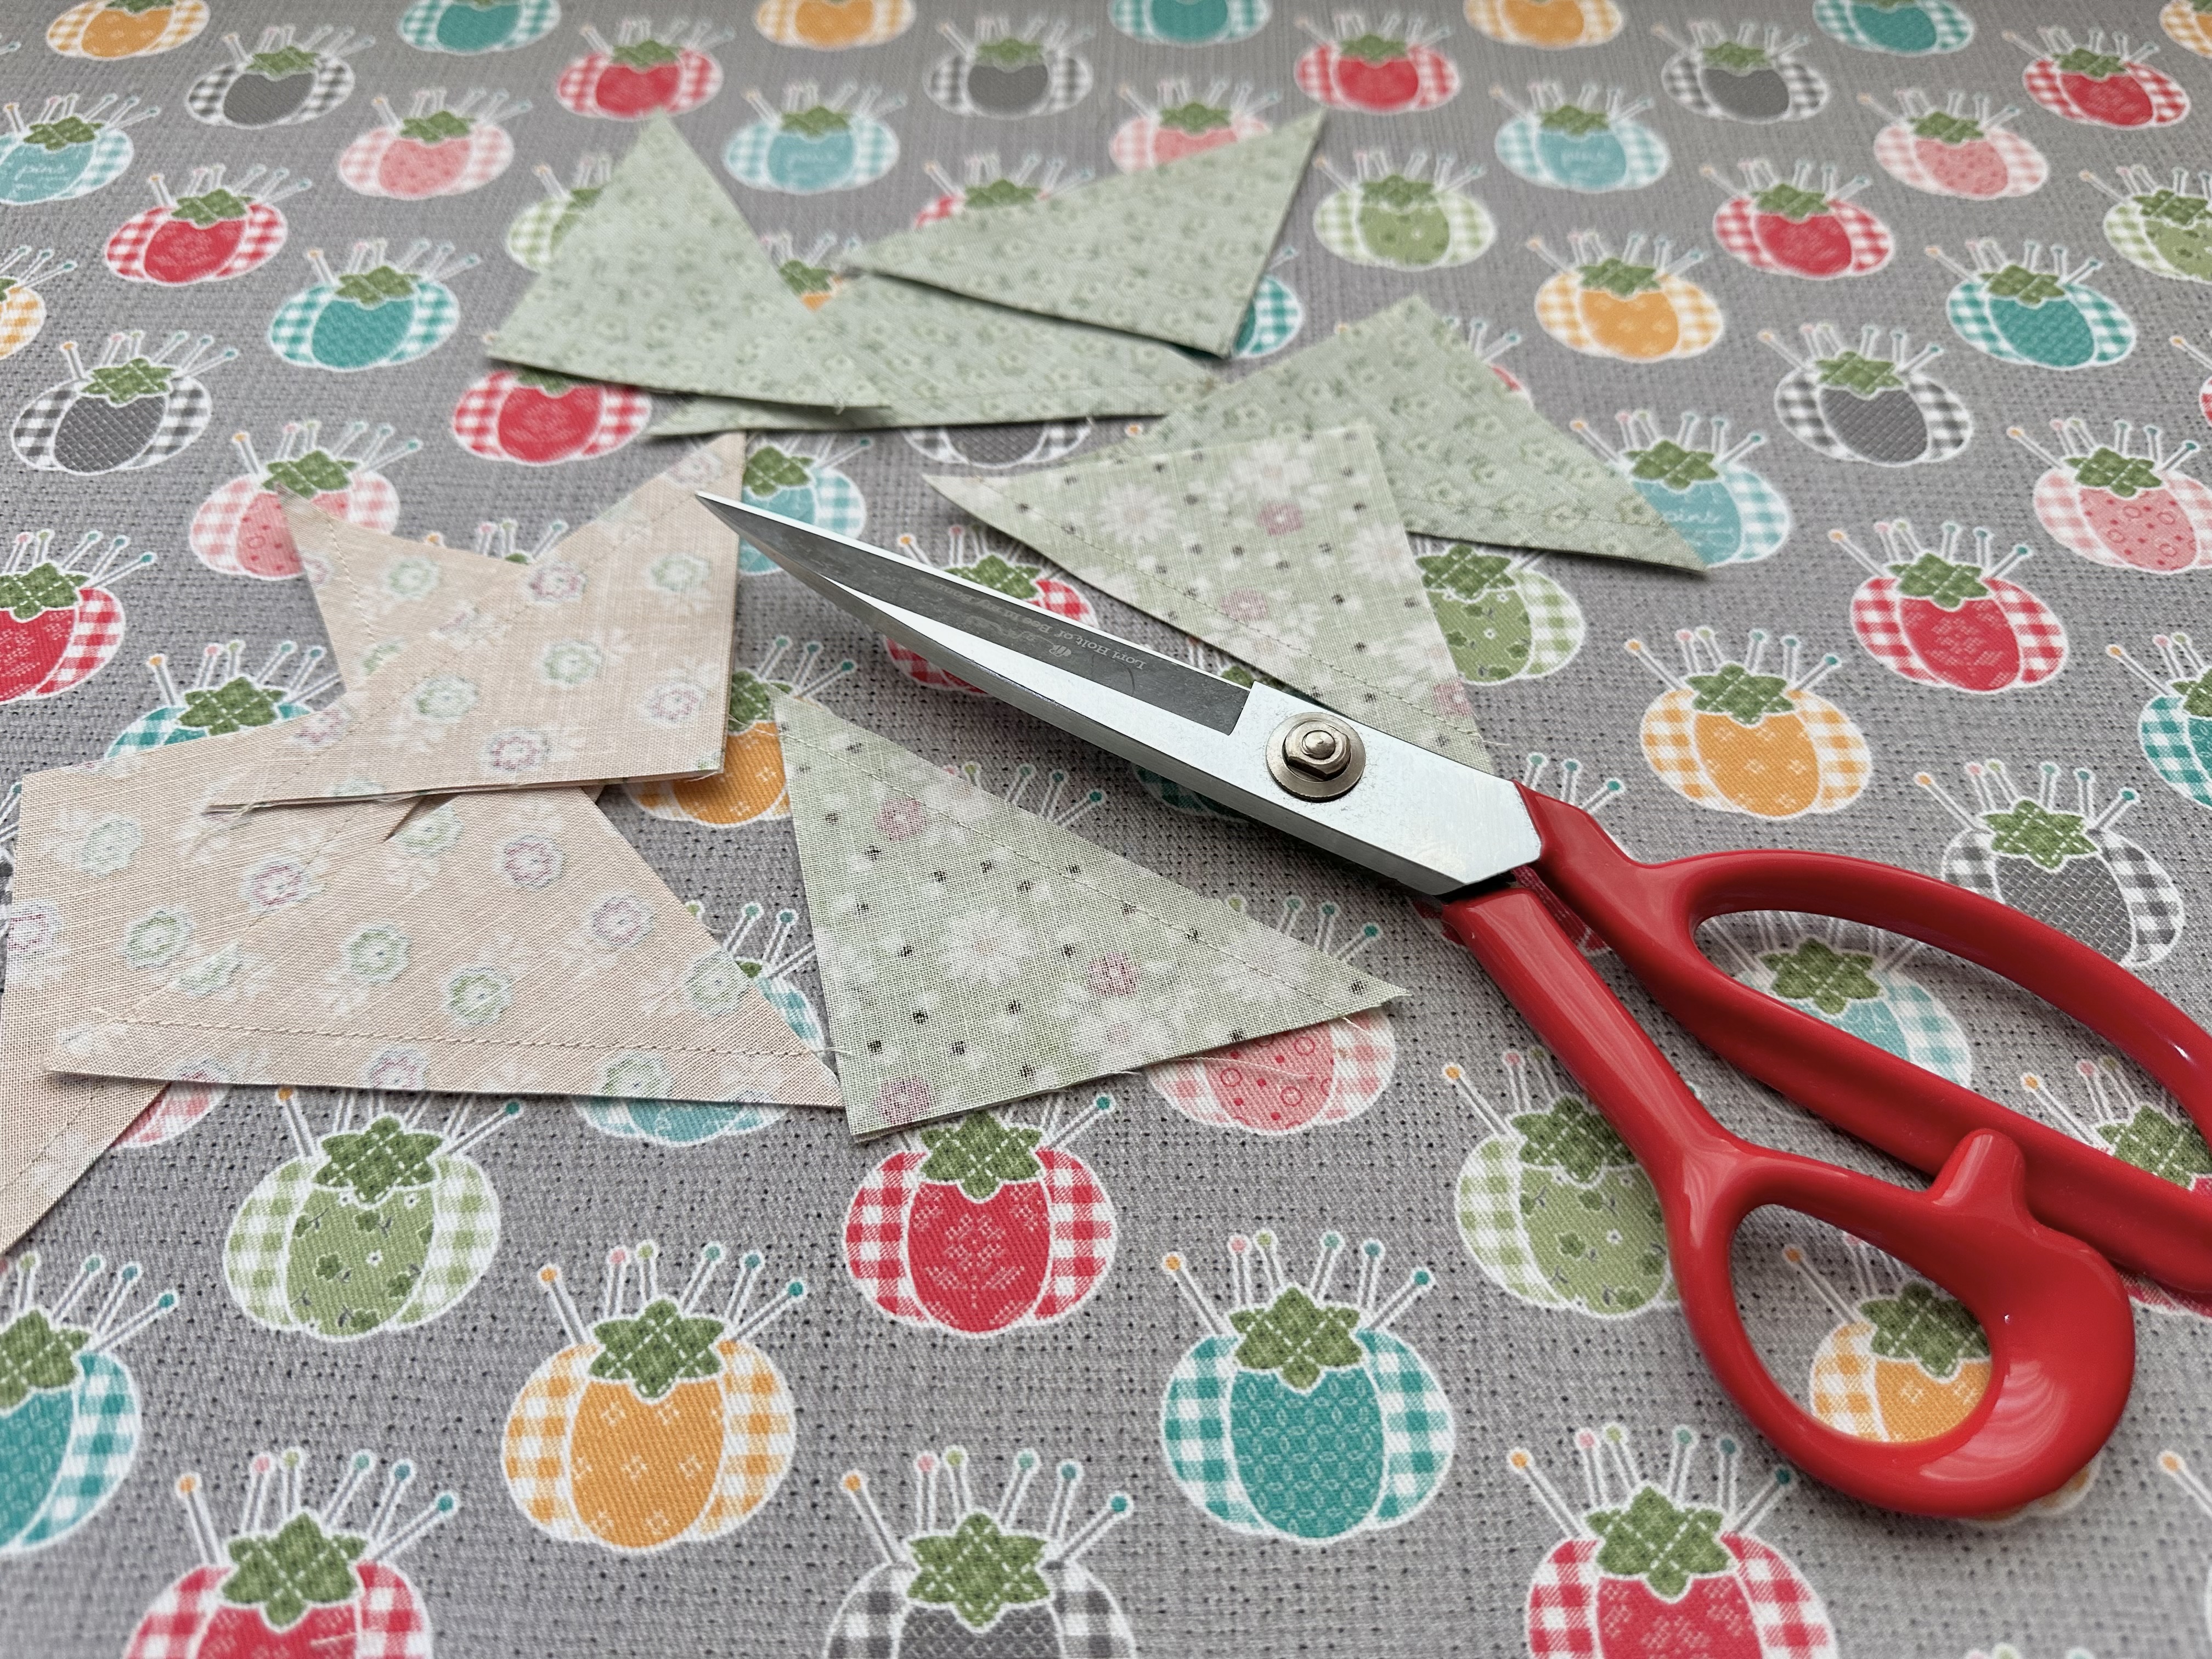
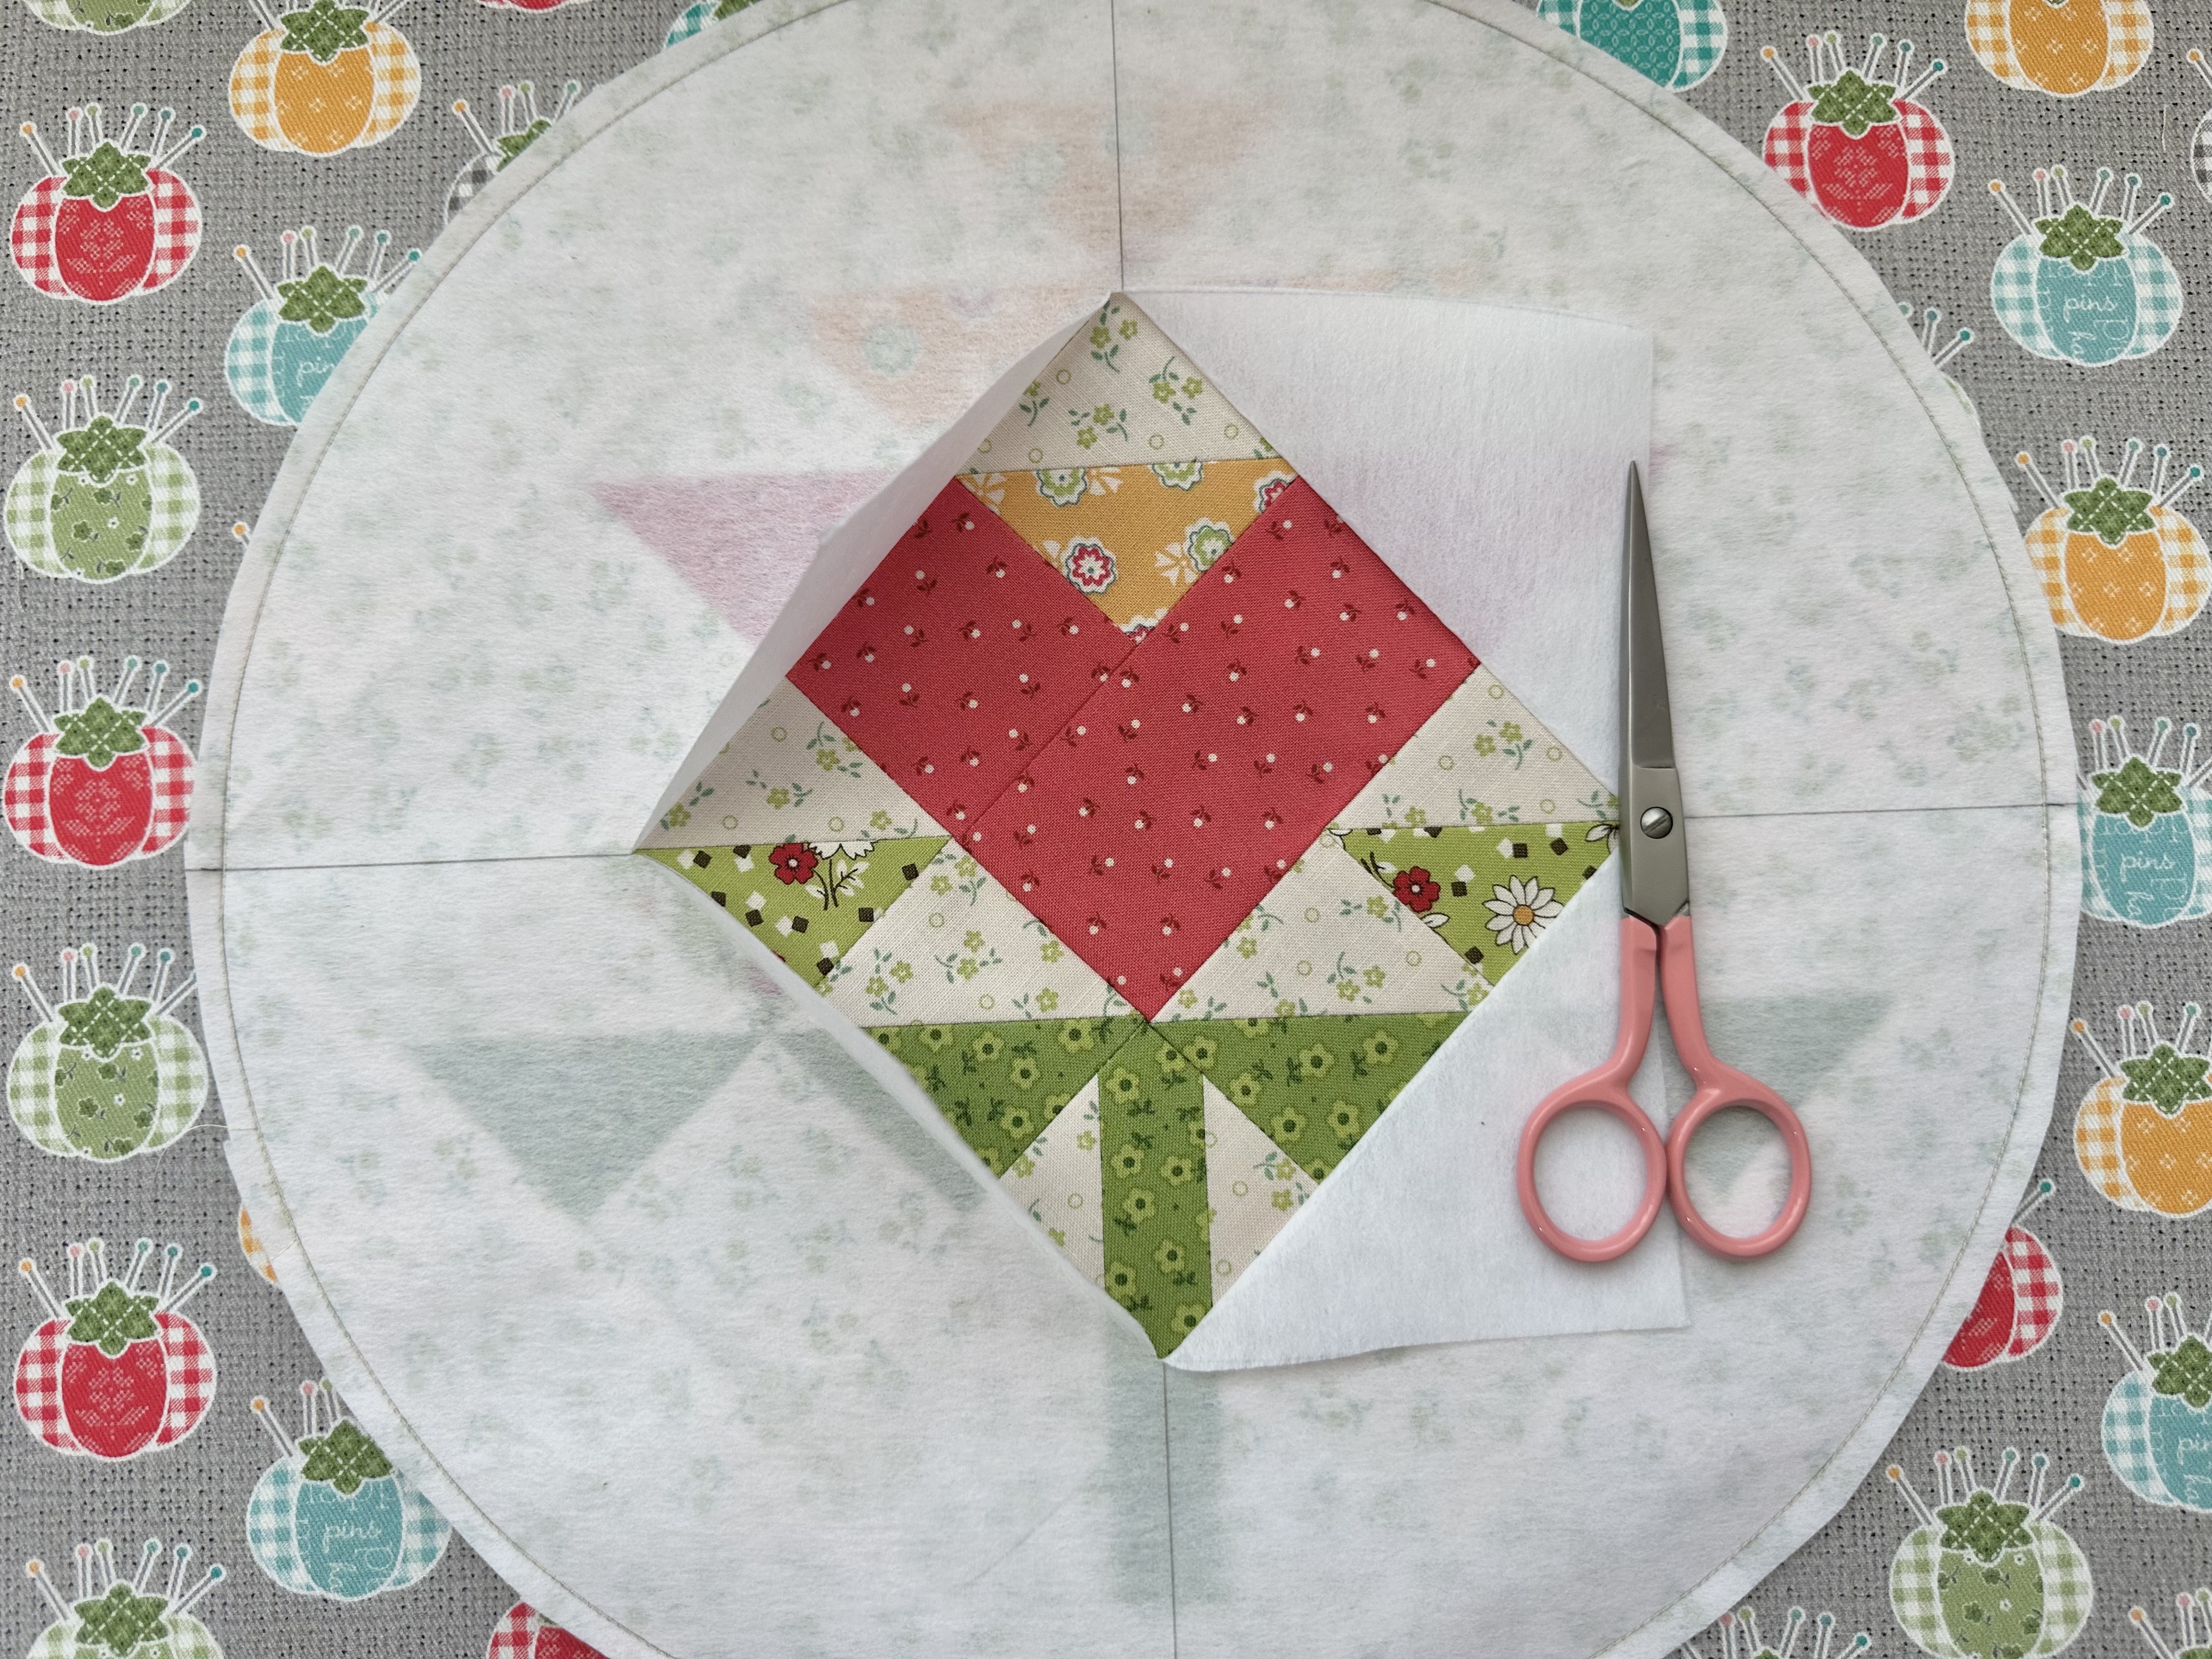
MEMORIAL DAY BLOCK

Here's mine all cut and ready to sew!

Cutting each block is very easy
because of the sew along guide
that is provided for you.

We are using the 2 1/4" Trim-It Ruler
to make ten half square triangles.
We will need the "G" "H" "I" and
"B" squares to make them.
Trace double stitching lines onto
the back of your "B" squares.
Cut apart after stitching...

And trim them all down to 2 1/4"
using the same size Trim-It Ruler:)

Press seams open.

Now sew them into 3 segments like this.
Press the seams open and use the
4" Trim-It Ruler to
square them up if needed:)

Now let's make the stem.
draw a line from corner to corner
on the back of each "A" square
and one of the "D" squares.

Add an easy corner triangle onto
one side of the "J" square to
begin forming the stem.
Trim away excess.

Add the other one on the opposite side.

Press the seams open.
Now add the last one on the bottom corner.


Press towards the easy corner triangle.

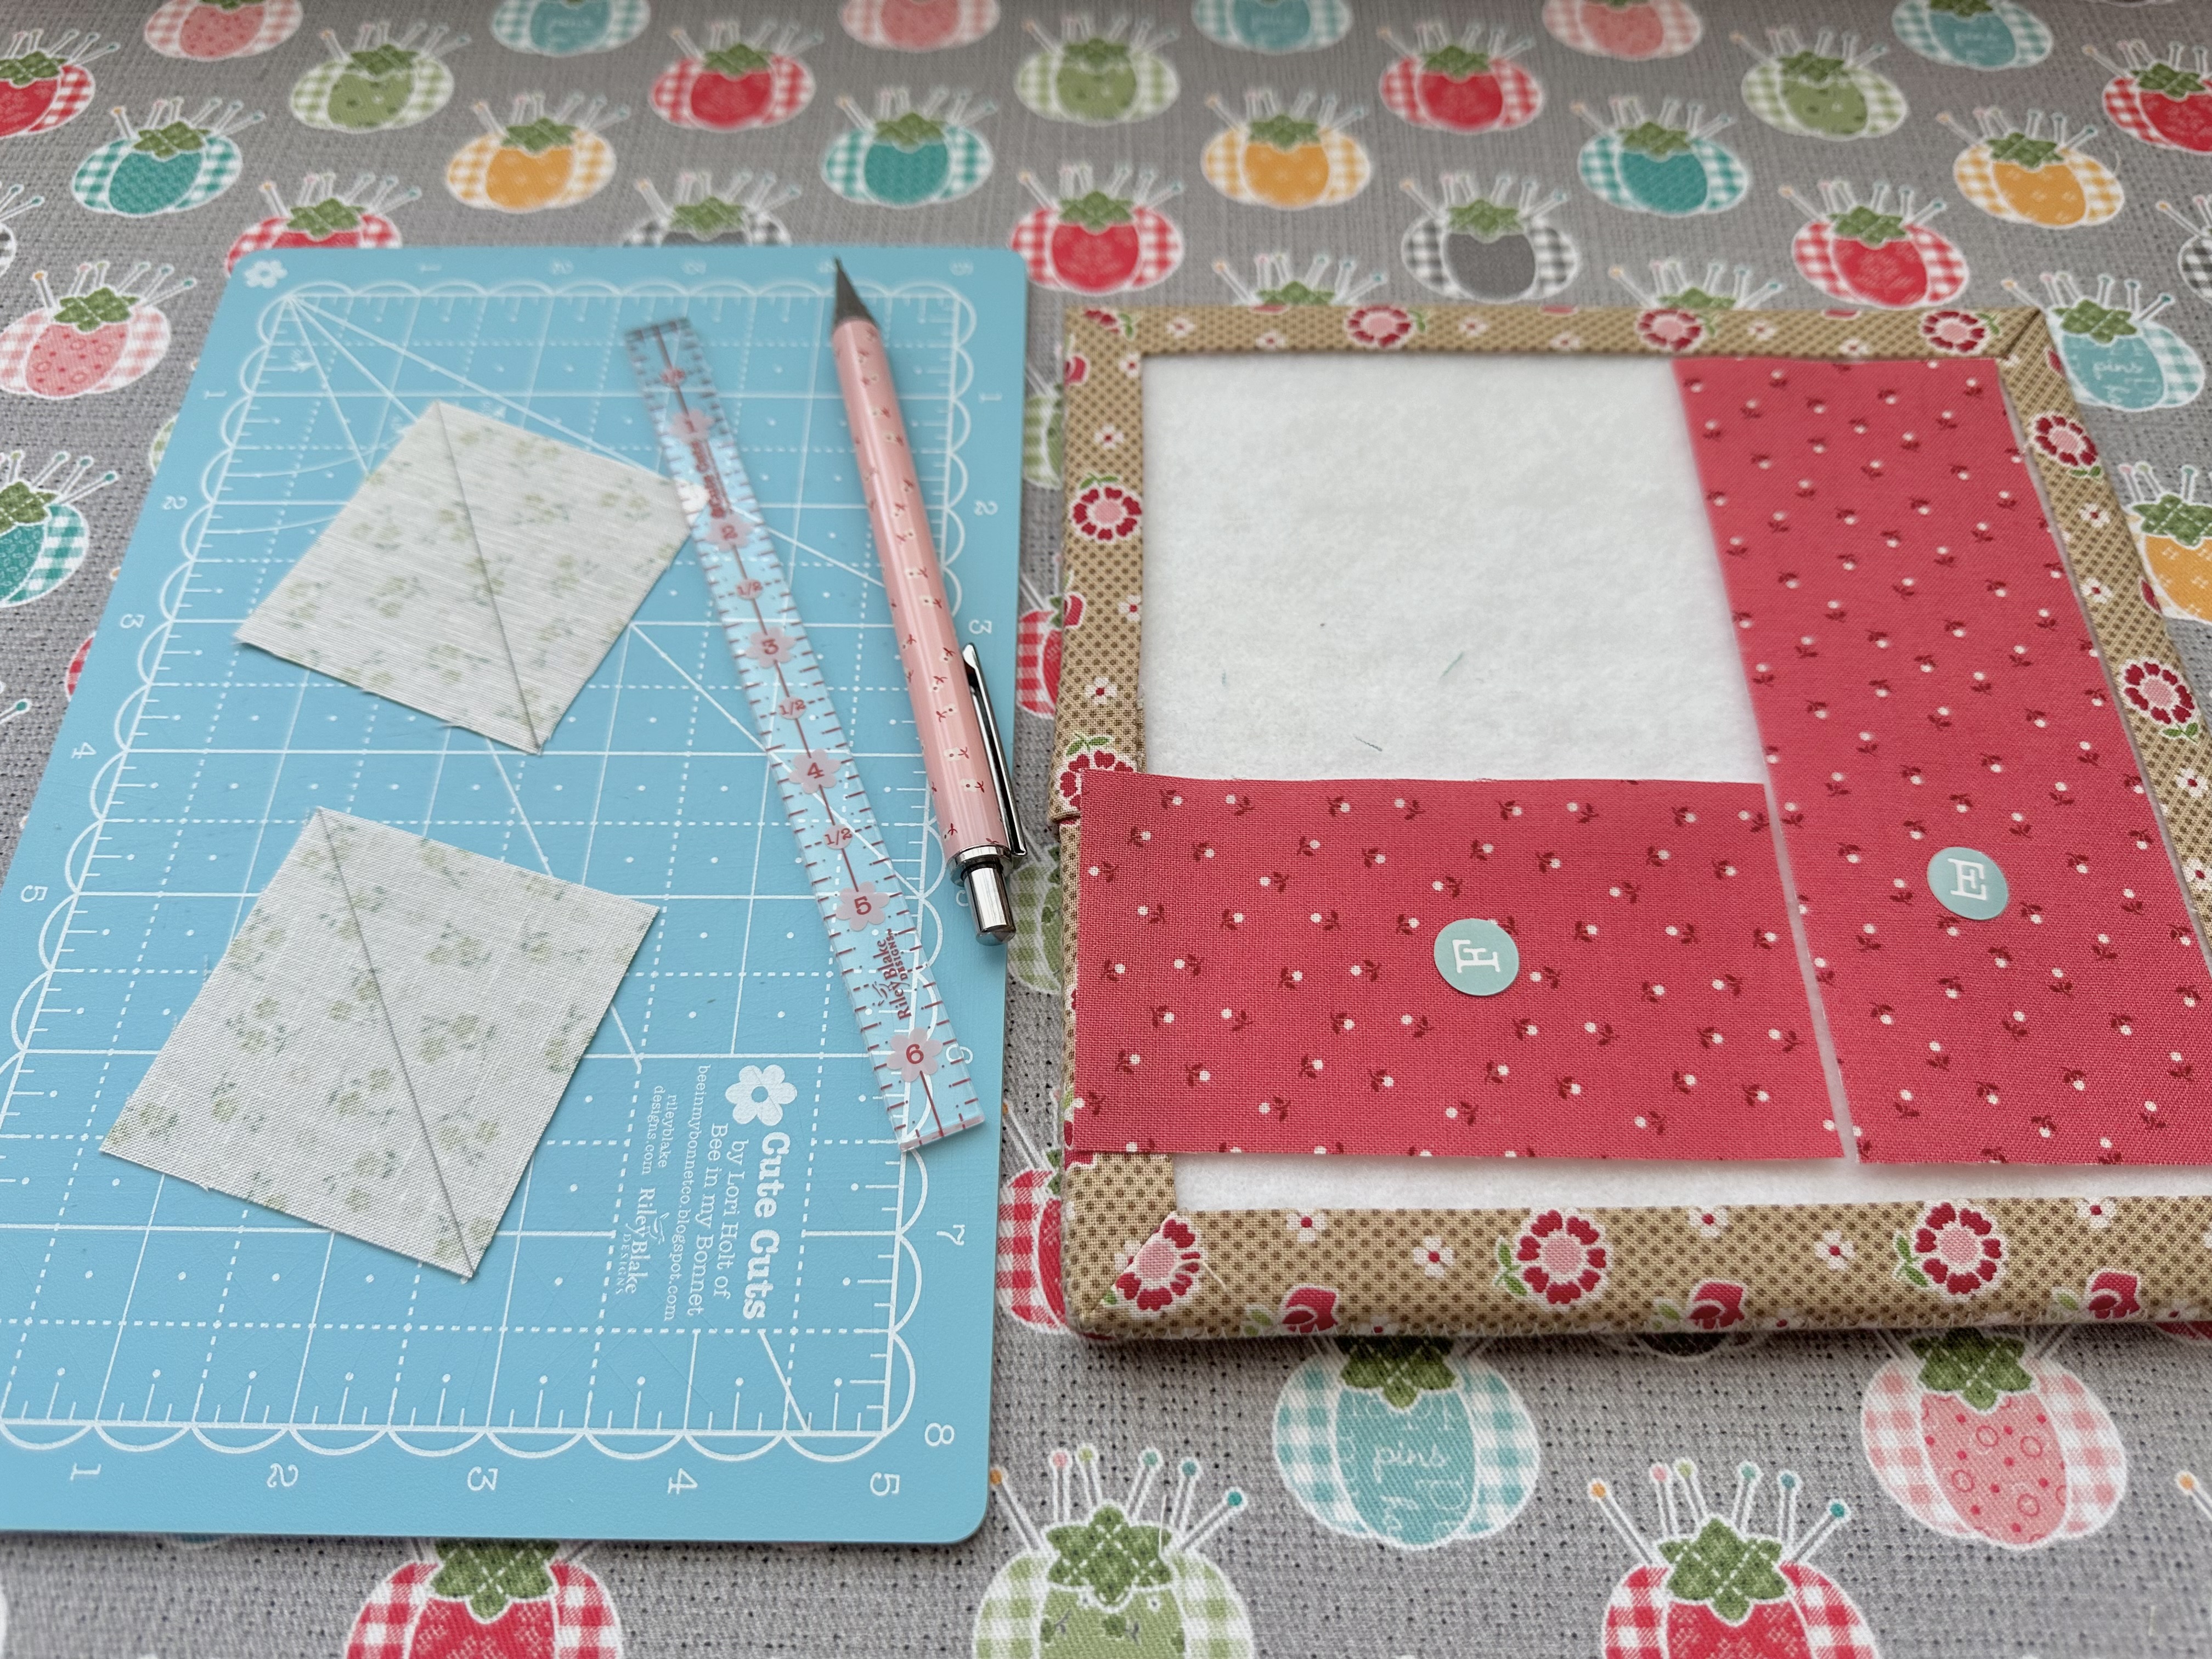
Now lets add the last two
"D" easy corner triangles
onto the ends of "E" and "F" rectangles...

like this:)

Press the seams open...

And add them to the "G"
easy corner triangles segment like this.

Press seams open.

Now add the "C" rectangles to
the two leaf segments like this.
Take note that they are not
sewn on the same side.

This is how they should look...

And seams pressed open.

Now lay the completed four segments
out on the design board
and sew your block together!

Back of my block:)

Add the borders so that
we can turn it into a circle!
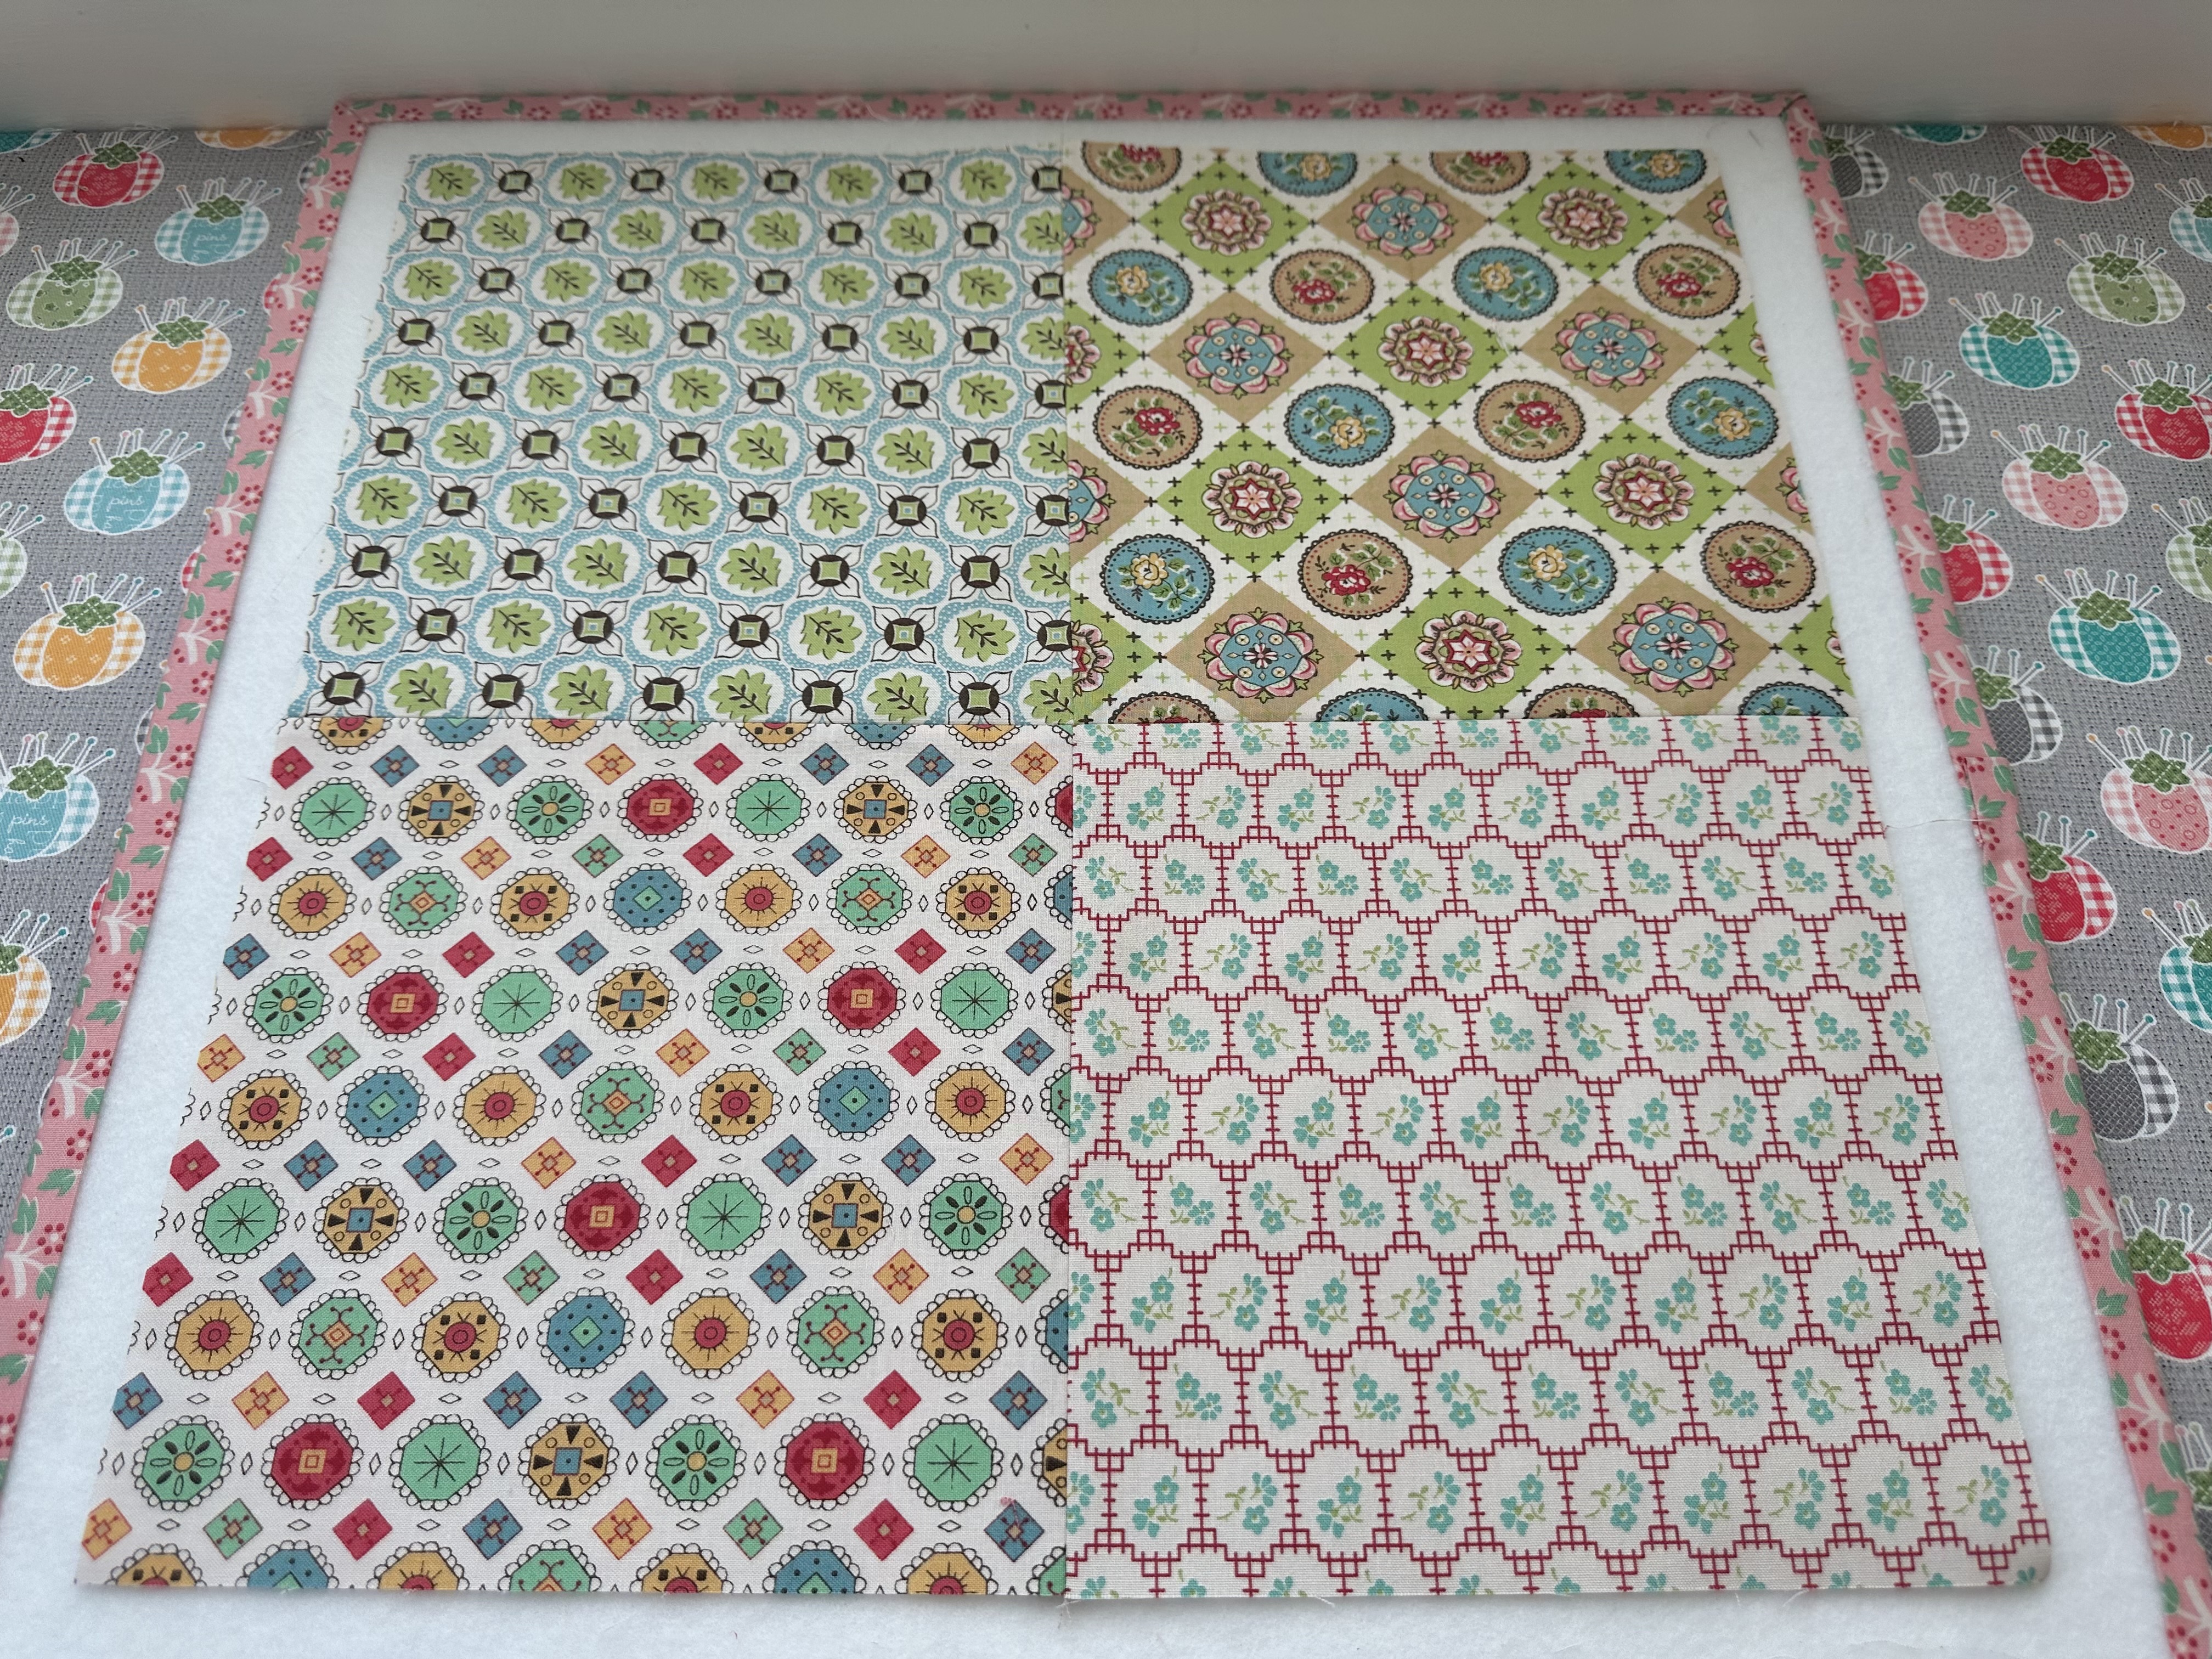
Also piece your 4-Patch Block:)

Line up the horizontal line
on the interfacing with the top of the
2 lighter green half square triangles.

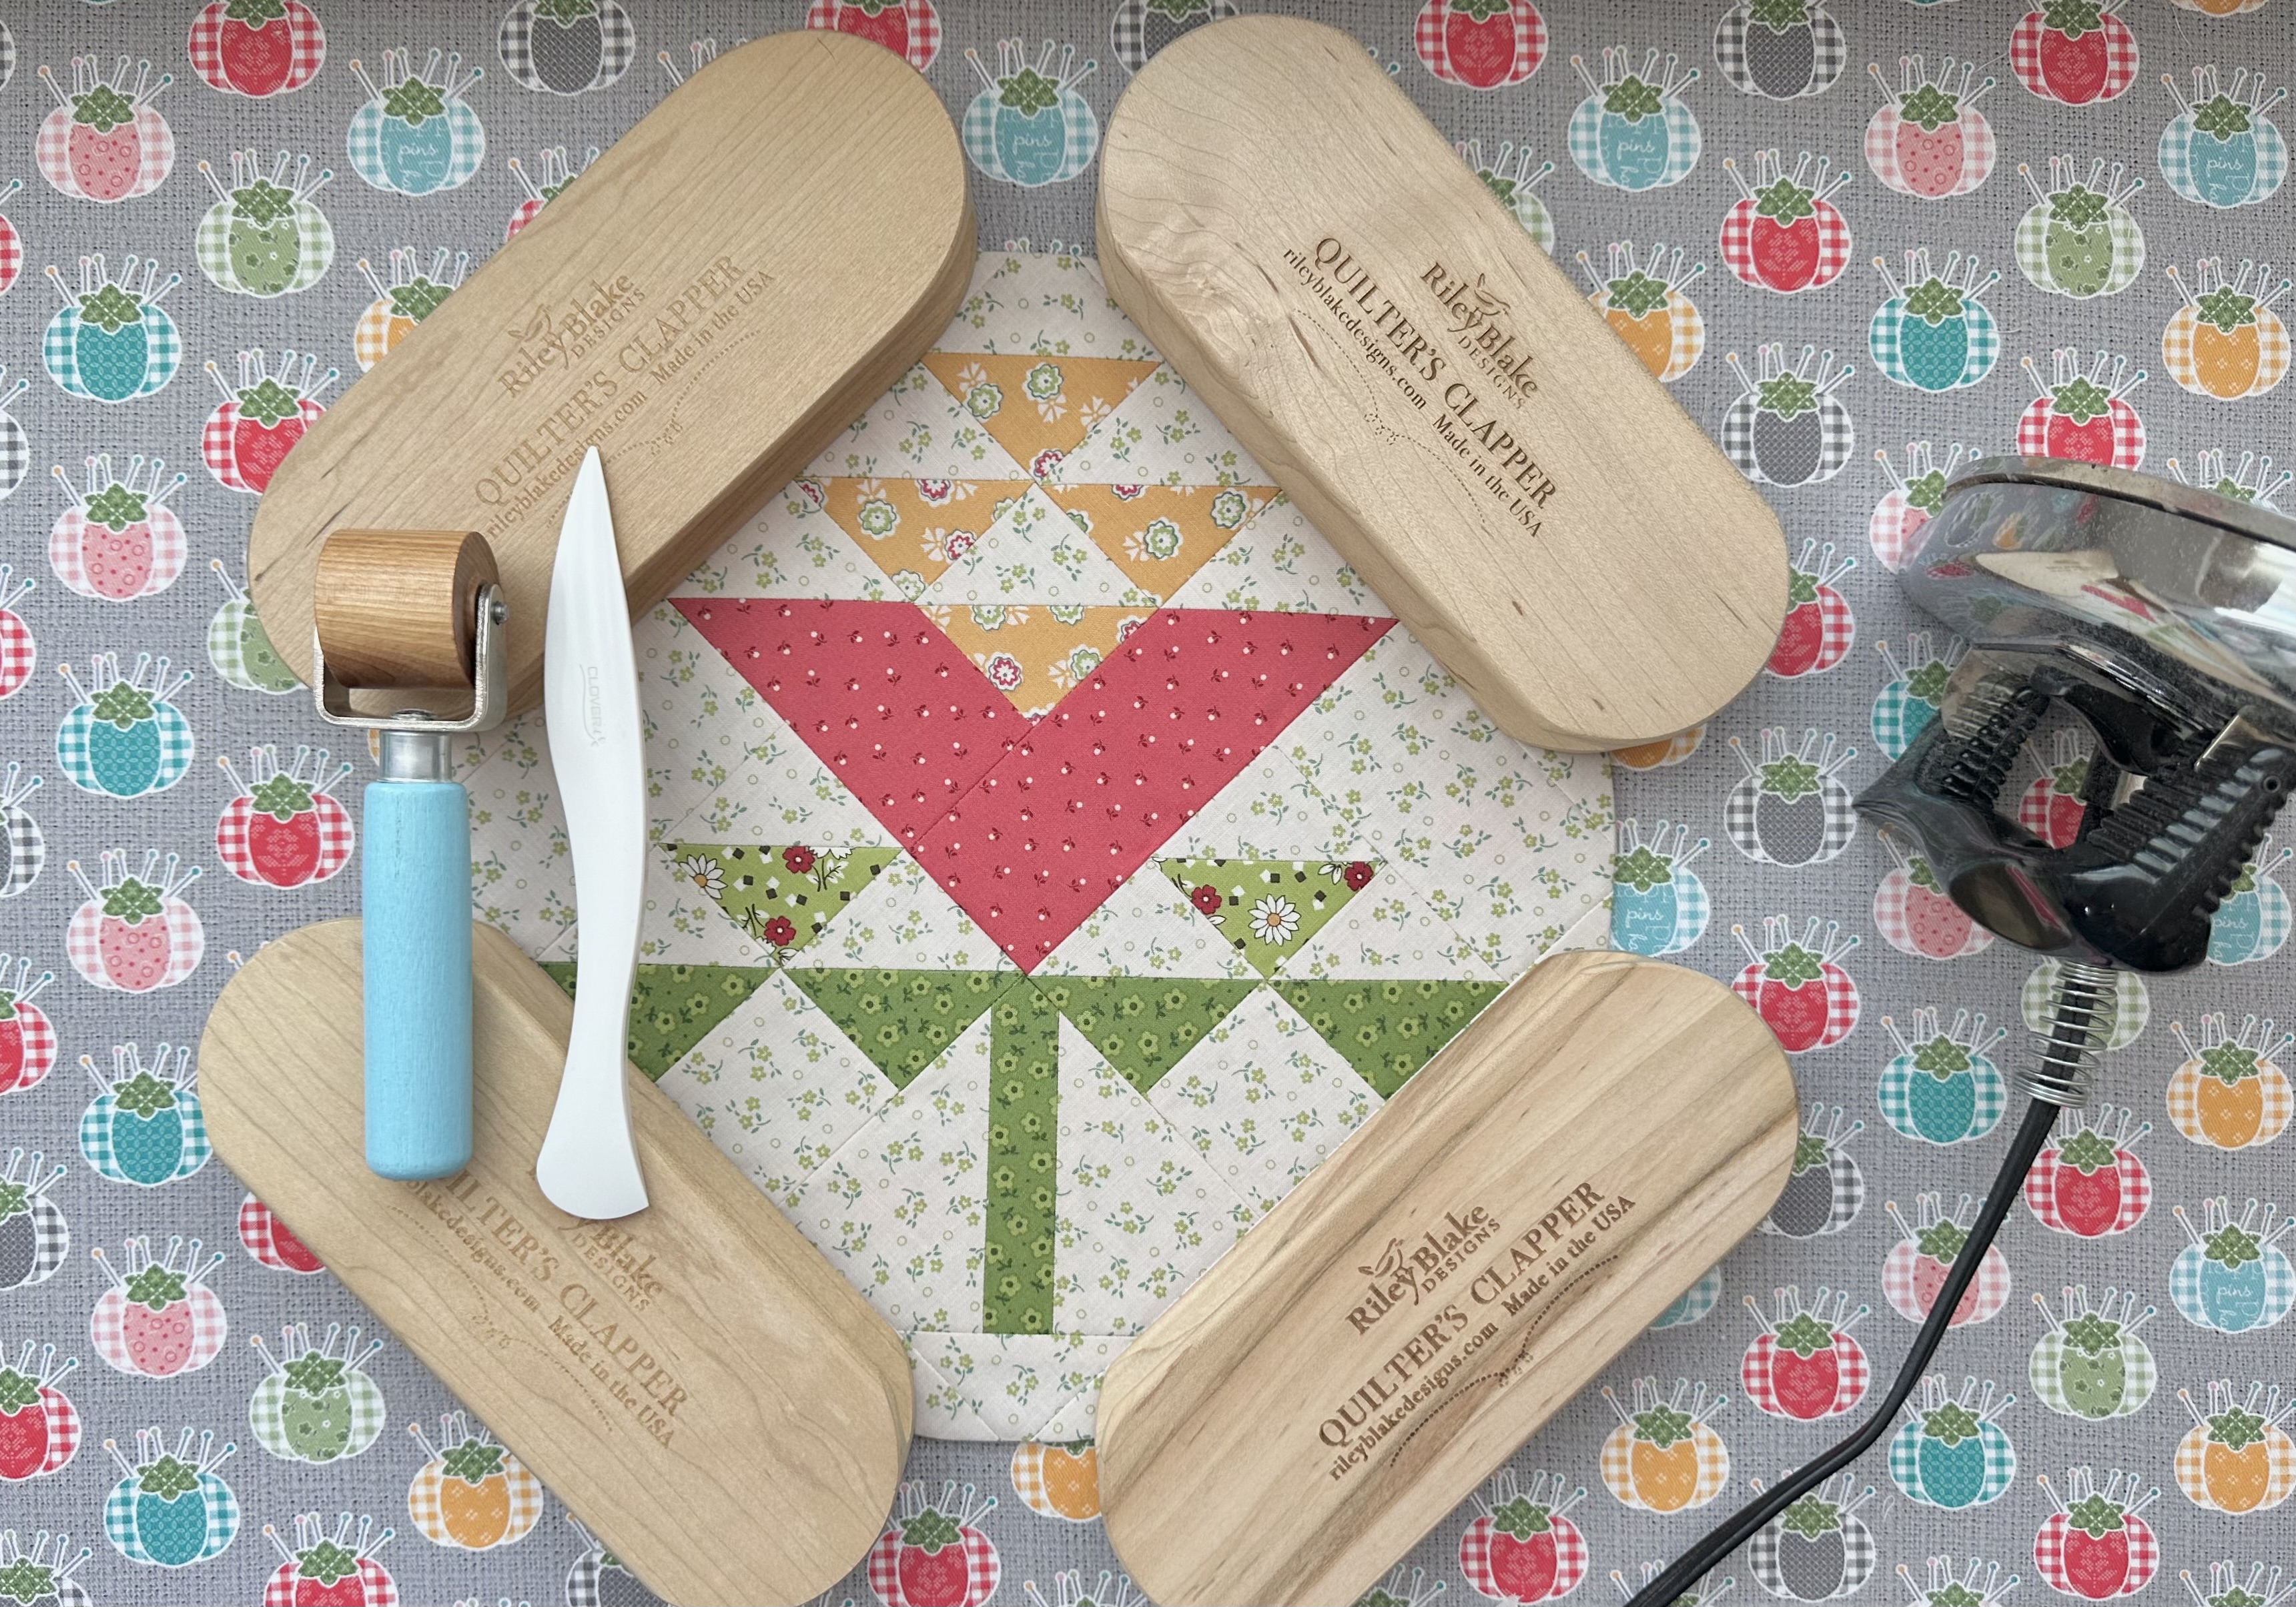

Okay now it's time for the worktable.

Line up the side seams with the
top of the light green
half square triangles and center.

Pin and glue into place:)

Ready for applique!

As per usual...after applique
trim it down to 14 1/2" square
using the 14 1/2" Trim-It Ruler.
*Continue to line up the seams
in the block
with the lines on the rulers that
go both ways...straight and diagonal
for easy peasy centering!


And now we have 19 blocks completed!

I hope that you will love
sewing YOUR nineteenth sampler block
for our sampler quilt...
and then turning it into a circle!


I'll meet you right back here
on my blog this Friday for the
Ladies Aid Block tutorial...
xx
Lori

No comments:
Post a Comment