YaY!!!...Today is the
BEE PREPARED
post for the
Vintage Housewife Sew Along!
We will of course...
be making the Vintage Housewife Quilt:)
The quilt consists of a rotary cut
and machine pieced apron ...
surrounded by 9 applique blocks
that represent things that the
vintage housewife did
while wearing her apron!
The scrappy squares border
finishes it off vintage perfect:)

I'm so glad that you will be making
the quilt and celebrating the life
of the vintage housewife with me.
Here is how you
"sign up" for this sew along:
1. Simply tune in here on my blog
starting January 27th for all of
the instructions and step by step
tutorials on making each block!
The sew along will start in just
three weeks and will continue
each Monday after for 12 weeks.
2. Follow me on
for weekly updates on this sew along.
3. Post photos of your sew along
progress along the way.
It's easy! Just take a photo and say
a sentence or two about it.
Photo things such as cutting...sewing...applique etc.
When you post be sure to tag me
(@beelori1) and then use the hashtag
and your post will automatically go
onto that hashtag page so that you
are in the group and everyone
sewing along can see your post.
Also...follow that hashtag page
and Instagram will also show you
all posts from the sew along.

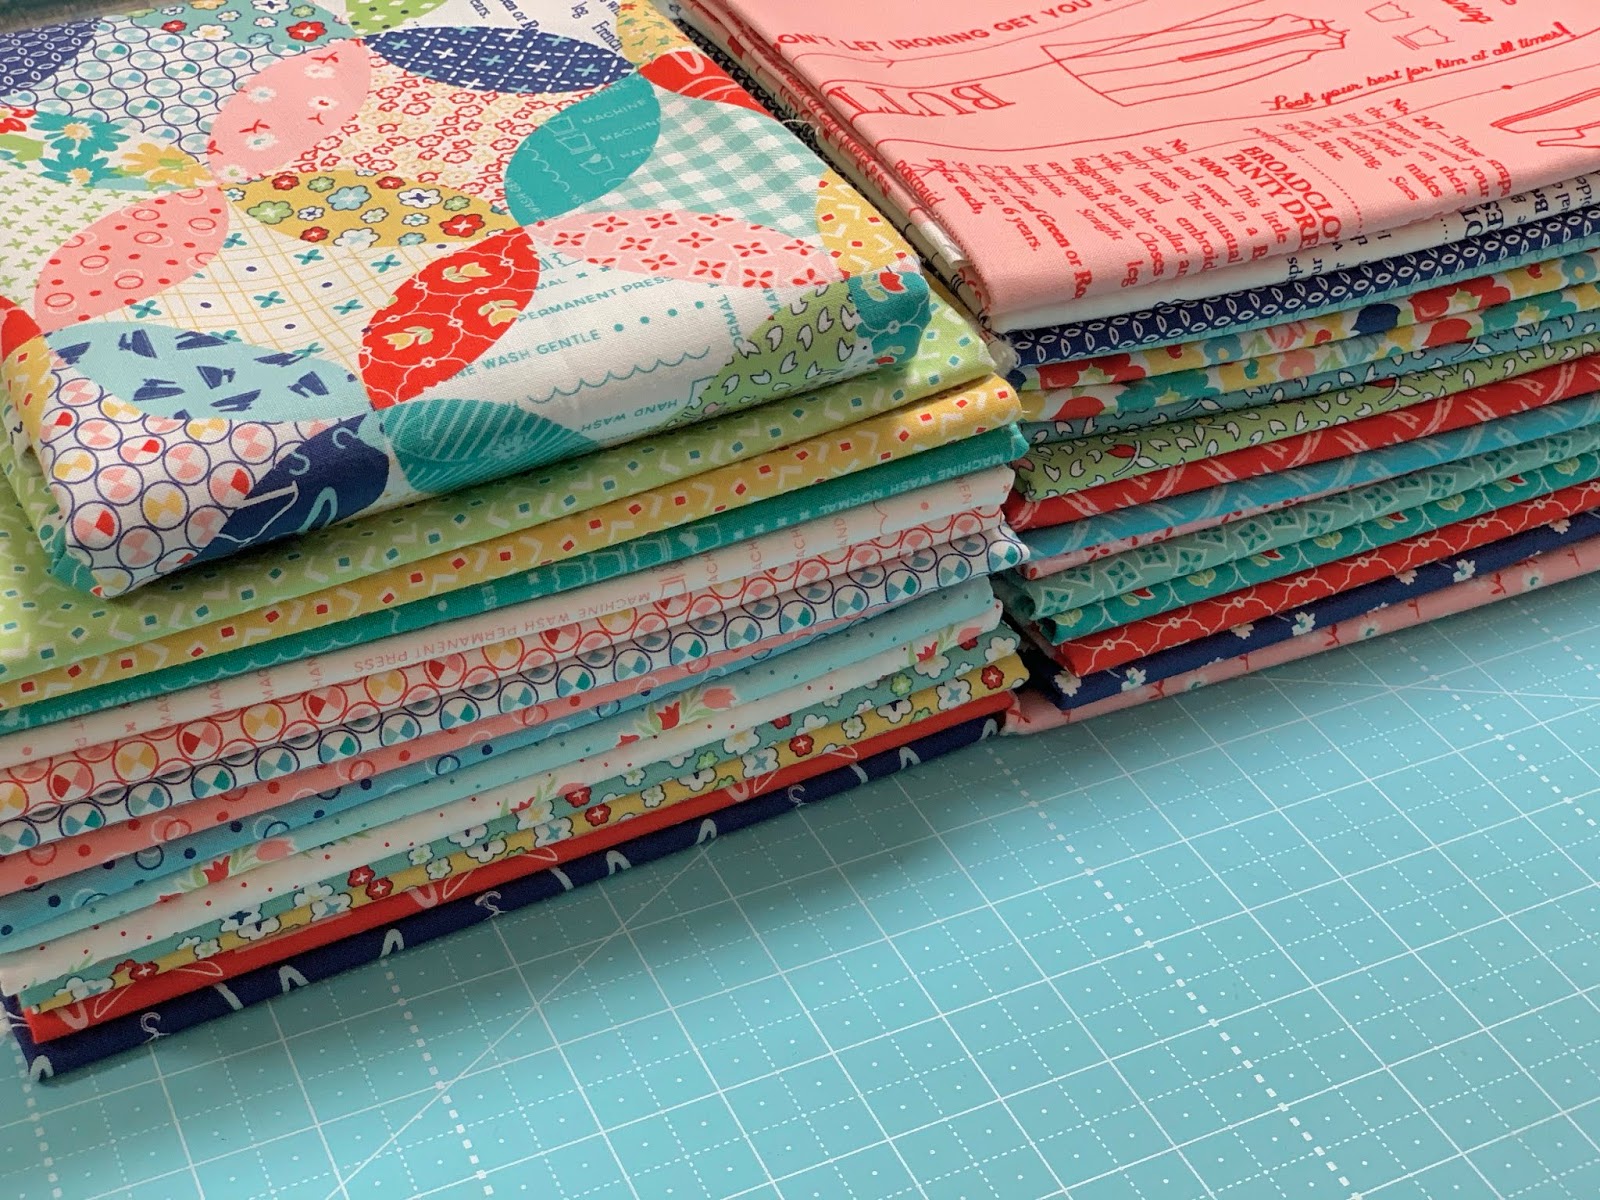
The fabric that we are using to
make the quilt is Vintage Happy 2.
If you do not have a kit yet
and are looking for one...
simply do a quick google search
typing in "Vintage Housewife Quilt Kit"
to find one before the sew along starts.

We are using the
Vintage Housewife Sew Simple Shapes
to make the quilt and all of the
other notions and supplies are
listed inside the Sew Along Guide.
The quilt shop that you purchase
your fabric kit from will also have
the notions needed as well.

And speaking of the Sew Along Guide...
it is now available as a free PDF Download
to get yours now.
You will need to use this during the
entire sew along and has very
valuable information for you!

About the guide:
I always put my guide in a
3 ring binder using sheet protectors
for the pages.
This is the cover of my guide.
I decorated it using the
"clip art" page (that I will tell you
about later in this post)
I also scanned prints of my
Vintage Happy 2 fabric and color copied
them to use in decorating my binder as well.

I always like to load up my binder
with clips and bookmarks
that I use to mark my place
throughout the guide.

I also used my Sew Handy Stickers
and added the words "Sew Along"
next to the vase of flowers...

Like this.

Now the cover of my binder says
Vintage Housewife Sew Along!

I copied my Vintage Happy 2 fabric logo
and glued it onto a piece of paper
that I copied from scanned
fabric for the front page.
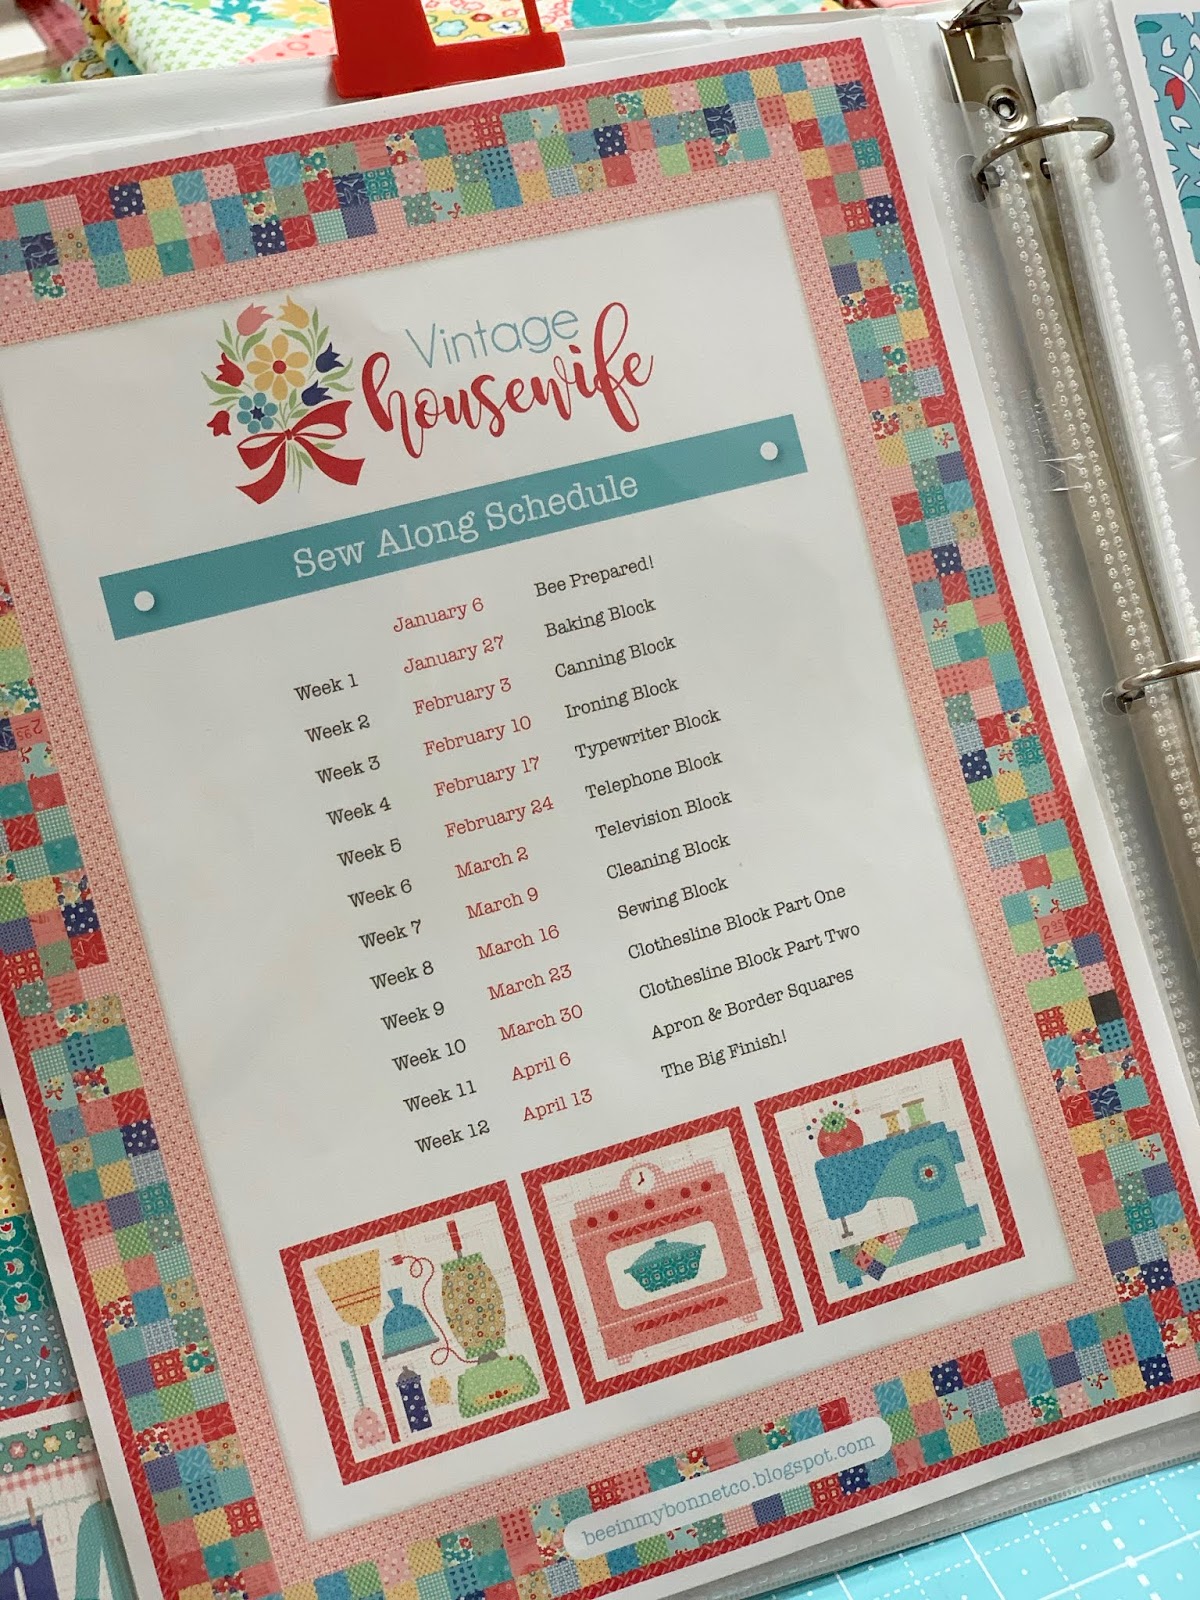
Inside the sew along guide you will find
the schedule of what block that
we will doing each week.
Tune in here for the step by step tutorial.

The front of the sew along has a
nice photo of the quilt and is
sew handy for easy reference.

Inside you will find all of the
cutting that you will need to do
from each and every piece
of fabric in your kit.
The guide will also tell you
which block that piece is used for
and which sew simple shape or
bias tape maker that it's used with.

You will also find the information about
each sew simple shape...
what size to cut the sew in interfacing
and how many of each shape
that we use in the quilt.
There are a few "bonus" shapes in
the set and I will show you what they are
and how to use them
at the end of the sew along!

On pages 13 and 14 you will find
the diagrams and basic instructions
when it comes time to put the blocks together.

You will also find the embroidery patterns
and cord placement guides
for those blocks that need it.

There is a super cute page for notes...
you can copy several of these pages off
and write down tips from
each tutorial if you would like!

And finally...
included is the page of
Vintage Housewife clip art for you:)

It's fun to have a a few designs
from the quilt that you can
make bookmarks...tags and labels from:)
I copy this page off onto nice cardstock...

and with just a few paper crafting
supplies you can decorate your binder too.
The roller that you see is my new
Quick Press Seam Roller...
styled after a vintage wallpaper roller
and yes I use it when paper crafting too.
It works great to smooth papers after gluing.

Okay...now that we have the guide
all sorted let's talk about making the quilt!

Vintage Happy 2 became available in
December 2019 but during the
second week of last October 2019
I received some pre-yardage so that
I could make my quilt to display
in the Riley Blake Designs booth
at International Quilt Market
at the end of October.
I literally had 10 days to make
(and document for tutorials)
the entire quilt...but I did it!

Normally my daughter Kassidy
makes my sew along applique quilts
for Riley Blake for market booth display
and then I make my quilt right along
with you during the sew along.
But Kass wasn't able to do it
this time because she got married in August!

You can see my quilt here on display
at market along with more of my
projects made with Vintage Happy 2.
I did the tutorials for each block
as I made the quilt just like I normally
do and then pre-posted them for you.
They will be here on my blog on the
date that is on the schedule:)
I loved making this quilt...
actually it was fun to just
"lock myself in my studio" LOL
and just sew sew sew!
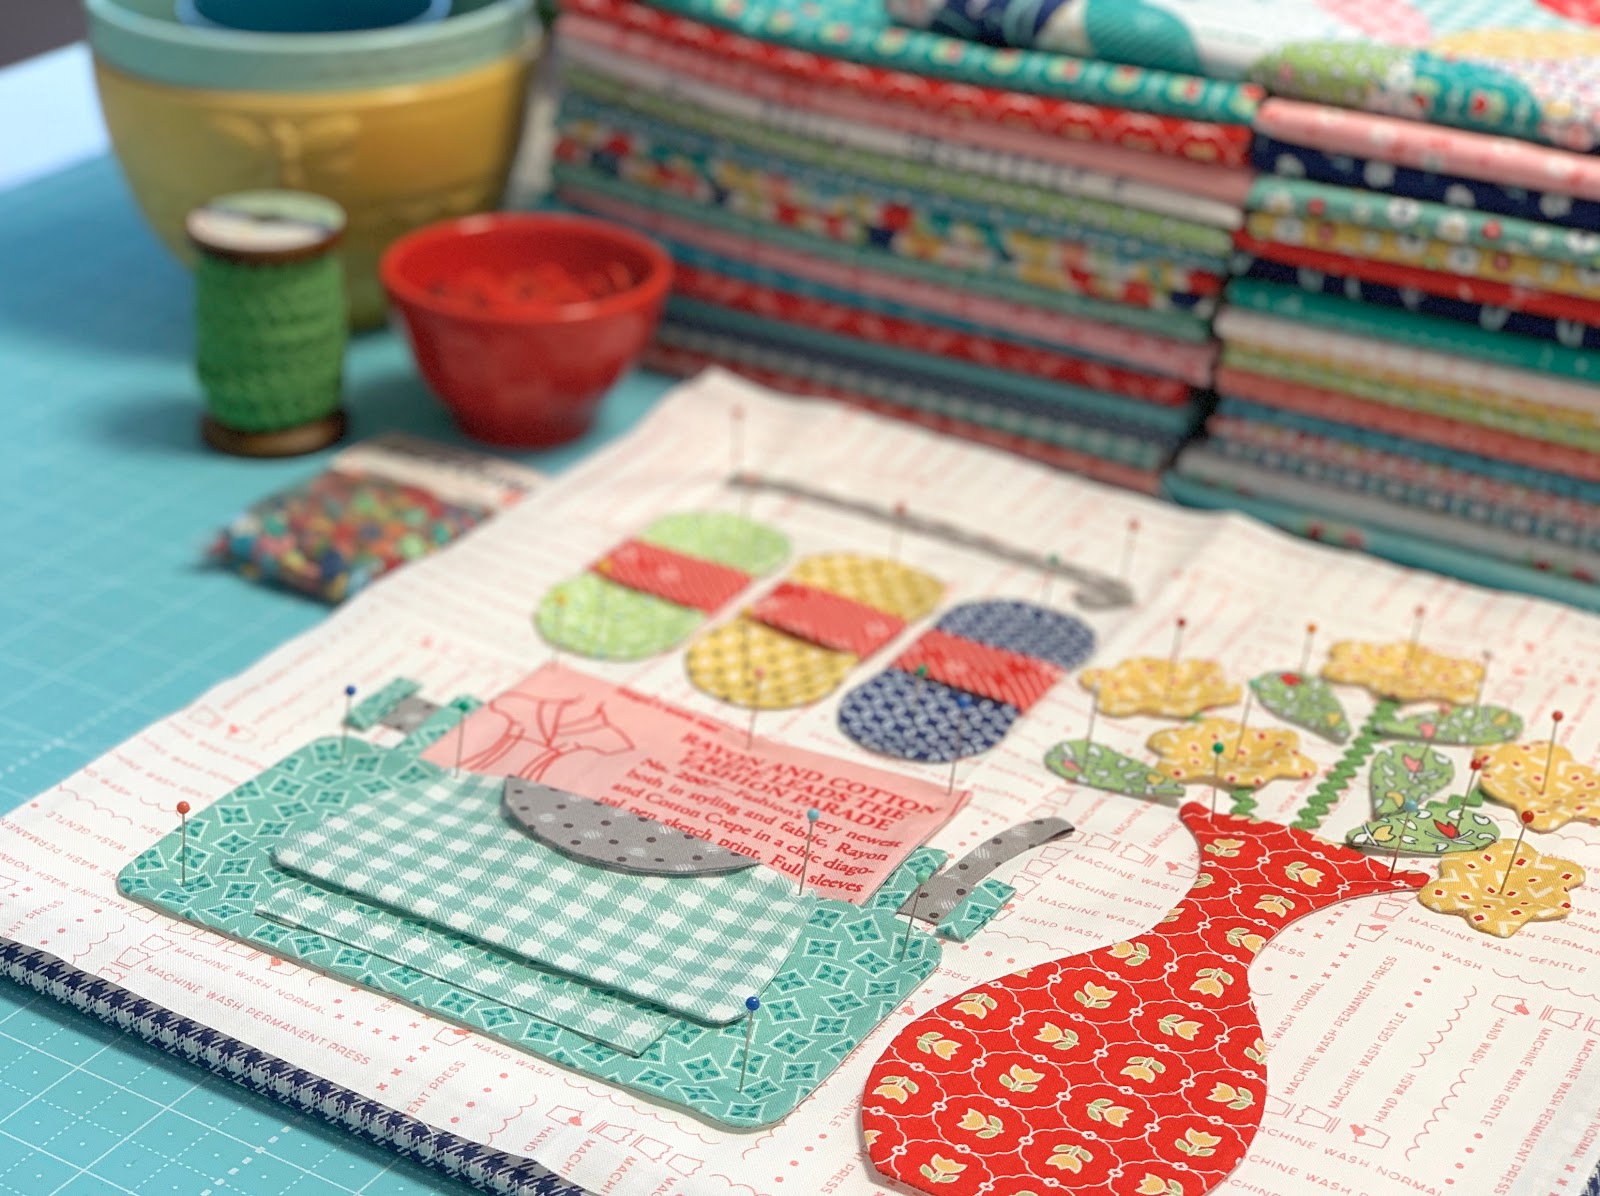
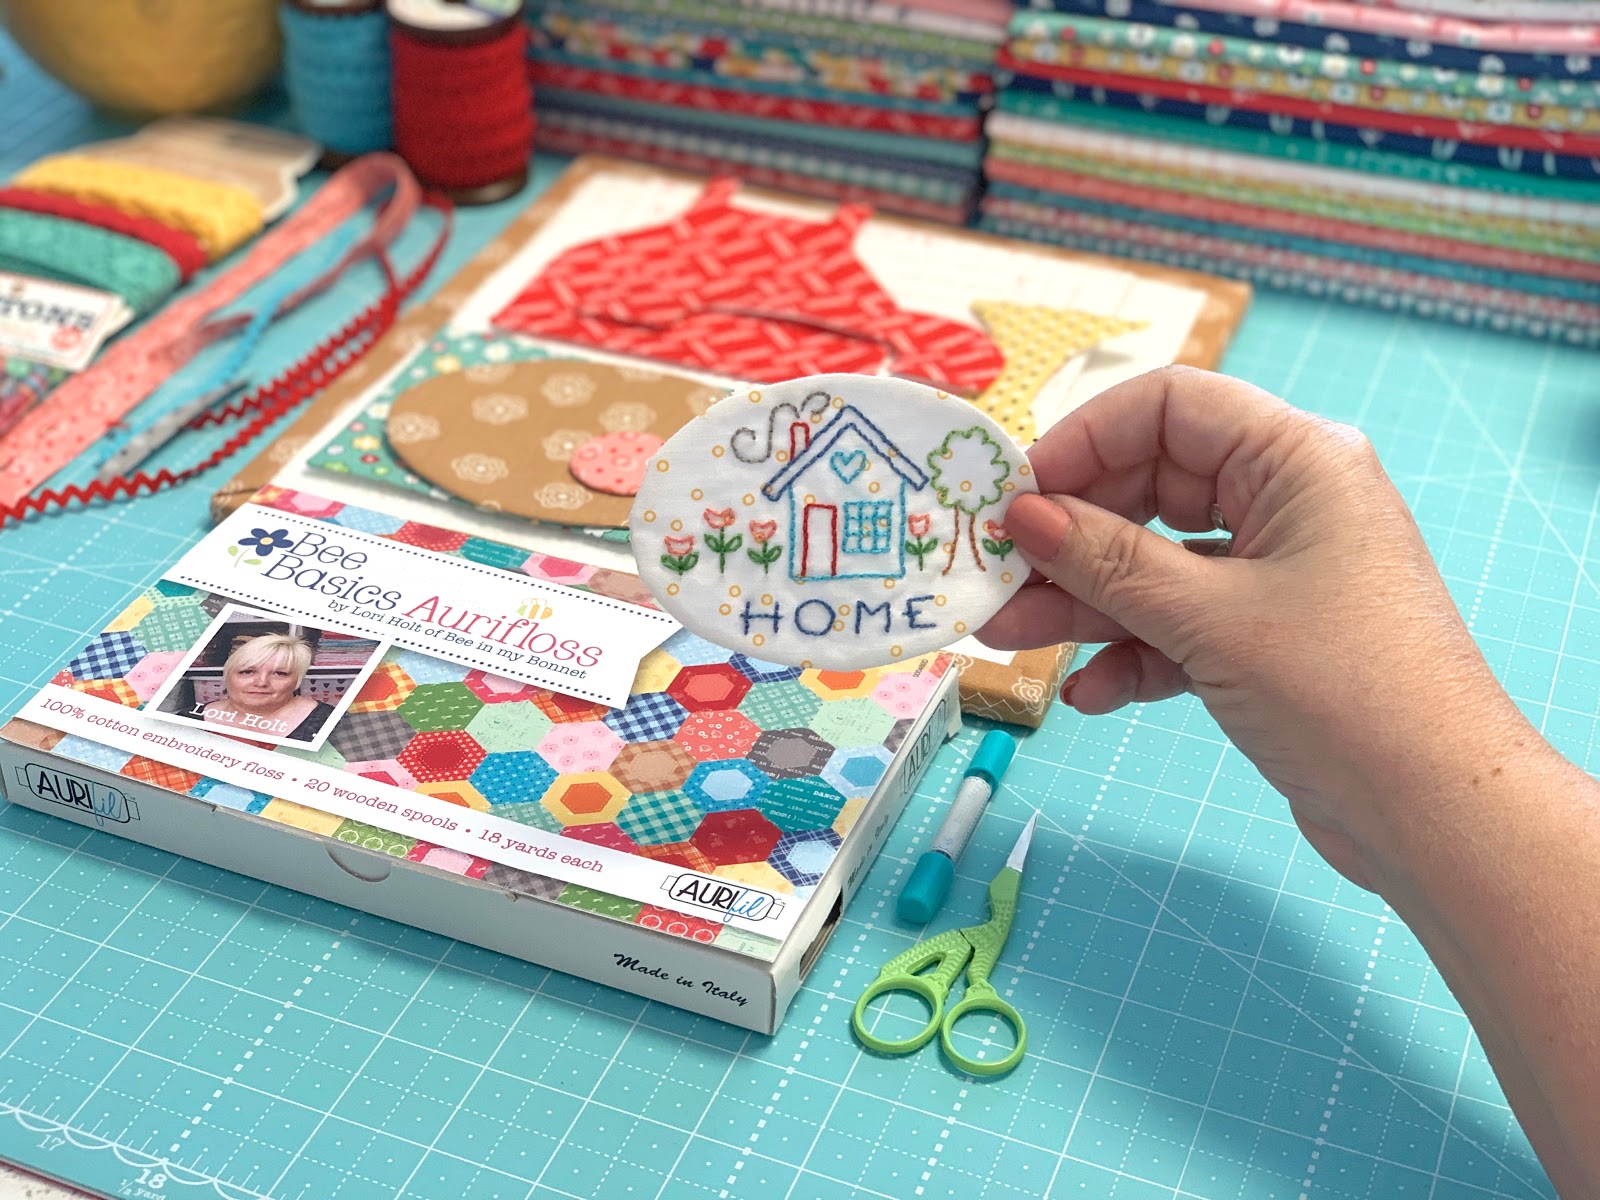
I thought I'd show you just a few
of the photos that I took
while making the blocks
so that you can get a peek
of what is to come!

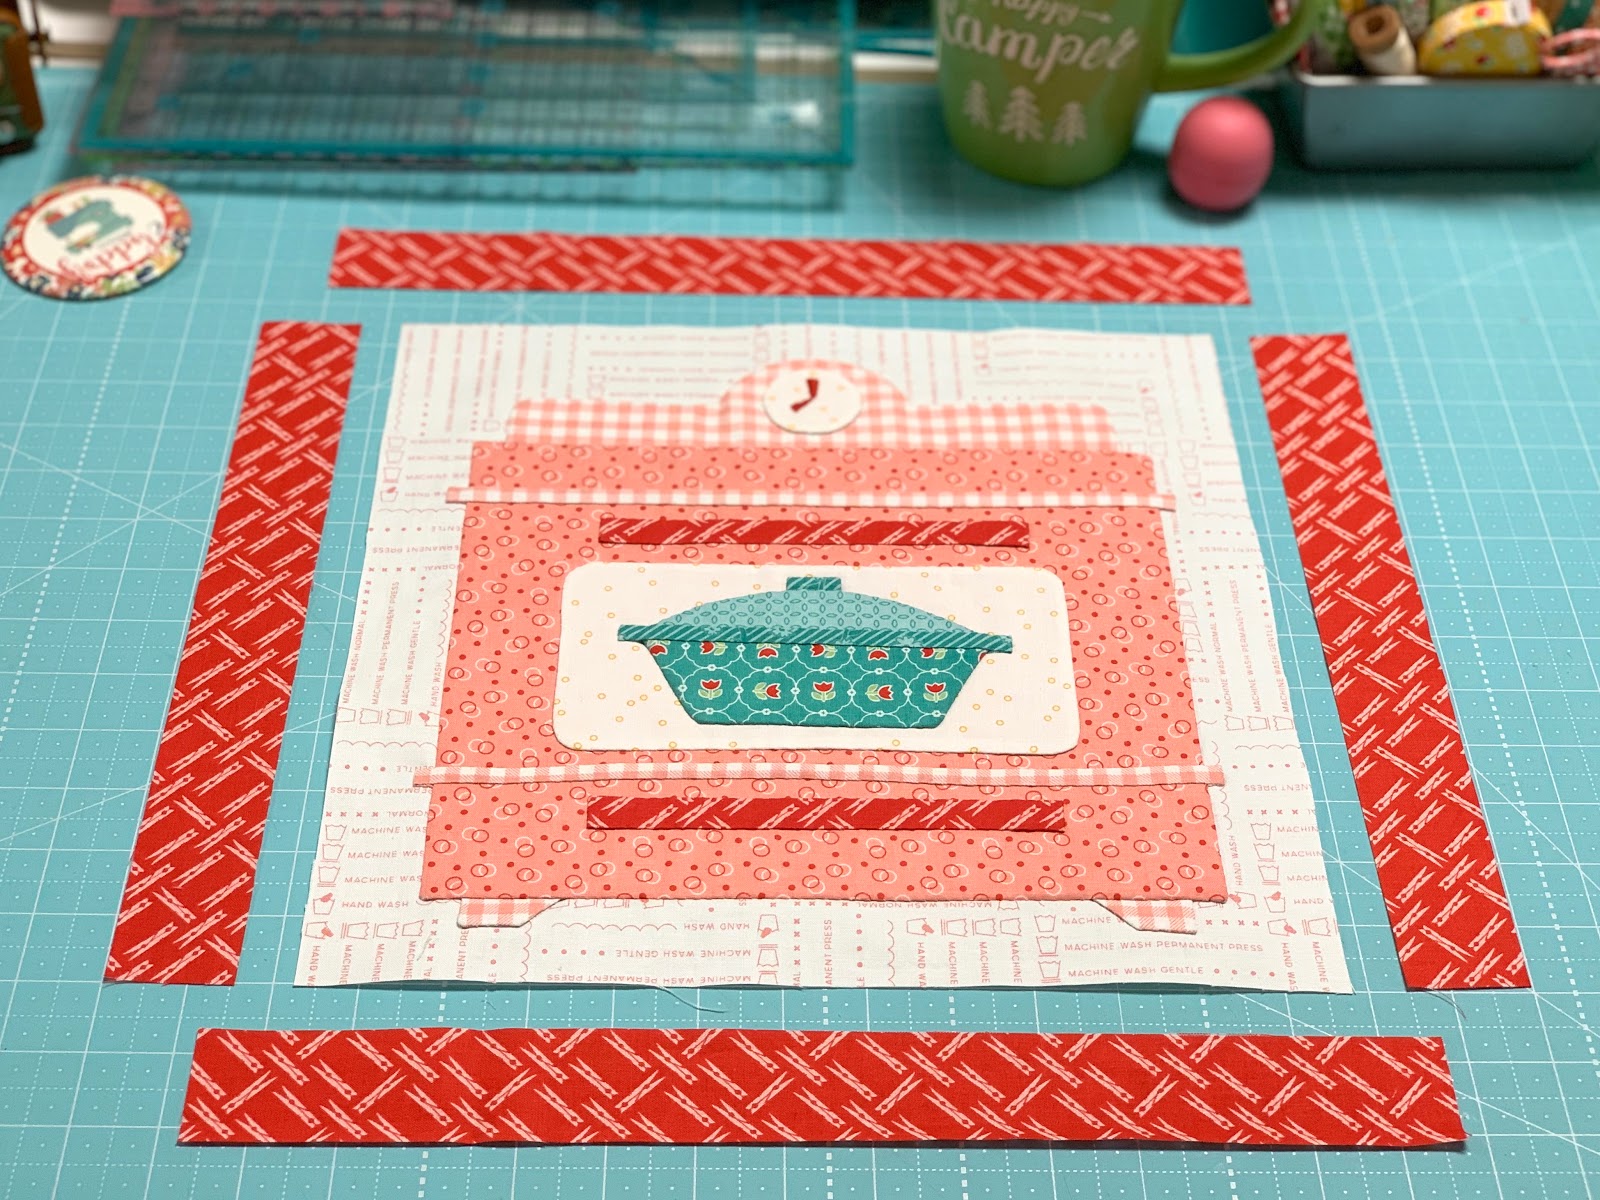
We will start with the Baking Block
and I will be filming a video tutorial
for you just like I always do
only for week one.
If you are new to my sew alongs...
to watch the week one video tutorial
for my last Sew Simple Shape
Sew Along called Granny's Garden.
It will give you good insight on how to
make this quilt as the tools and process
are exactly the same...
just a different quilt...
shapes and fabric is all.
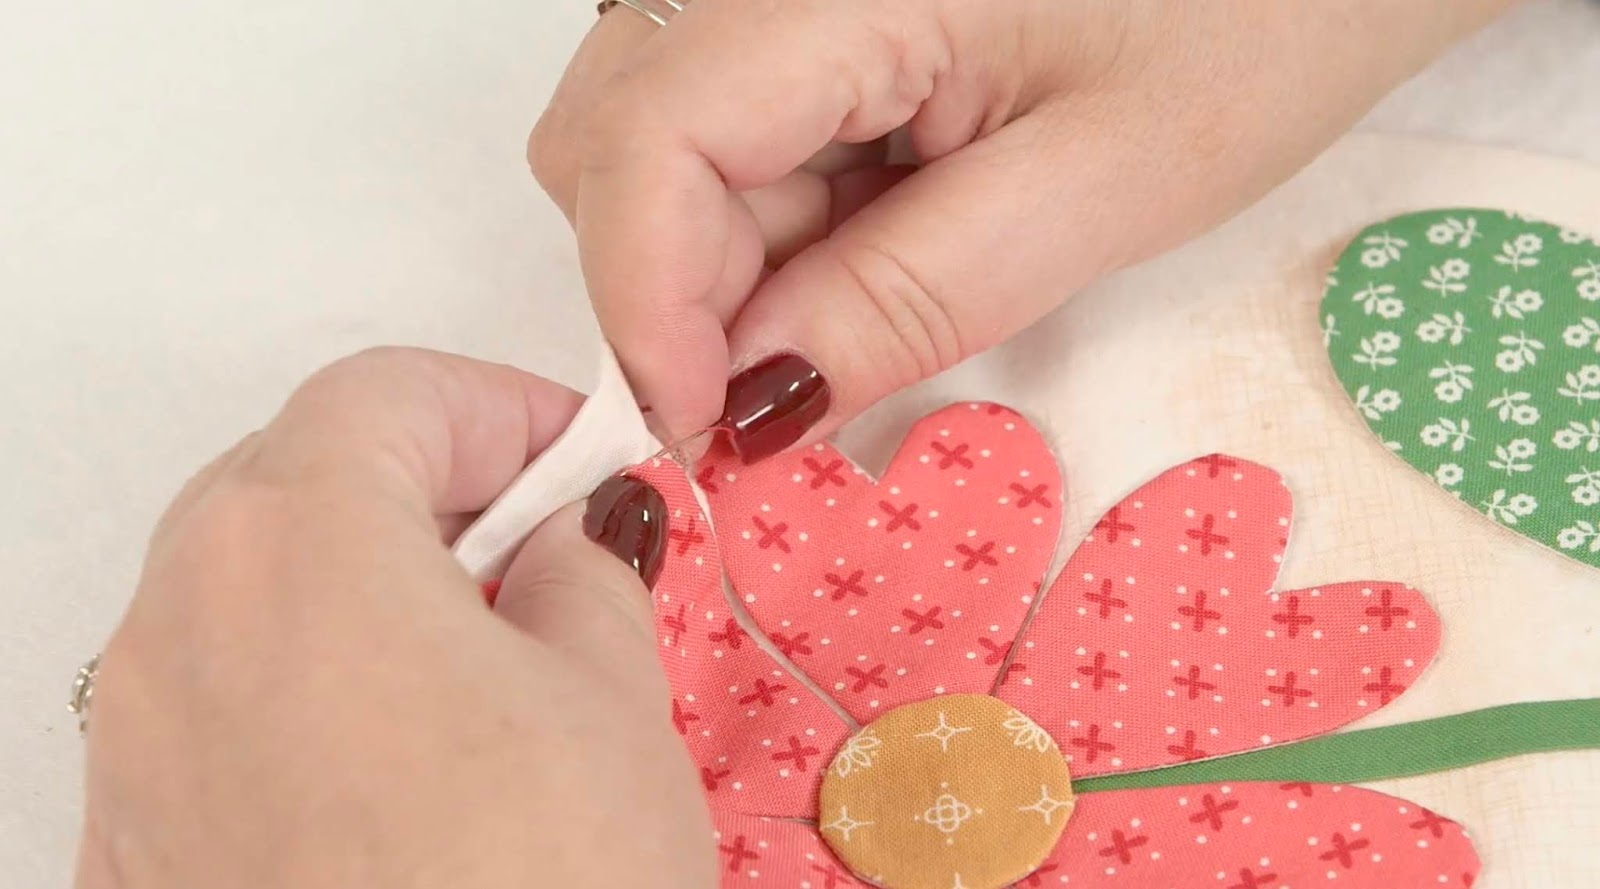
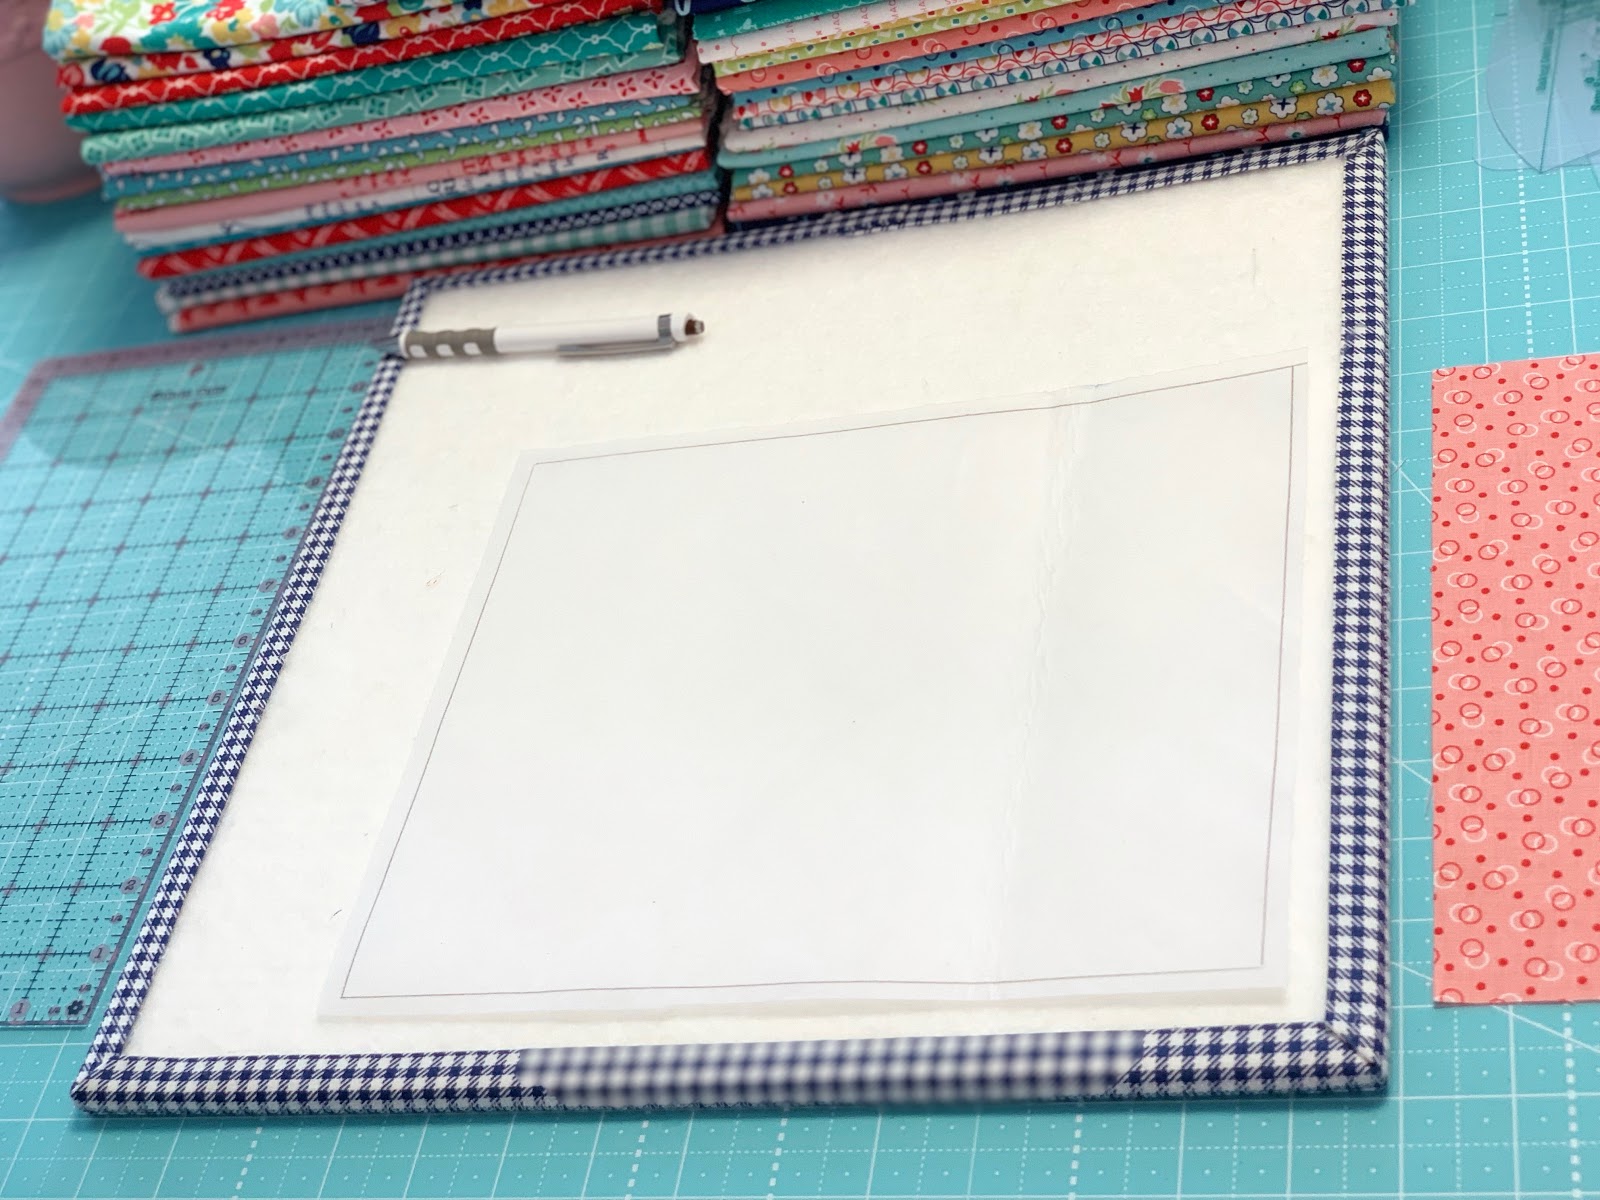
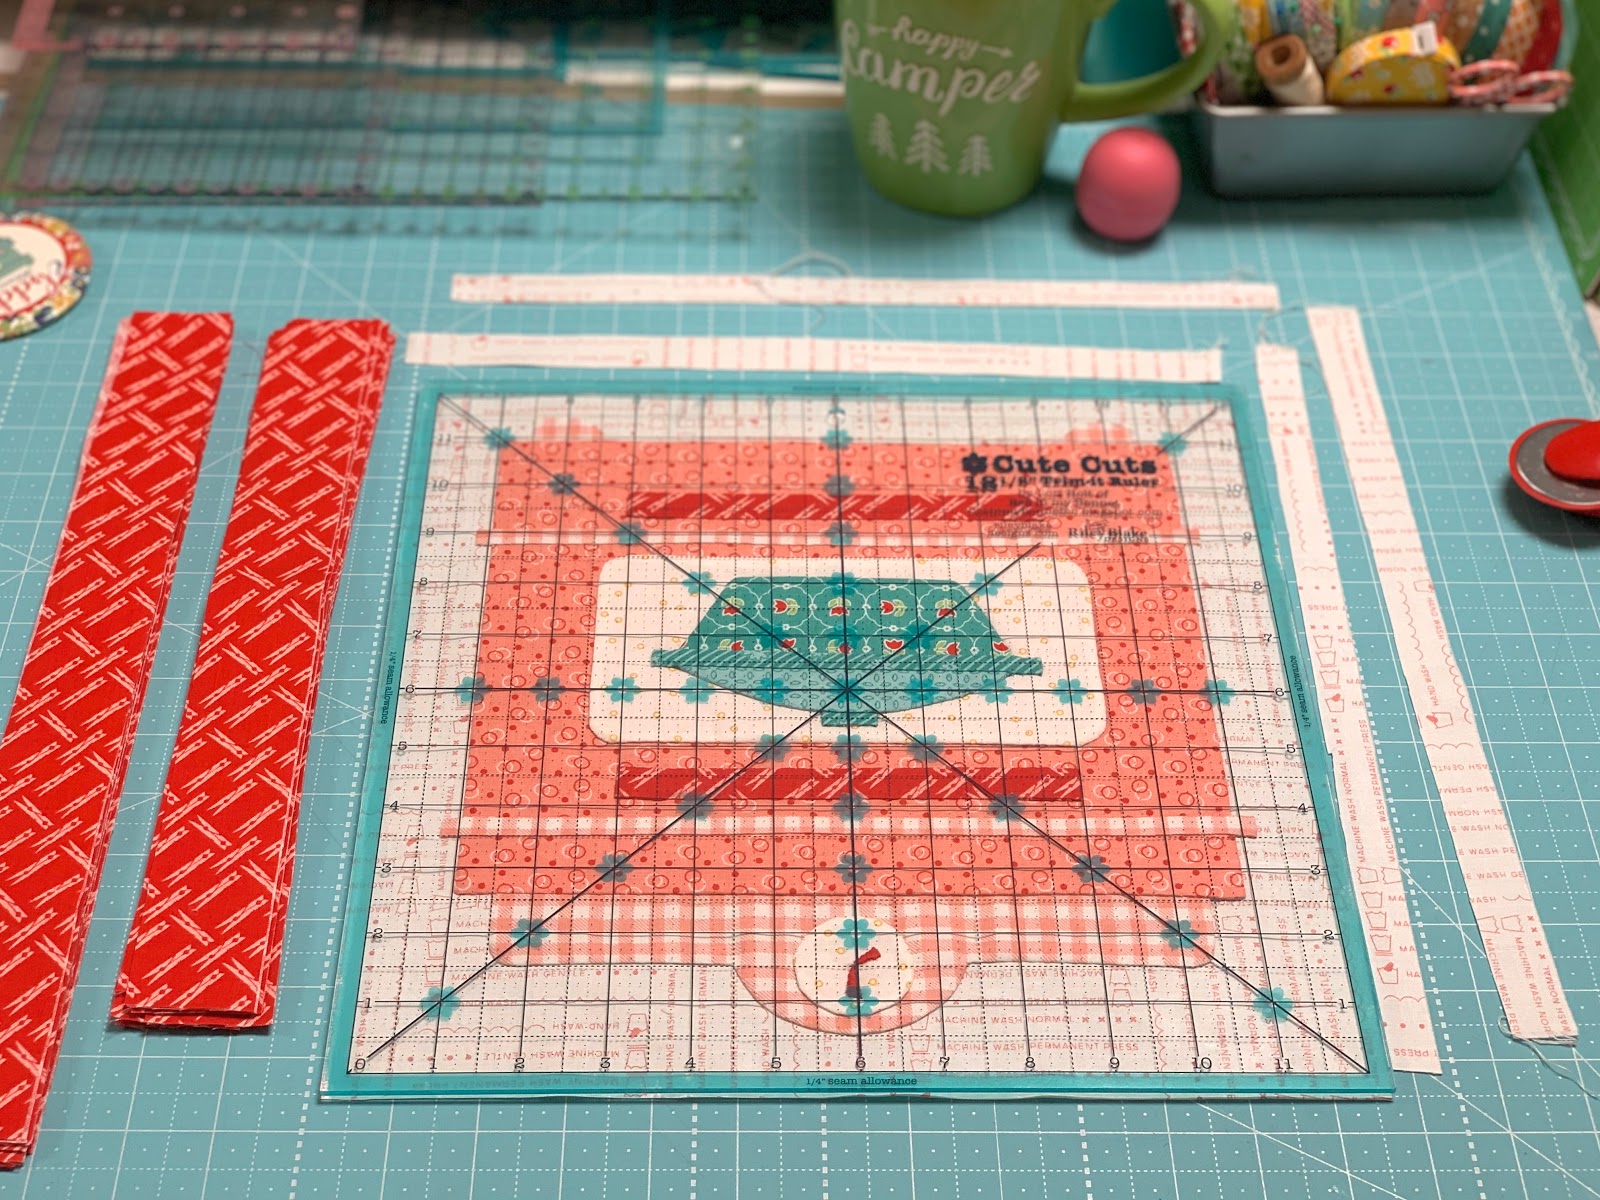
Okay ...now for more random peeks of
when I made my quilt...
but not necessarily in order:)






I hope that you are as excited
as I am about the
Vintage Housewife Sew Along
Go ahead and download the guide
so that you can
BEE PREPARED!
I'll meet you right back here
on Monday the 27th for week one
and the video tutorial!
xx
Lori
*************************************
Edited after this sew along ended:
to go to the last post of this
sew along
to get the link to each
and every block tutorial:)