

Hello and welcome to week two of the
Vintage Housewife Sew Along
Today we are doing the
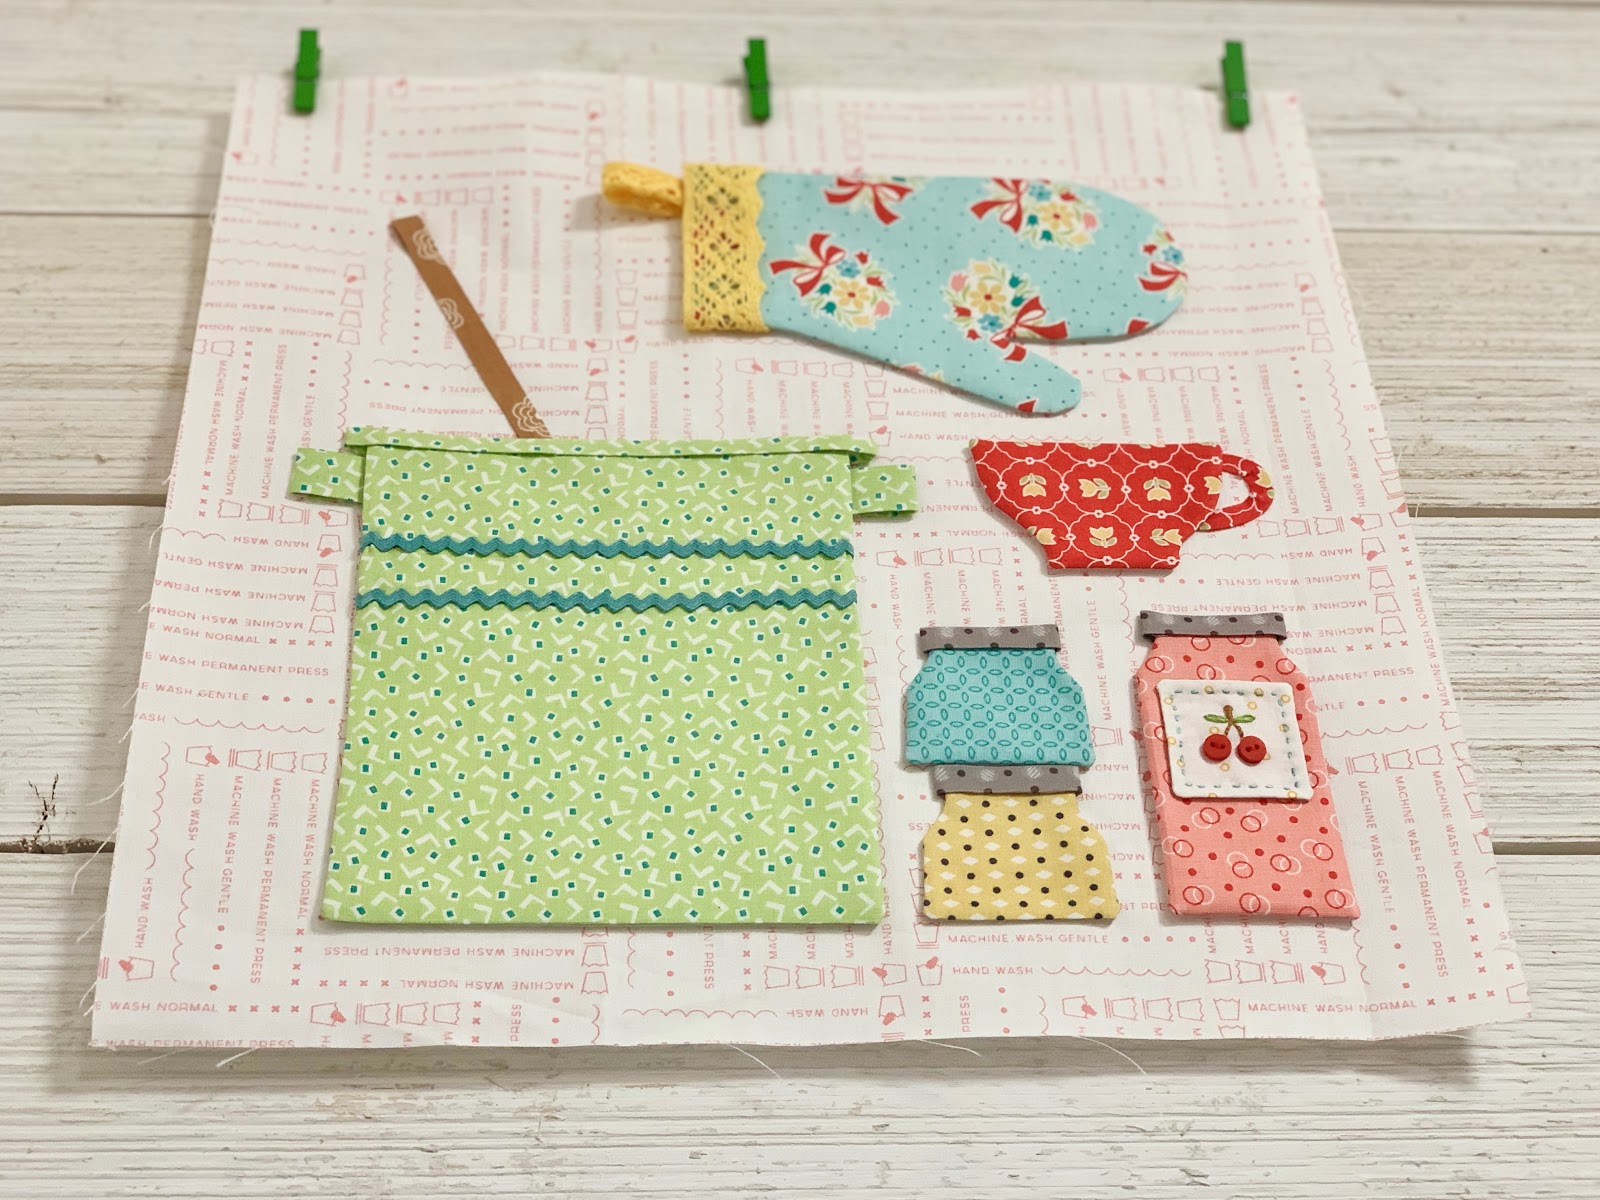
Canning Block


If you have not downloaded the
Sew Along Guide PDF
If you are just joining us...
to read the first post
about this sew along:)


We are using my new fabric
Vintage Happy 2

And my new Sew Simple Shapes

To make the
Vintage Housewife Quilt
74" x 82"

So cute!!

Last week we made the Baking Block:)
to watch that video tutorial
if you missed it.
Are you ready for some home canning?
Tie on your apron and let's do this!!

Your kit for block 2 should be
cut in accordance with the
sew along guide cutting.
Sew Simple Shapes
needed for this block are:
J-9
J-11
J-12
You will also need to
trace two pieces of the interfacing:
1 - 1 1/2" x 1 1/2" for jar label
1 - 5 1/2" x 6 1/2" for processor
(these instructions are on page 12)
Prepare all of your straight bias strips
by running them through the
size needed maker and then prepare:
Spoon Handle 5"-
press one end under 1/4"
3 Jar Lids -
should measure 1 1/2" long AFTER
both ends are pressed under.
Top of Processor -
should measure 6" AFTER
pressing each end under.
Processor Handles -
should measure 1" AFTER
pressing one end under.
*When you run the red strip through
that you cut on the bias...
press it into a curved shape
as it comes out of the maker
while you are ironing it.
This is for the handle of the funnel.
You can trim it down after
you glue baste it.

Before sewing these two shapes...
You will need to trace 2 lines
onto the interfacing using the
Half Pint Jar Line.

Measure 2" down from the top of
this processor piece and draw a line.
Draw another one 3/4" below that.
These lines are where you will place
the small vintage trim.
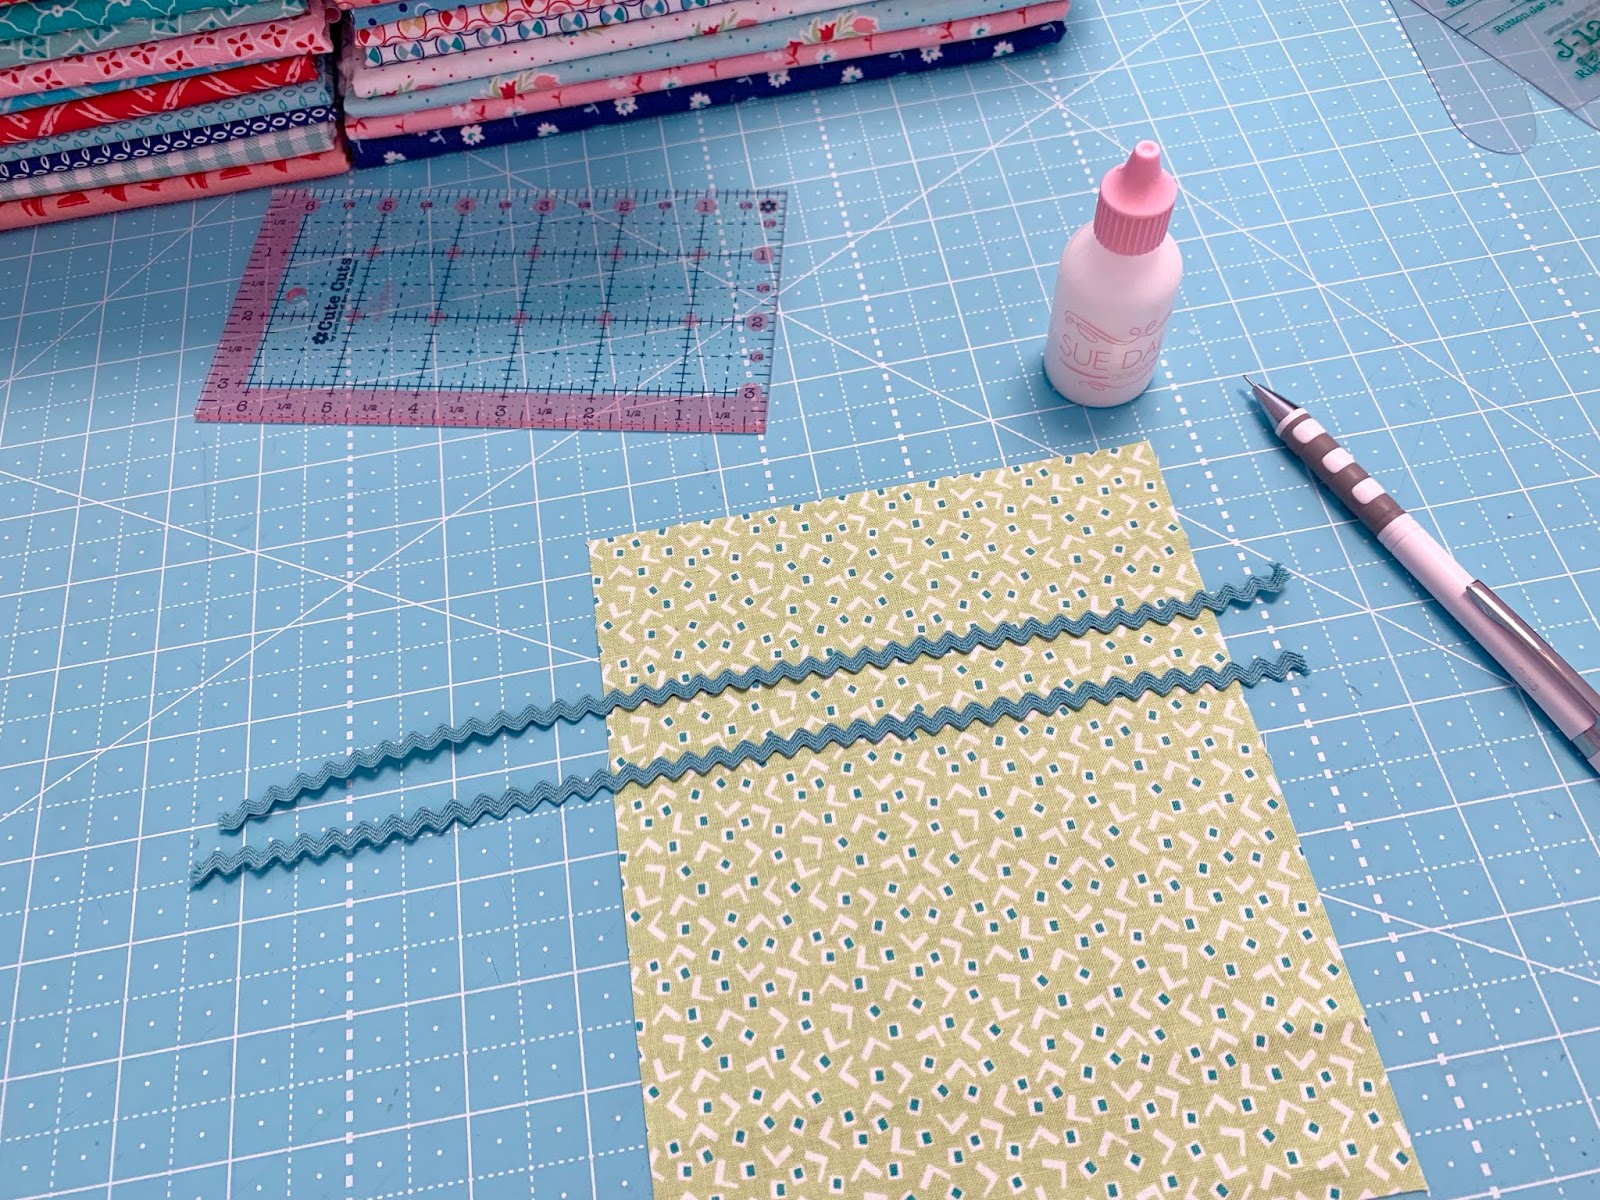
I placed a small amount of glue
on mine before I sewed it down.
I just used matching thread
and whip stitched over the top.
*Take note* that I used Riley Aqua
small Vintage Trim because back when
I made my quilt the Songbird
Small Vintage trim was not here yet:)

Also...
you could just glue down the trim
before sewing the shape and
then sew them down during the applique:)

Sew you jar label shape and then use the
Easy Trace Light Box
to trace the embroidery pattern.
You will find it on page 15 of the guide.

After sewing all of the shapes...
cut your "X" and turn.
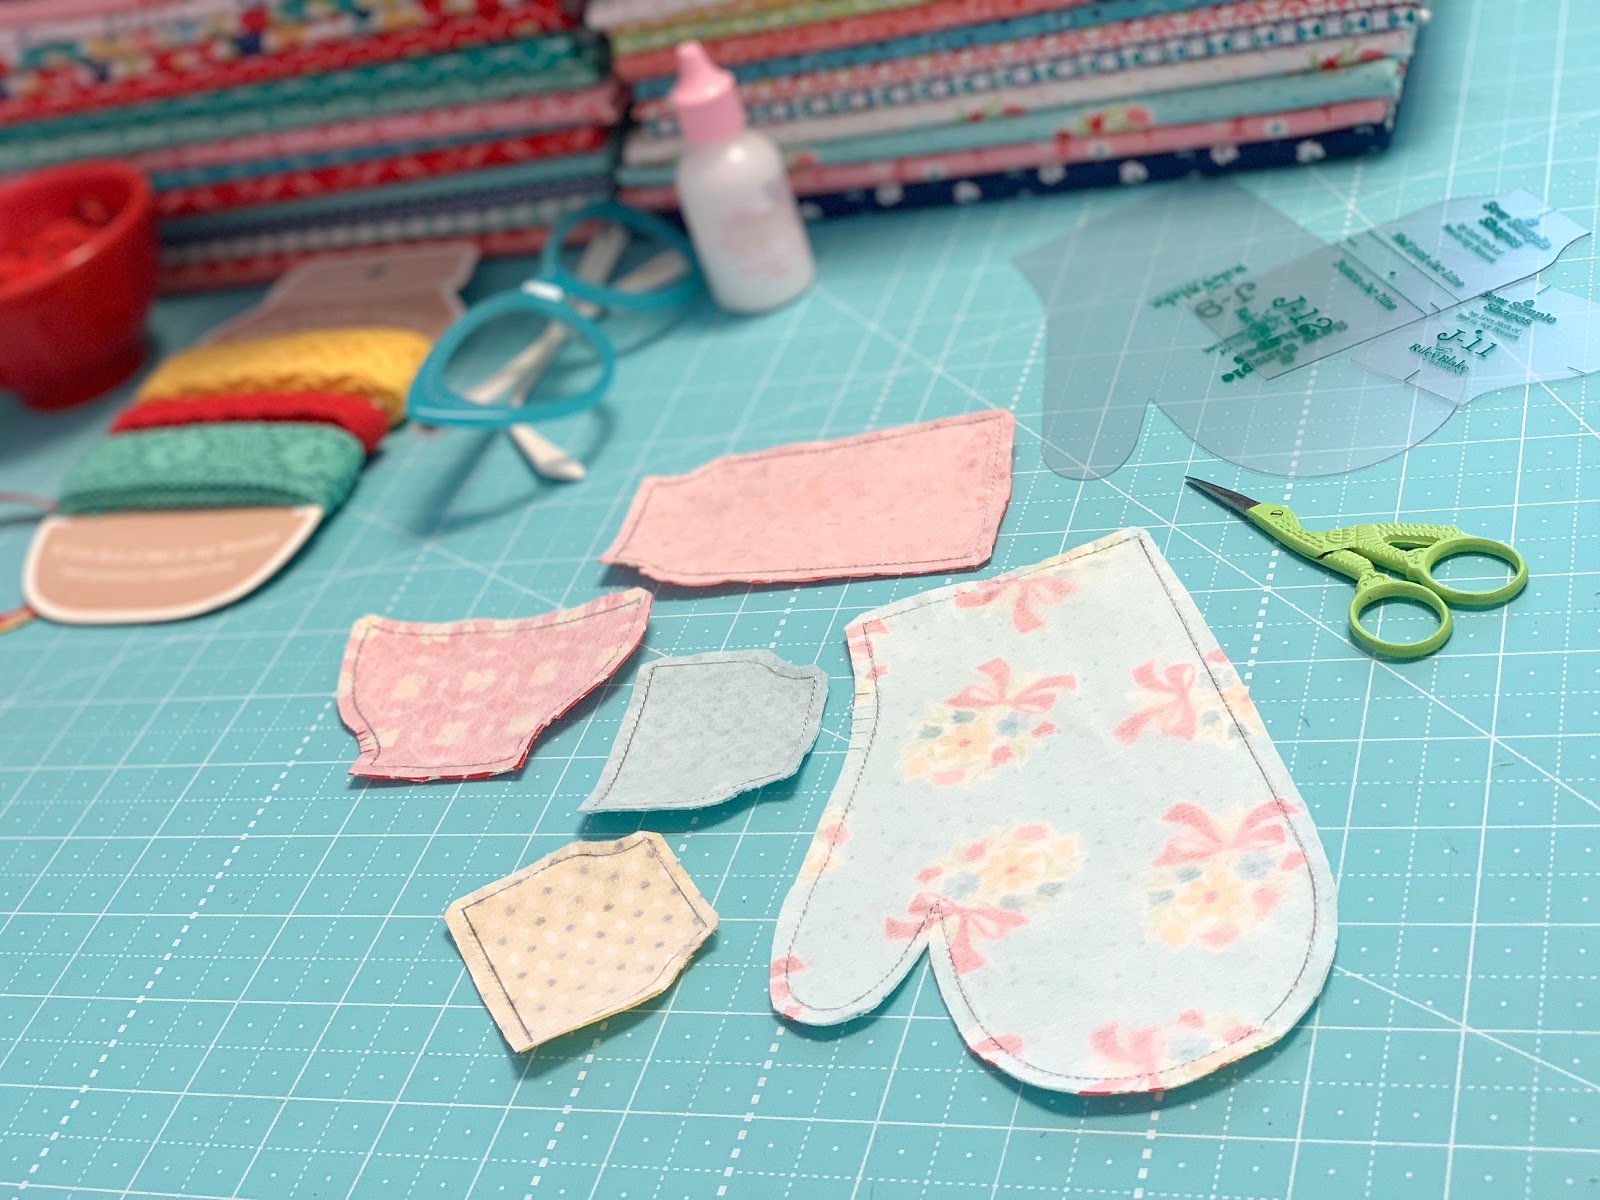
You will need to cut the cleavage and
inner curves on these shapes before turning.
Remember to cut right up to
the thread but not into it.

Turned and shaped!!
Lay your background out onto a medium
or a large design board and start pinning!

Funnel -
I pinned my funnel part down first
and then shaped the handle underneath.
It's a tight curve and will have
a few tucks on the inside curve
so don't worry...it's fine!

This is a close up of what mine looks like.
P.S.Even though this is a canning funnel
this also makes a cute tea cup:)

Continue pinning and adding
bias strips where needed.

I took several close up's for you
to view while pinning your block.

I started on the bottom pieces and
placed them 1 1/2" up from the bottom edge.
The entire height of the design
should be 11" tall
and about 11 1/4" wide from tip of
processor and funnel handles.
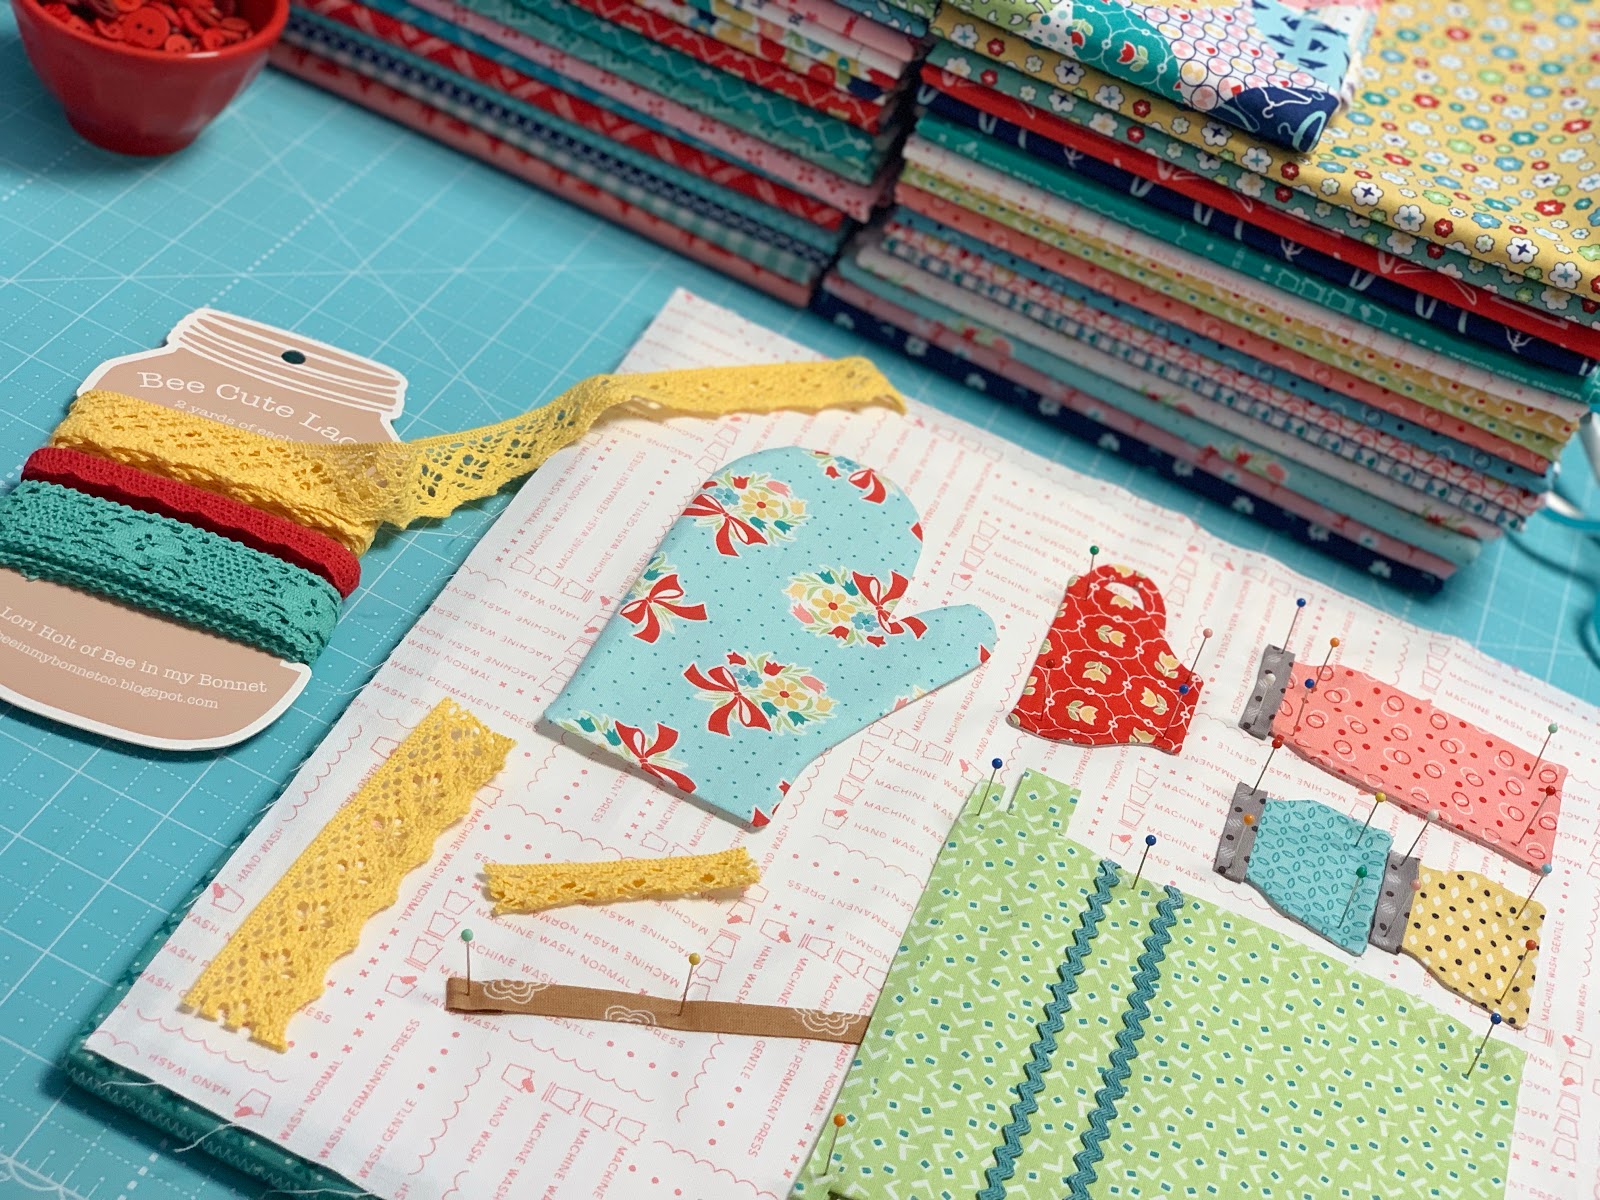
I used the yellow lace on the
BEE CUTE Lace Card
and pinned it across the top of the
oven mitt and tucked each end under.
I folded a piece in half to use
for the hanging loop.


Looks like this:)


You will need to embroider the label
for the bottled cherries
before you glue baste it.
I used 3 strands of my Aurifloss and
added two tiny red buttons for the cherries:)

After everything is all pinned
it's time for glue!

I take my pins out and quickly use the
ruler and check if I need to
change anything before the glue dries.
You can gently pull pieces off
and re-glue if needed!
The Sue Glue is very forgiving
and FYI is water soluble too.

All ready for applique!!

I love this block...
it brings back so many memories of
canning with my mom...
my sisters and my grandma's.
We canned all of the things
from our large gardens that my dad grew!

I can still remember those sweet times
and the sweet taste of those
bottled fruits with toast.
We had them for breakfast on cold winter mornings before school...
by canning we kept summer in a jar!!

After your applique is complete...
trim up your block to 12 1/2"
using the ruler and then it's time to
add the red clothespins border:)
I showed you how to do this last week
and it will be the same
for all of the square blocks.

CANNING BLOCK
14 1/2" x 14 1/2" square
BEFORE sewing it into your quilt.

Okay!
Let's chat a little about canning:)
It's so rewarding and if you've
never done it before...
it's easier than you may think.
There are so many tutorials and recipes
on YouTube that will help you out
if you would like to try it...
or even if you have done it for years!
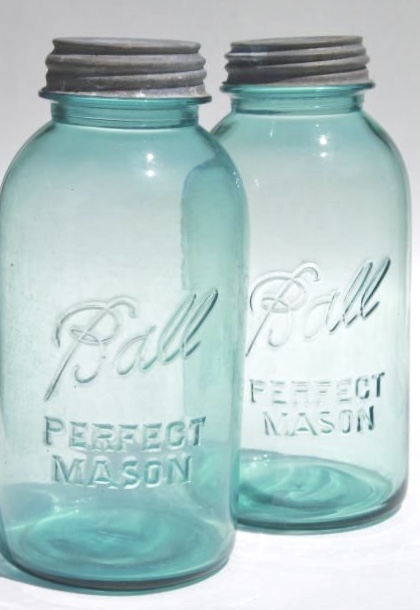
You know that the original
vintage canning jars were made with
blue glass and eventually they were
produced with clear glass
like we use now.

But what you may not know is that
Ball Canning has been releasing some
vintage style collector's editions
in several sizes.
You can order them online or pick them up
at Target where I get mine.
They're so fun!

And for labeling your vintage style jars
you can also find free
vintage style labels on
Here are examples of just a few.

Just do a quick search and you will
find several to choose from...

I like to print mine out onto
sticker paper that goes in the printer
and then cut them apart and keep them
in my kitchen drawer to use
when it's canning season.

I got this label a long time ago
and have used it often:)
Isn't it cute!?

Another idea is that you could print
the clip art page that I gave you
in the guide right onto the sticker
copy paper and use for labeling
and tagging or decorating your jars!

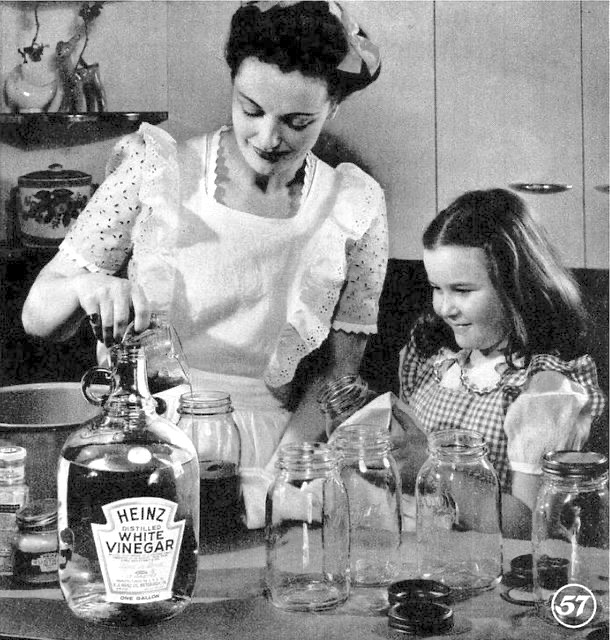
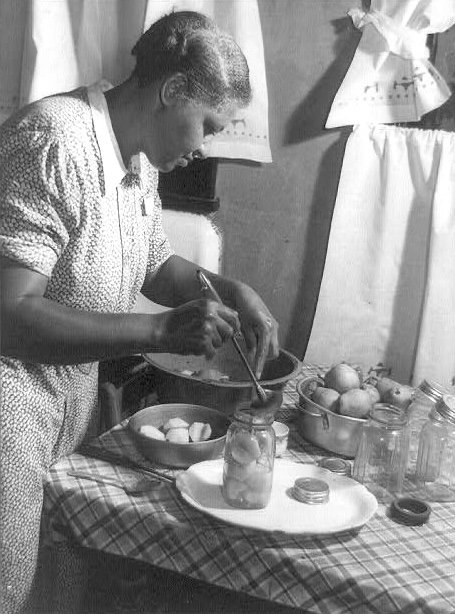
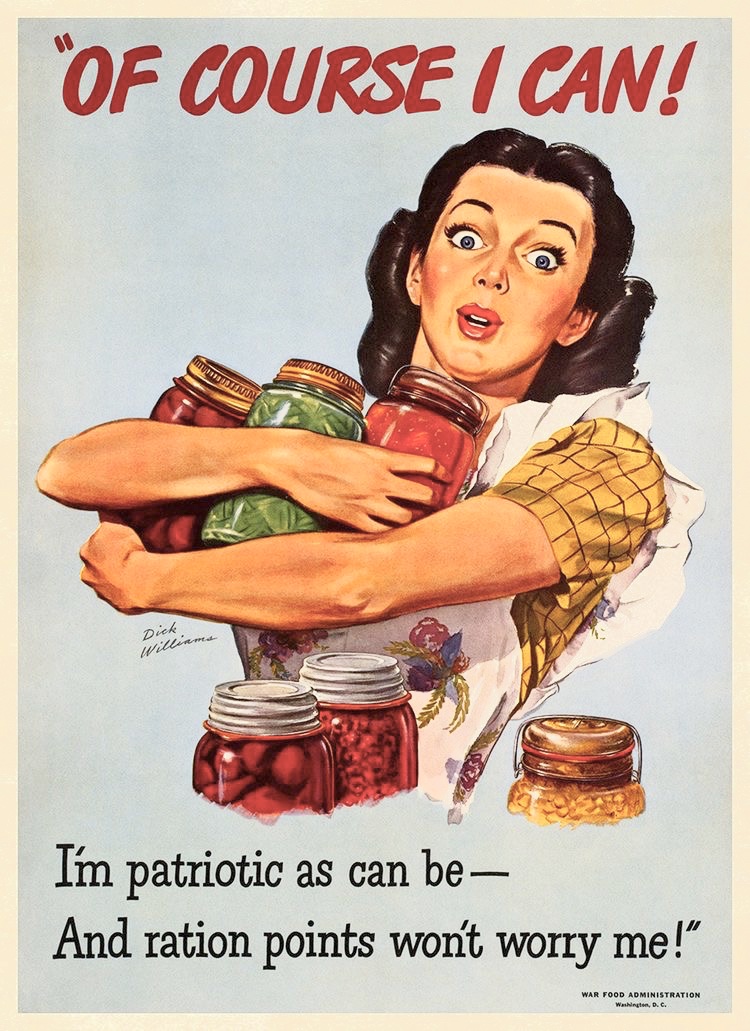
Thanks so much for joining me this week...
and to celebrate canning
with the vintage housewife...
Below are a few vintage photos
and ads for you to enjoy.
I'll meet you back here next week for the Ironing Block!
xx
Lori


5 comments:
Love seeing all these canning advertising pictures - reminds me soooo much of home growing up and also when we lived in the country with our own family - and our 3 big gardens. We often had family canning days - and have wonderful memory pics of those times. We also had a huge fruit cellar in that home to accommodate all of our canning. Love your canning block design. It has taken a little longer to clear my sewing table, but hope to get to my blocks soon, with the Vintage Housewife :)!
I love everything about this post! So cute and full of information!
I Just love the photos you added. Nice touch.
I love this quilt but also love this block. You have some great photos that bring back a lot of memories. If more people canned fresh food today we would be a lot healthier. Thanks for sharing!
Very soothing right now
Post a Comment