

Welcome to week eleven of the
Vintage Housewife Sew Along


if you need to download the
Sew Along Guide and
if you are just joining us and
need to read the Bee Prepared post
that tells you all about this sew along:)

We are using Vintage Happy 2 Fabric...
And my new Sew Simple Shapes

To make the
Vintage Housewife Quilt
74" x 82"

These are the blocks that
we have done so far:


CLOTHESLINE BLOCK

Today we are going to sew the
APRON BLOCK

Before we get started on the block
you will need to make sure that you
have cut all of the sashing fabric
as per the cutting instructions
in the sew along guide.
Some of the pieces that are cut
from this print are used in the
apron so have them ready!

And we will also be sewing the
scrappy squares together for the border:)
All of these should be all cut and ready
to go as per the guide instructions.
You will need a total of
370 - 2 1/2" scrappy squares:)

When gathering your apron block kit...
grab the large vintage trim that goes
in the binding because you will
need to use some of it for the apron!

Cut two pieces about 9" long.
These are for the pockets.

Now measure down 1 1/2" and draw a line.
This is the placement line for
your large red Vintage Trim.

Use matching thread in the top only
and just sew it down the center...

This is what the back looks like.

Trim the edges of the trim off evenly:)

Let's continue on by adding easy corner triangles to the bottom corners of the pockets...

You will use the 4 - 2 1/2" squares.
You can draw a diagonal stitching line
from corner to corner ...

Or use my handy dandy
Seams Sew Easy Guide
like I do because then you
do not need to draw lines.

After sewing on the lines...
trim about a 1/4" seam allowance
and press towards the triangle like this.
PS. I turned my cutting mat over
so that you could sew the
aqua fabric easier against the red:)
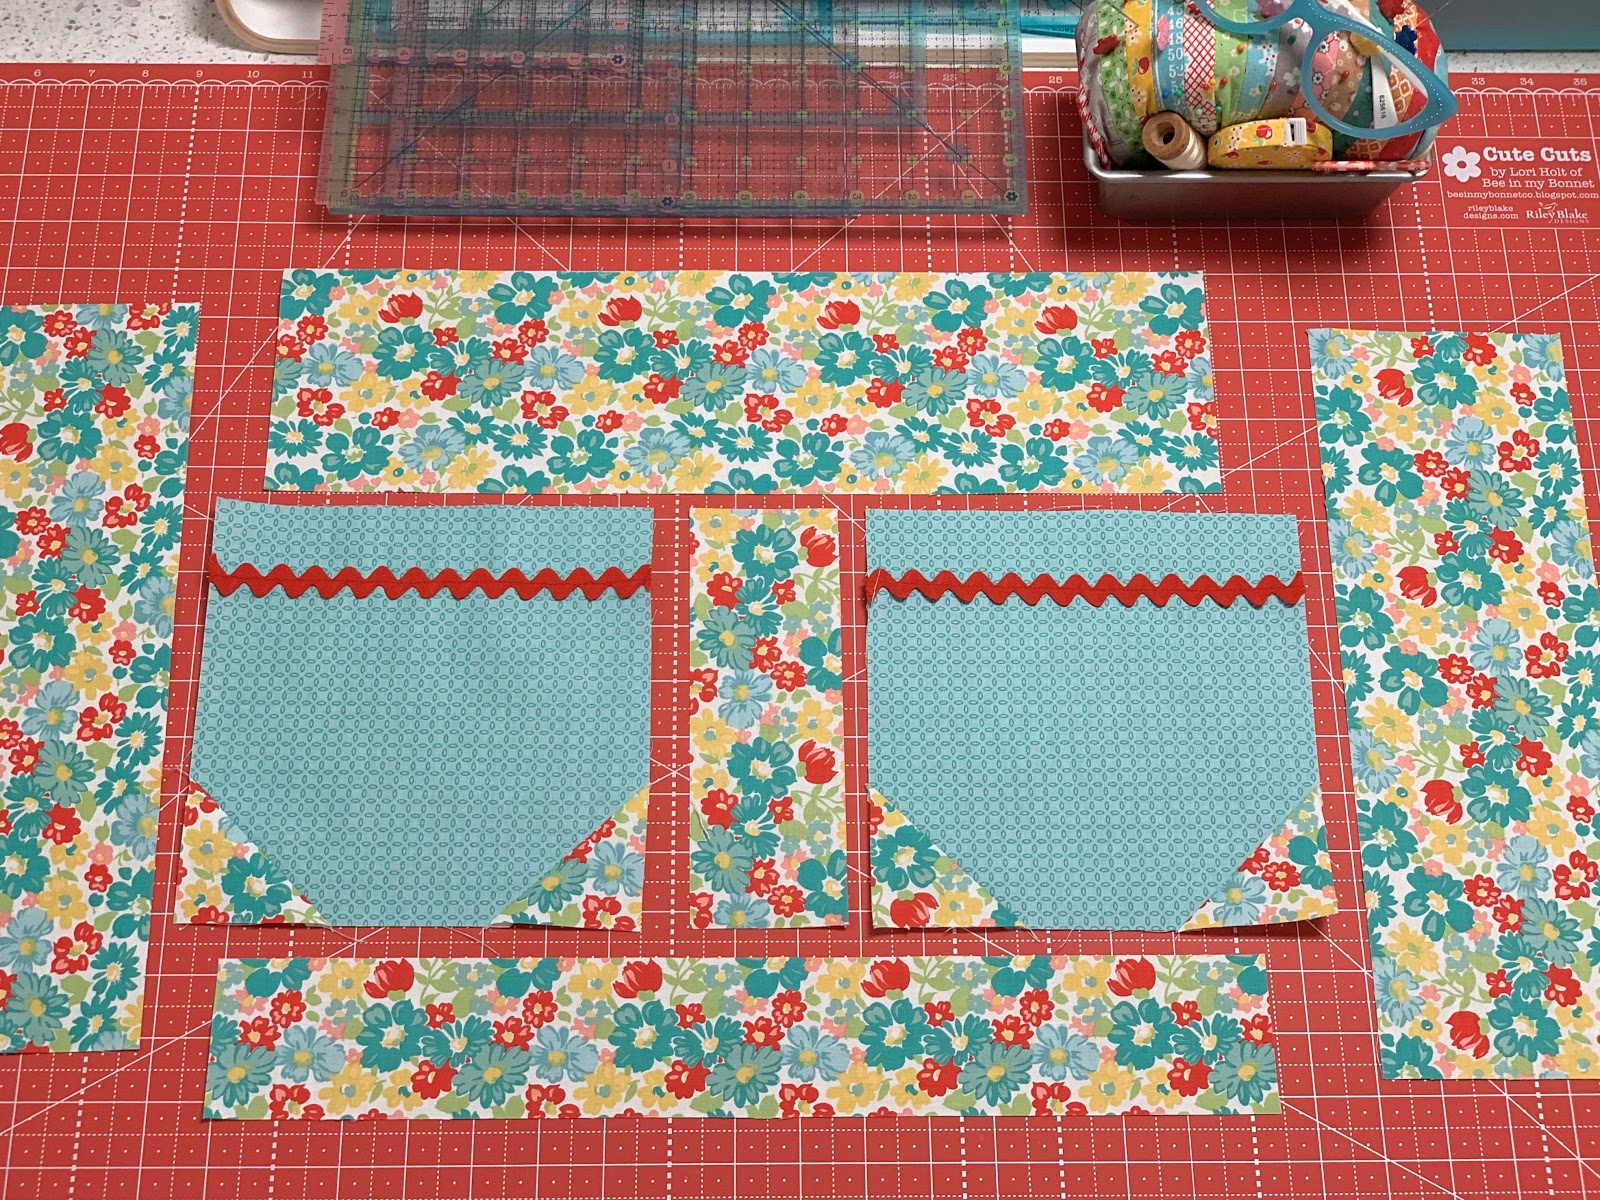
Now that the pockets are completed
simply lay out the rest of the
apron pieces like this and sew together.

Now set this part aside for a minute...

And sew the 12 - 1 1/2" squares
onto the bottom corner of the ruffle
for the bottom of the apron.

You should have 6 ruffle pieces:)

Now you can sew the ruffle together
and add it to the bottom of the apron.
Also sew the two 5 1/2" squares
onto the top corners of the apron.
You will need to mark the
diagonal line for squares this large.

Now for more vintage trim!

Just top stitch the same way
that you did for the pockets
using matching thread:)

This is what your apron looks like now...
let's add the waistband and the apron strings!

Before you add the apron strings to
each side of the waistband...
add the easy corner triangles
onto each end like this.

Then sew another 2 1/2" square on the end.

You will need to add the appliqué blocks
that go on each side of the apron
before you can add the
waistband piece across the top.

First add the 2 1/2" x 14 1/2"
sashing strips to outside and the
3 1/2" strip to the inside
of the Telephone Block.
Add a 2 1/2" x 19 1/2" across the top.

Repeat for the Typewriter Block...

Sew them to each side of the apron
and then add the apron strings
and waistband across the top.

YIPPEE!!
Now let's add some
scrappy squares to the sides.

Yay for scrappy squares!
I started by sewing two squares together...

And then joining eleven of these
two square segments together
so that I had a scrappy squares section
2 squares x 11 squares.
I repeated for the other side:)

Then I sewed one to each side.
Okay!!
Turn to page 14 of the guide
and you will see the rest of
the instructions for putting
your quilt top together.
How exciting!!!

Here are all of my
scrappy square sections all ready to go.
Don't over think this part...
remember it's meant to be scrappy...
and all of the fabrics go together well...
so just have fun with it!
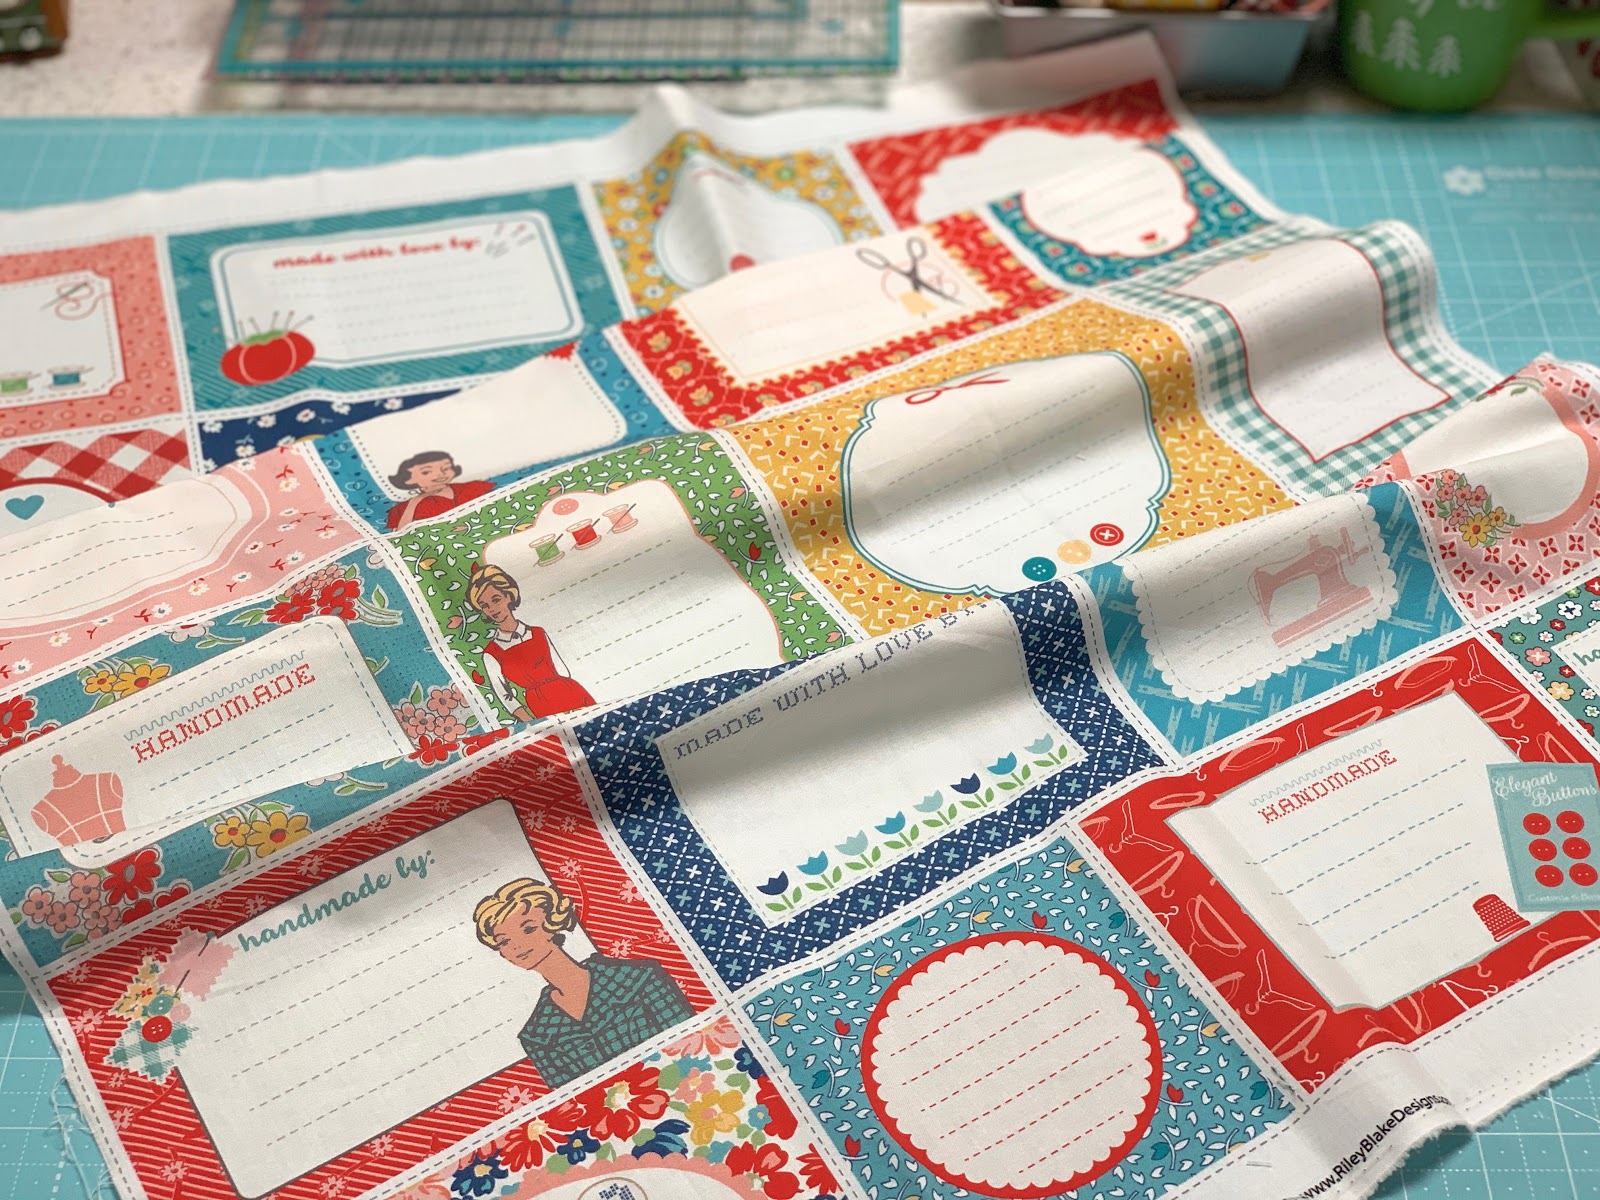
I used my new
"My Happy Place Label Panel"
to make a label for the back of my quilt.
The panel is one yard long
and has 28 different labels that match my fabric collections:)

Any of them will match this quilt...
I chose this one because
she reminds me of my sweet MOM:)

I always use a
MICRON Pigma Pen for my labels.
It is safe for fabric and will not bleed.

I simply wrote the info onto the label
and then I used some of my
Sew-In Interfacing and sewed it
just like I would an appliqué shape.
I appliqued it onto the my backing fabric.
You can either do this
before or after quilting.

All ready to go are my binding strips cut
and my spool of large
Vintage Trim in Riley Red.
Next week for the big finish post I'll show you my finished quilt...
all quilted and bound.
YaY!
See you then!
xx
Lori

1 comment:
Una sola parola: meraviglioso!
Serena Pasqua
Barbara
Post a Comment