

Good morning!
It's week nine of the
Vintage Housewife Sew Along


if you need to download the
Sew Along Guide and
if you are just joining us and
need to read the Bee Prepared post
that tells you all about this sew along:)


We are using Vintage Happy 2 Fabric...
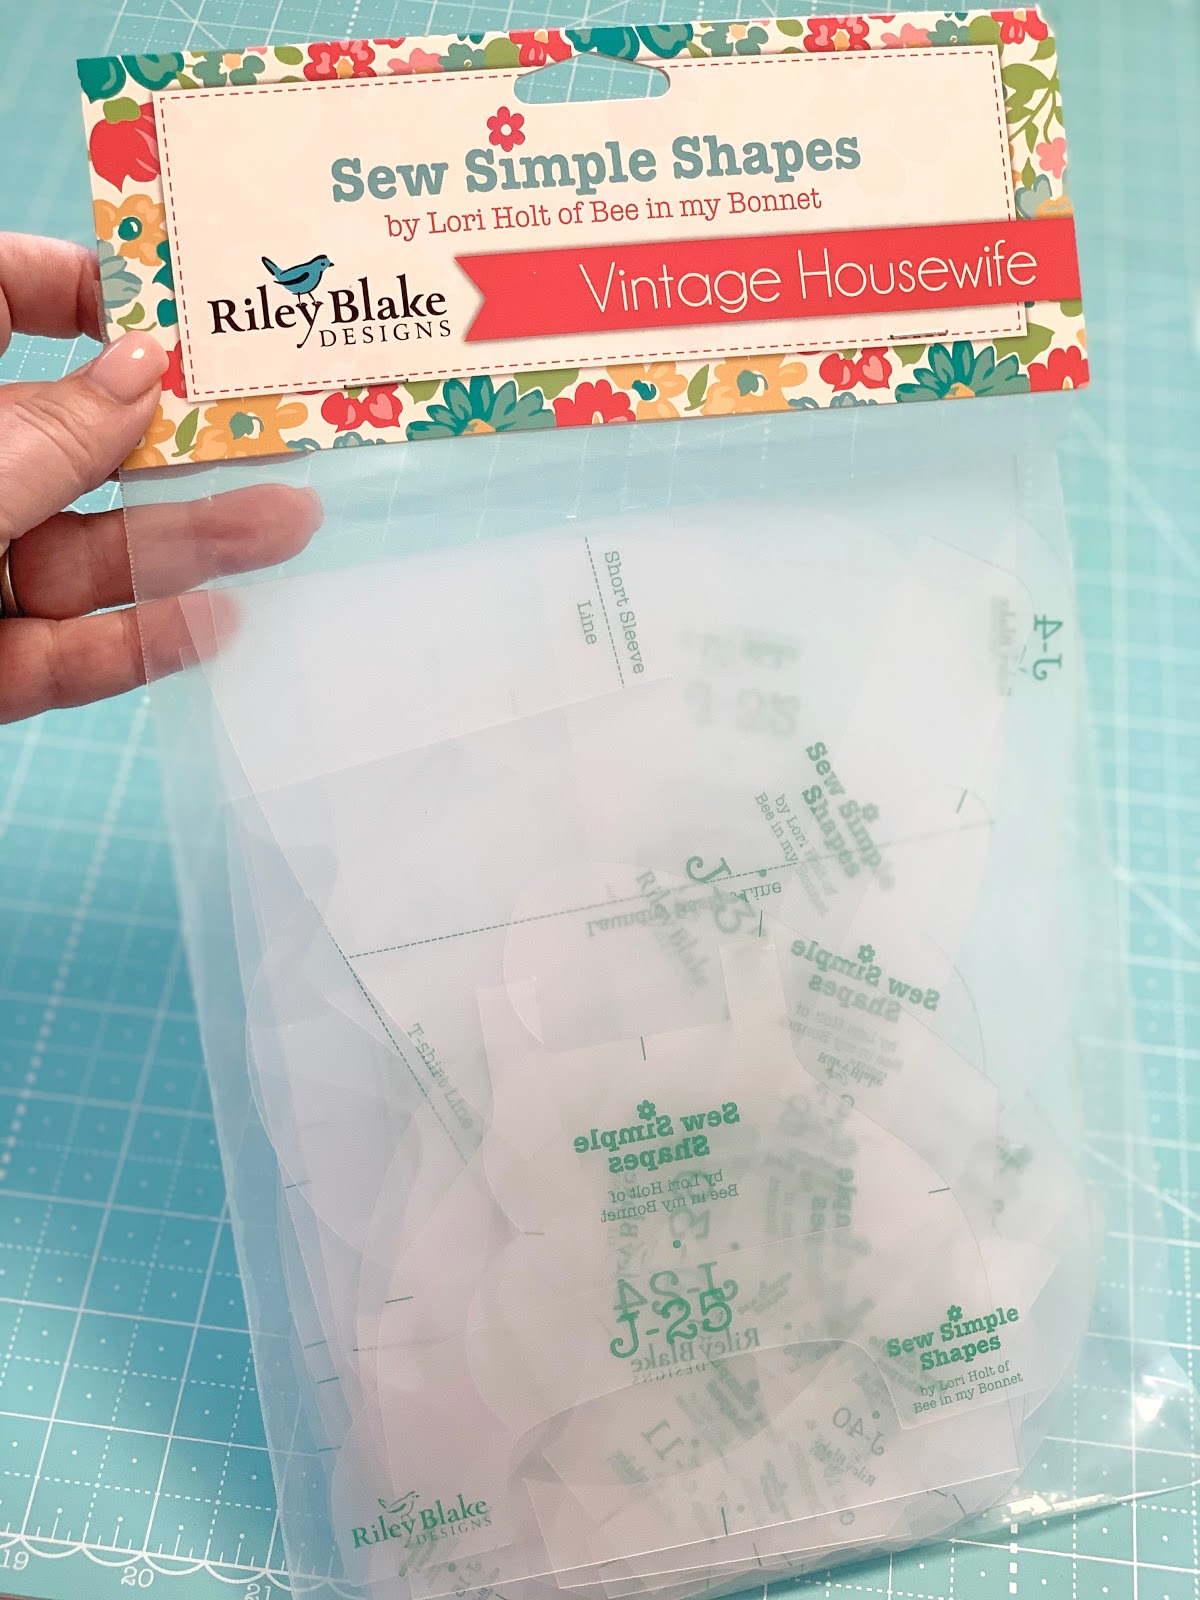
And my new Sew Simple Shapes

To make the
Vintage Housewife Quilt
74" x 82"

These are the blocks that
we have done so far:


Today we are going to make the shapes
for the Clothesline Block
and next week we will hang them on the line!
I decided to split this block
into two weeks to make it
easier on both of us!

Let's start with the kit pieces
already cut and ready to go...
all instructions for that are
in the sew along guide:)
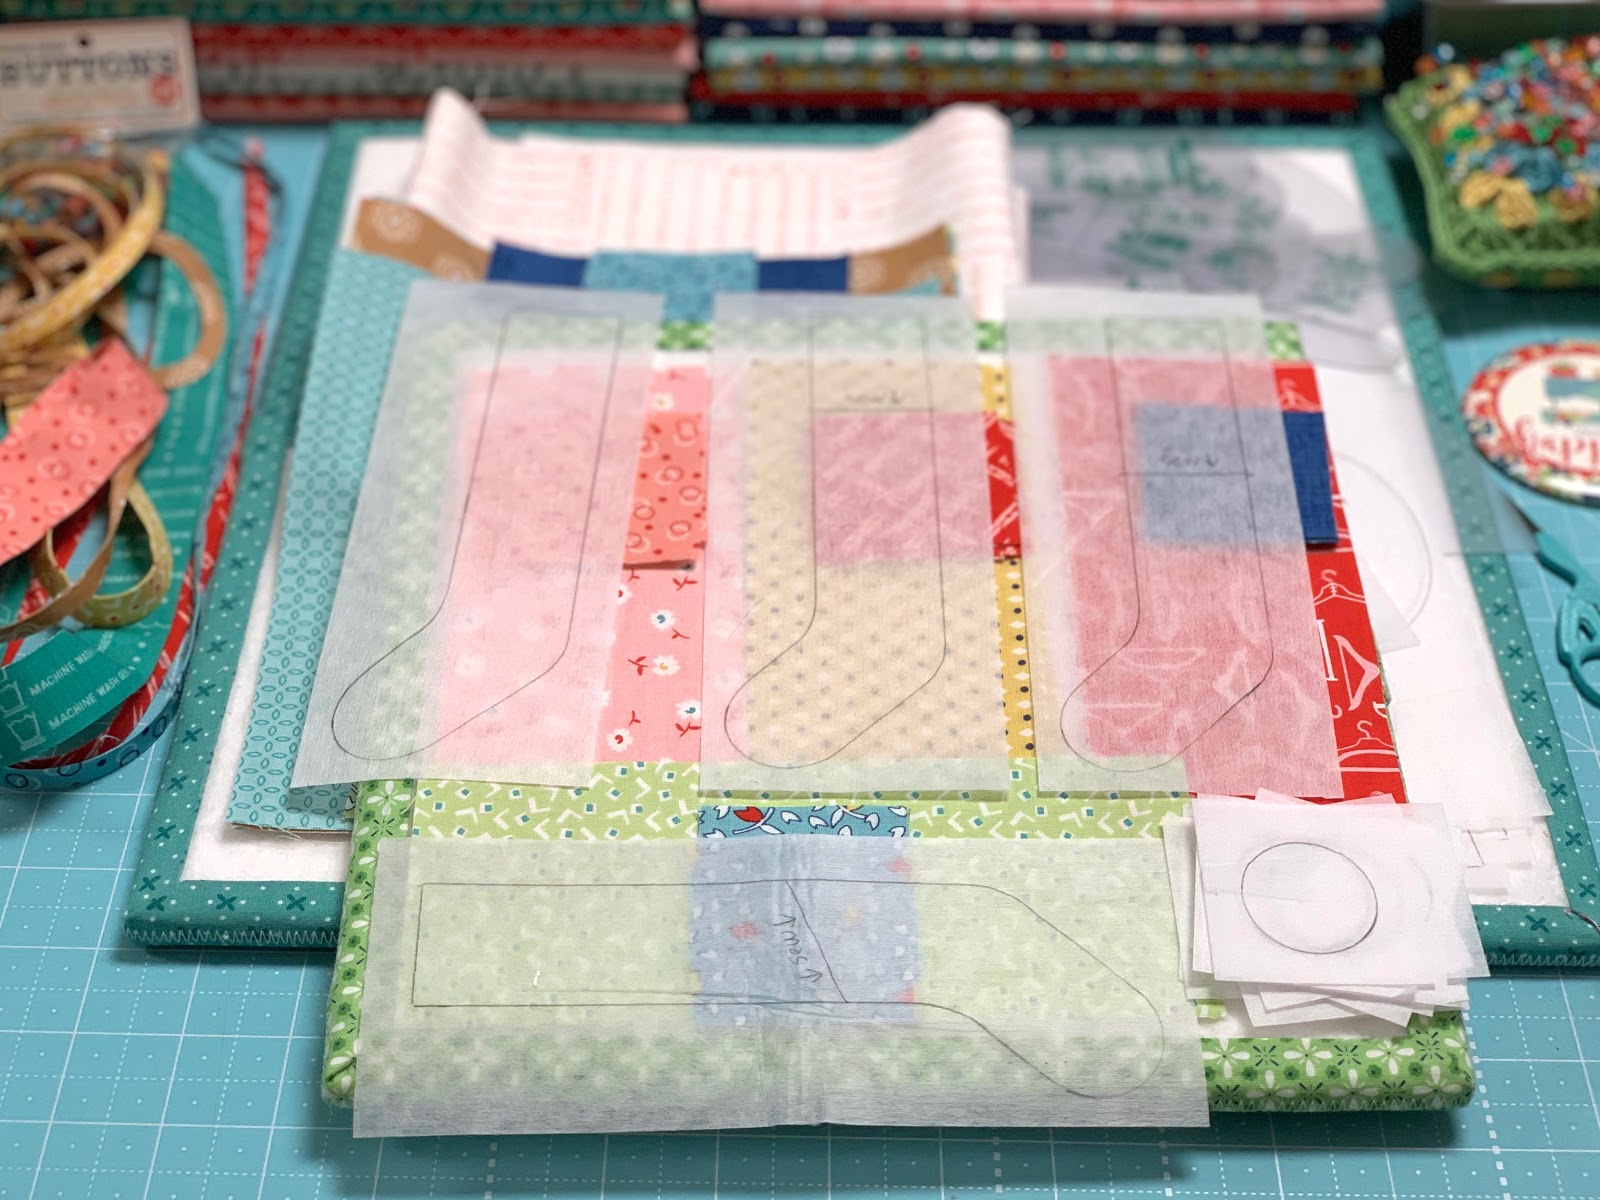
We will prepare all of the clothes for hanging on the line one by one.

Let's begin with the socks.
You will need
J-34 Sew Simple Shape
for tracing all of the socks.
You will need to trace one of the
socks in reverse by placing the
template right side down...
now you have a pair!
There are 2 stitched lines
on the template for
different heights of socks.
This longest pair are the pink ones...
which are actually panty hose!!

For the next pair trace the
top stitched line for
sewing the yellow socks.

For the red socks trace
the bottom stitched line.

For the "extra" green sock hanging
from the laundry basket
you will only need one.
The top sewing line needs to be slanted
so I measured down 4" and
drew this slanted line like this.
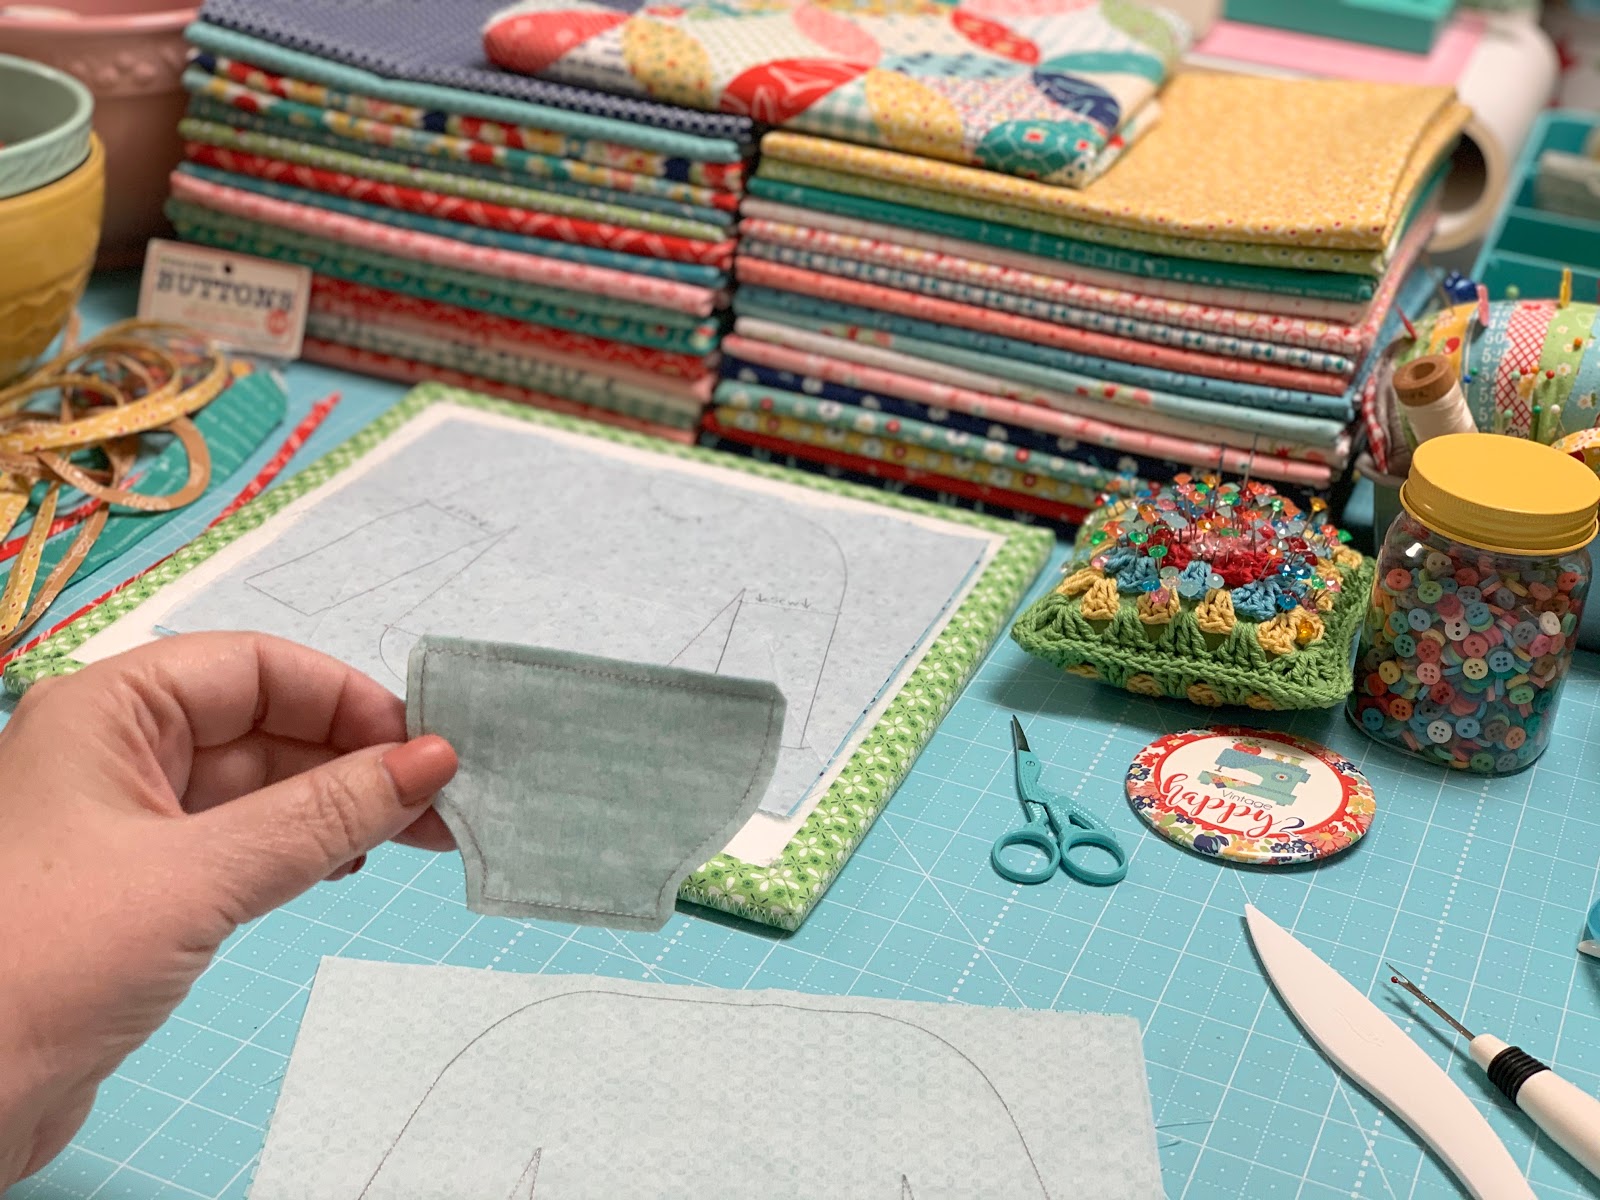
Okay...now "Pair up your socks" lol
with your traced interfacing
but don't sew them yet...

Because we need to sew
all of the heels and toes first!
All of these are first sewn into a
circle using the
J-18 Sew Simple Shape

Sewn and trimmed:)

Turn and shape them...
and pair them up with the
socks that they go with.

Place the traced piece over the socks
just like you are going to sew it
but first lift up and slip the
toe and heel underneath.
Because you can see through the
interfacing you can place them
where they look good!

Before you sew them ...
glue them down with just a few drops each.
Glueing works better than pinning for this.

After you've glued the circles down
go ahead and finish pinning
the interfacing down and sew!

After sewing...
clip the inner curves
in each sock before turning.

YaY!
Socks are ready to hang
on the line next week:)
*Note that when you appliqué
them down...
that you applique the
heels and toes at the same time.
Also...
notice in this photo
the 1" straight bias strips
above the nylons.

I pressed them around the top
like this and then glued them into place.
Now all socks are made and ready...
set them aside for now.

And let's make the jeans and boxers!
You will need
J-35 and J-36
Sew Simple Shapes
On one of the traced interfacing
I also measured 4" down from the top
and traced a sewing line for the boxers.

Sew the jeans...the pockets and the boxers.
Clip the inner curves before turning.

Turn and shape:)

For the waistband and the rolled cuffs
on the jeans I did the same thing
using the 1/4" straight bias strips
that I did with the nylons.
I just pressed them to fit around
the jeans and glued them
into place before pin basting.
For the boxers I sewed on 2 of the tiny
Cute Little Buttons
from the package
in the color denim.

Boxers are ready to go!
This is what the back of the
jeans look like after glueing
the waistband and cuffs.

It's just like playing paper dolls!
Okay...
set them aside for now
and let's make more clothes!

Let's make 2 shirts:)
For these you will need
J-11
J-19
J-37
Sew Simple Shapes
You will sew the long sleeve shirt
just like you traced from the shape.
For the t-shirt you will need to
trace the t-shirt lines from the template.
Place the J-19 circle halfway down
onto the neckline and trace a
half circle for sewing line.
After sewing the J-11 shape
clip the inner curves ...
then turn and shape and press.

Now cut it in half because
you will use it for the collar!

Place your traced interfacing
onto your shirt fabric so that you can
see through it to place exactly
where you want the collar pieces.

Glue them into place before sewing
just like you did for the
heels and toes of the socks.

Sew both shirts and trim.
Clip the cleavage under each arm
and the inner curves in the
t-shirt neck before turning.

This is how I cut my
interfacing for turning the shirt.

All turned and shaped:)

The t-shirt is ready to go but just a few more details for the long sleeved shirt.
Notice the sleeve cuffs. I pressed and glued them as well.
I also sewed
6 Cute Little Buttons
in Vivid color onto the shirt front.
Set the shirts aside for now.
***And before you ask***
NO... they don't come in a jar
with the yellow lid.
I painted that lid with my
color and put several of my tiny
1/4" Cute Little Button packages in there.
All of my buttons come in
packages now instead of jars...
but you can do what I did and
use those same jars when they
are empty for more buttons!

Let's make a dress!
You will need
J-18
J-38
Sew Simple Shapes
to make the dress.

The circles are for the collar ...
so you will need to sew them first.

Do the same thing that you
did for the socks and the shirt...

Glue baste them into place...

And then sew.
Clip the cleavage in the waist
and under the arms before turning.

Turn...press and shape:)

I used the 1/4" straight bias
for the waist band.
I also used the red cotton lace from the
Bee Cute Lace for the bottom
of the sleeves and dress skirt.

I glued down on the front....

And wrapped around the sides
with a little glue as well.
Remember that this glue dries clear
so no worries when using it for the lace.

I added three 1/4" buttons as well:)

Sew fun!!
Set the dress aside
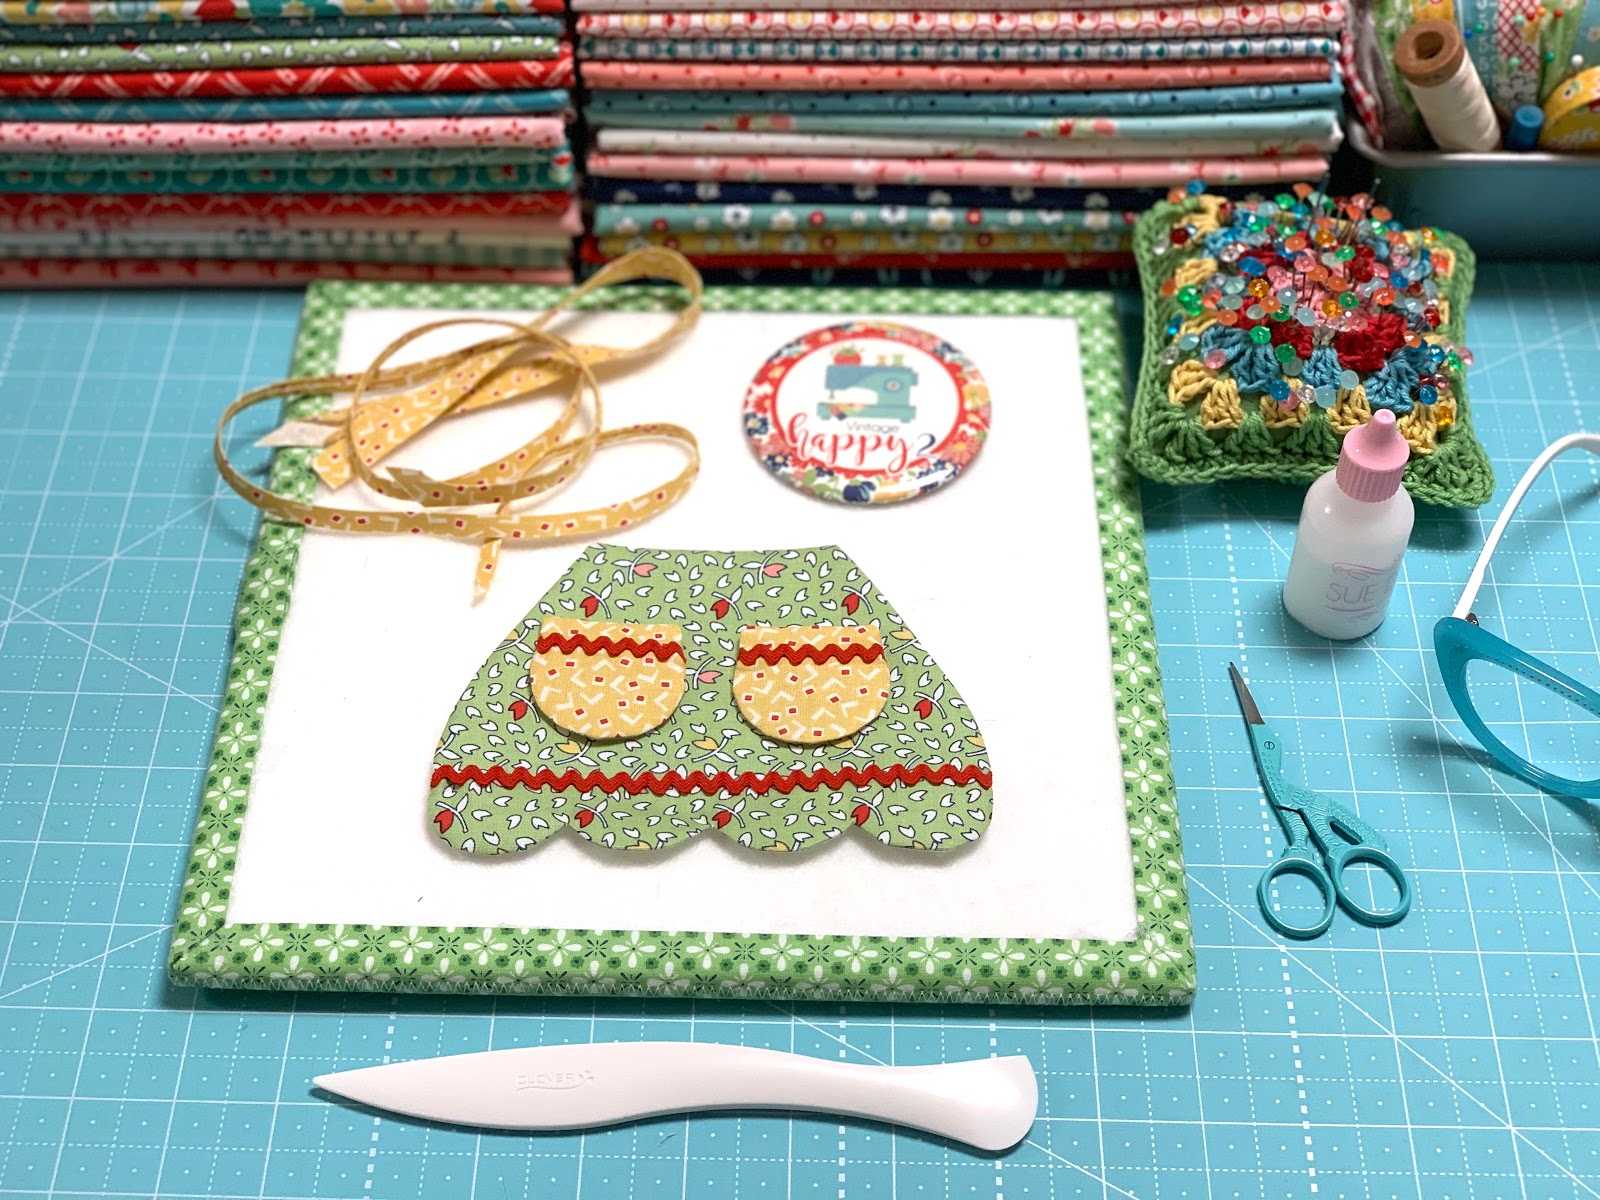
and let's make an apron!

You will need
J-13
J-39
Sew Simple Shapes
to make the apron.
After tracing the J-13 shape
draw a line 1/4" away from the
center markings and repeat
for the other side.

These are 2 new sewing lines
for the pockets but before sewing
you will need to glue some
small red vintage trim down.

I measured 1 1/2" down from each end
of the yellow print and
marked a line to glue the vintage trim.

Now when you pin on the
interfacing everything will
line up for sewing!

Do the same for the bottom of the apron
by measuring up 1 1/4" and tracing a line.

Glue baste the small
red vintage trim onto your traced line...

Pin and sew.

Clip the cleavage between scallops
on the bottom of the apron.
Turn and shape:)

Glue baste the STRAIGHT bias
for the waist band ...

Just like this...
and save the bias strips that are
actually cut on the bias
for the apron strings.
You will glue and pin baste those
onto the background next week.

Set the apron aside for now.

We are going to make the laundry basket
full of folded clothes next.
You will need
J-5
J-38
Sew Simple Shape
Of course you already made the lost sock:)

You will need to trace a new
sewing line from J-38
for the laundry basket.

Sew the basket and the folded clothes.
No clipping needed for these shapes:)

Turned ...shaped...pressed
and ready to go.
Save the 1/4" cut on bias strip
for the handles until next week.

YaY!
Now that you have all of the clothes
and laundry basket finished
you are ready for next week.
I'll meet you right back here then
and we will hang them on the line!
xx
Lori

1 comment:
Wow! I’m glad you broke it up! Took me most of the day👏❤️👍
Post a Comment