

Hello again!!
It's week seven of the
Vintage Housewife Sew Along


if you need to download the
Sew Along Guide and
if you are just joining us and
need to read the Bee Prepared post
that tells you all about this sew along:)

We are using Vintage Happy 2 Fabric...
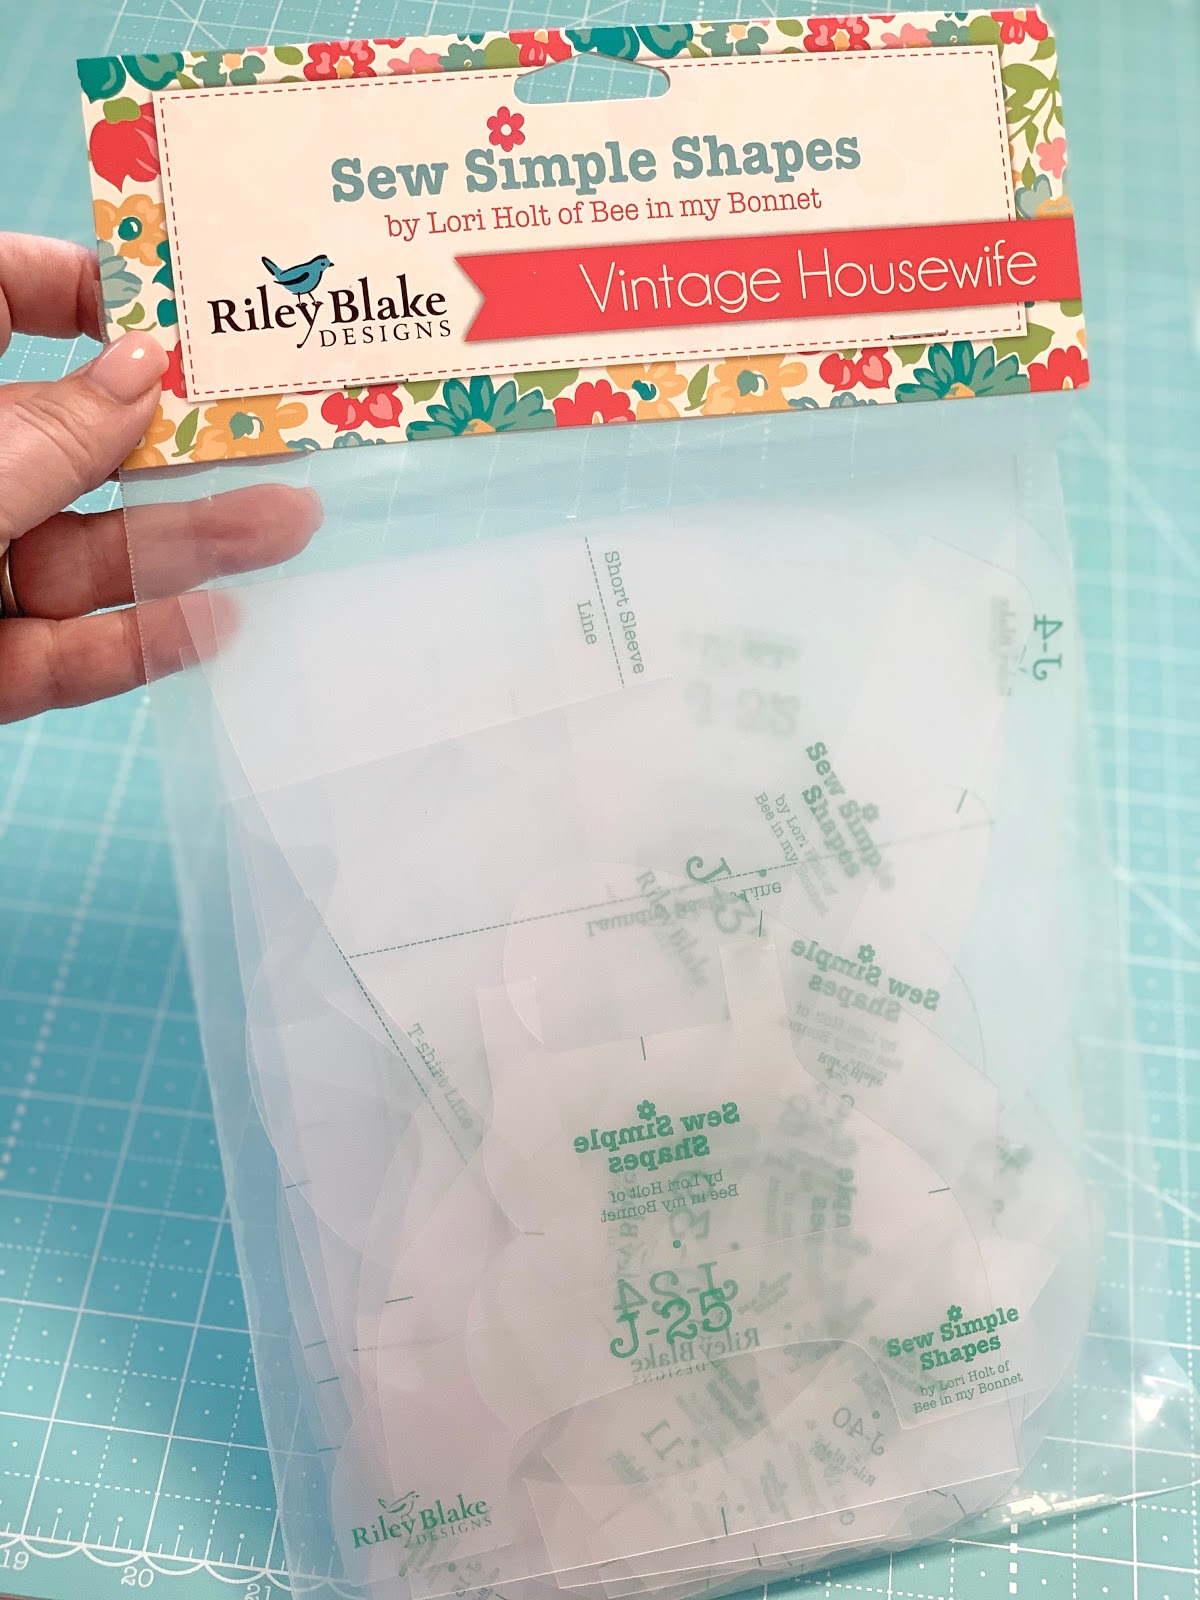
And my new Sew Simple Shapes

To make the
Vintage Housewife Quilt
74" x 82"

These are the blocks that
we have done so far:


And today we are making the
CLEANING BLOCK


Sew Simple Shapes
used for this block:
J-15
J-17
J-18
J-27
J-28
J-29
J-30
J-31
For the aerosol cleaner can
you will need to trace a rectangle
1 1/4" x 2 3/4" onto the interfacing.
Prepared Straight Bias Strips:
1/2" red -
7 1/2" long after pressing
one end under for broom handle.
1 3/4" long after pressing
both ends under for vacuum handle.
1/2" long after pressing
both ends under for plug.
1/2" yellow -
3" long after pressing
both ends under for vacuum.
1/2" green -
Make 2 that are 2 1/2" long after
pressing both ends under for vacuum bag.
1/2" teal -
1 1/2" long after pressing
both ends under for duster handle top
1/4" teal -
3" long no pressing under
for duster handle
1/4" gray -
3 1/2" long after pressing
both ends under for dustpan bottom
1" long no pressing for vacuum handle
cut 1" long and press in half
for top of spray can
1/4" denim -
1 1/2" long after pressing
both ends under for spray can
You will need the red small vintage trim
for the cord and the broom
and also red buttons:)
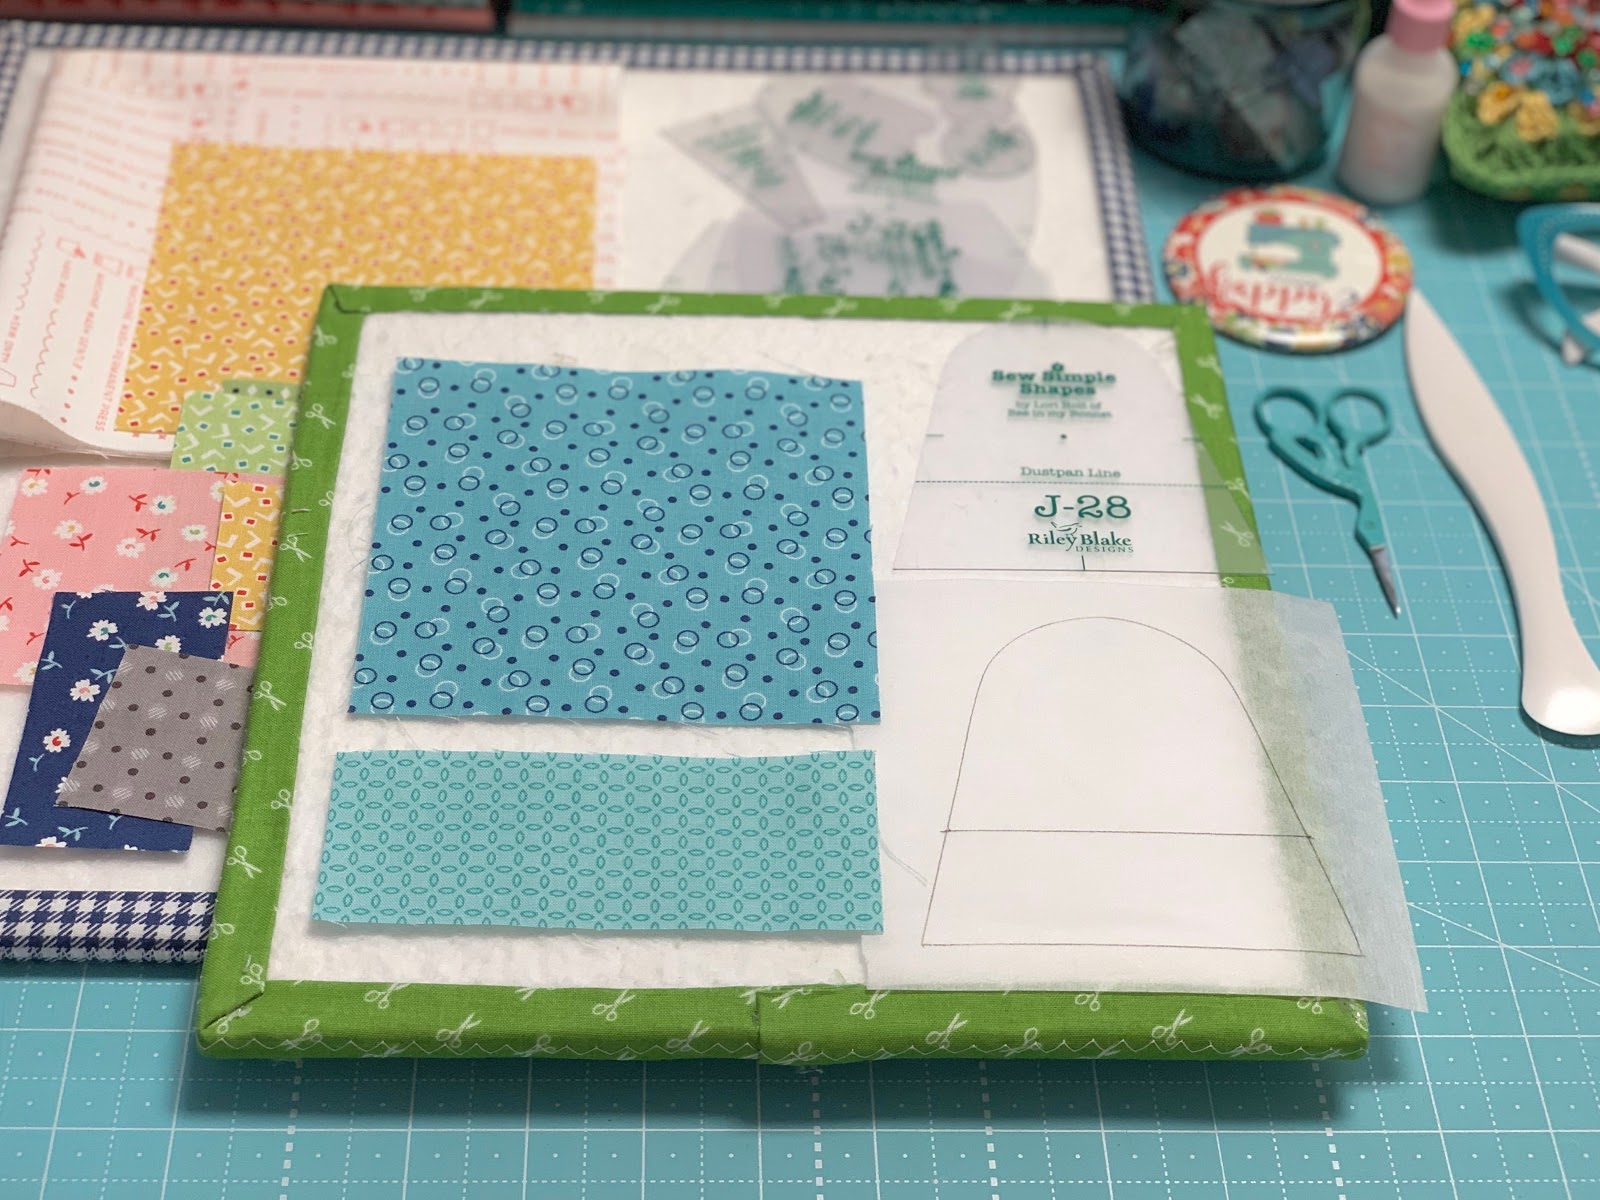
You will need to sew these two
fabric pieces together and press seams open.
Trace the line for sewing dustpan
onto the interfacing.

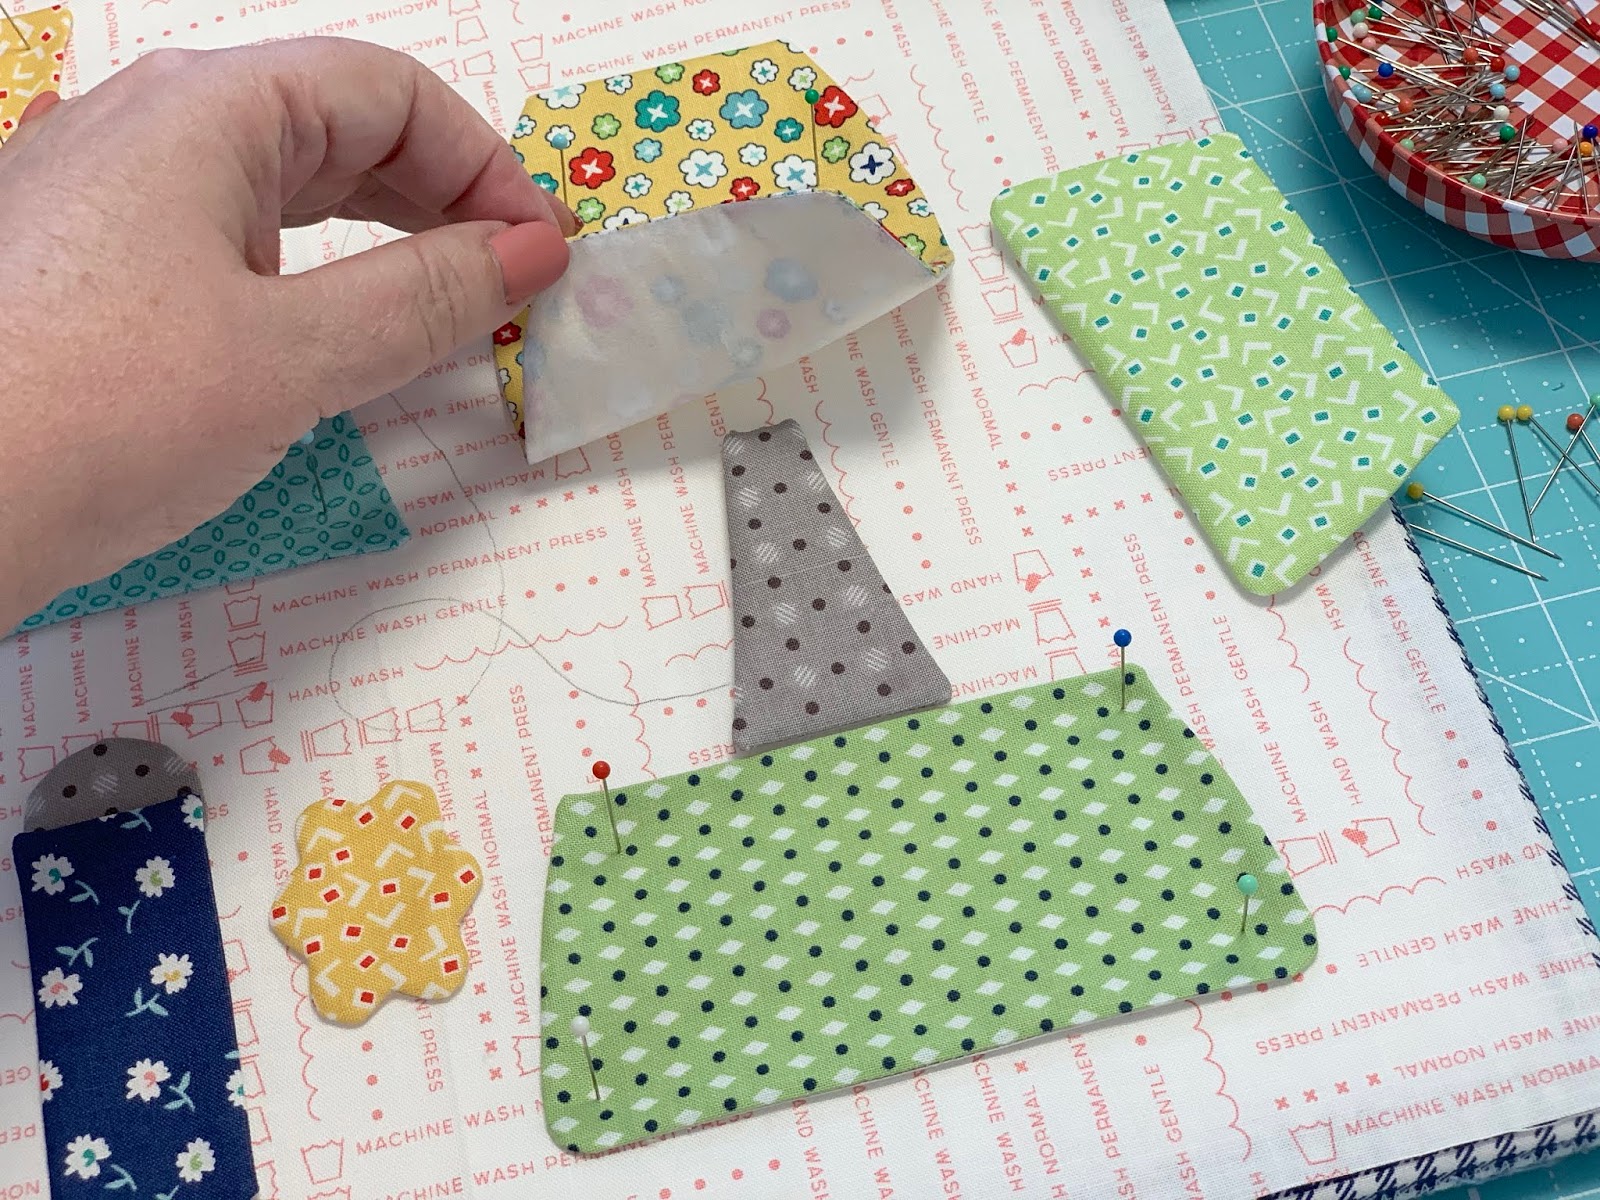
Pin and sew like this...

view from the back side before tuning...

Turned shaped and ready to go!

Cut 2 pieces of vintage trim
the same width as your yellow fabric.
Trace a line onto the fabric 2" down
from the top and another 1/2" down from that.

Lightly glue a piece onto each traced line.

Now you can pin your
traced interfacing on and sew!

Like this:)

Turned and shaped and ready to go!

Sew the rest of your shapes and trim.
Clip the cleavage in the feather duster
and the yellow scrubby:)

I almost forgot to tell you
to trace a new sewing line 1" down
from the previous sewing line
and sew across it.

Trim off the top excess like this...

After turning and shaping use it
for the dust pan handle!

Whew!
Okay...now all of your shapes
should be ready to go!
The following photos are close ups that I took for you while pin basting my block.
Make sure to use the
12 1/2" Trim-It Ruler so that your
pieces stay within required size.


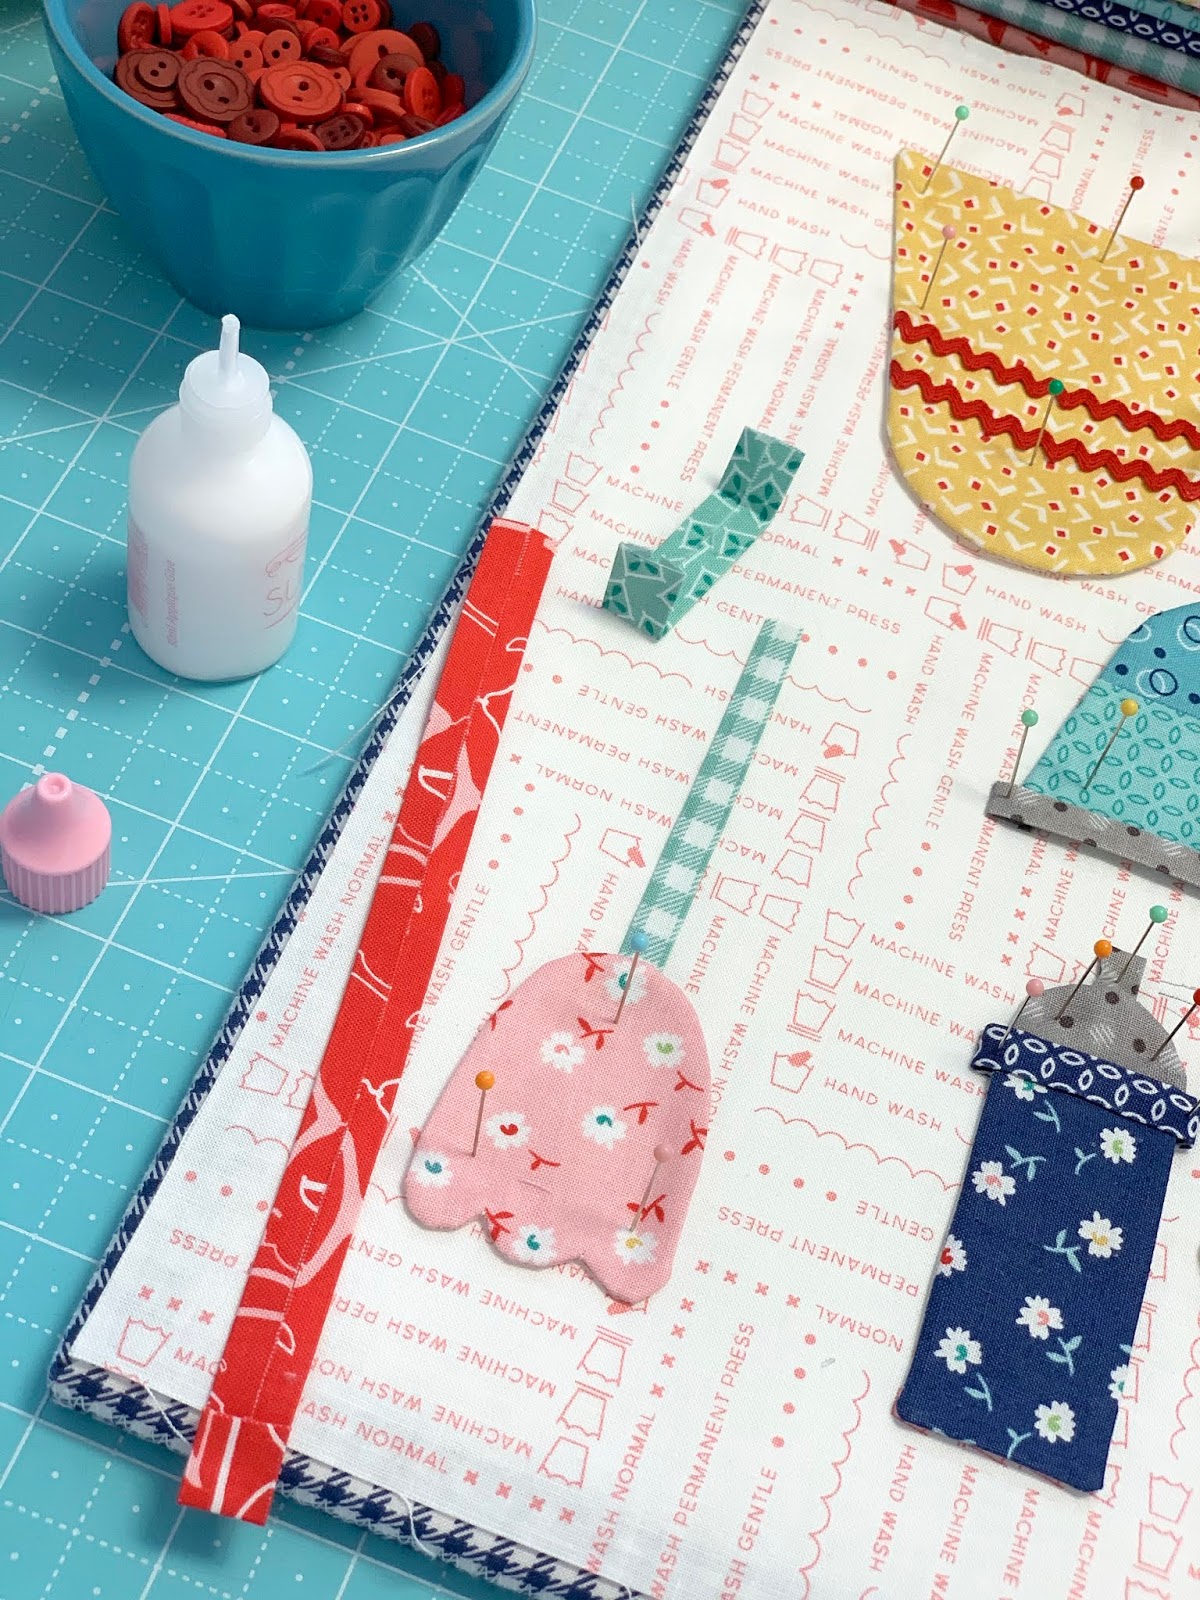

Pin basting is complete and
ready for glue basting:)

There is a little embroidery on the
plug end and for the spray lines.
I used 3 strand of the gray
in my Bee Basics Aurifloss set.

I also sewed the vacuum cord down
exactly like I did the coed on the Iron.

I used 3 red buttons for
across the vacuum bar.

All ready for appliqué!

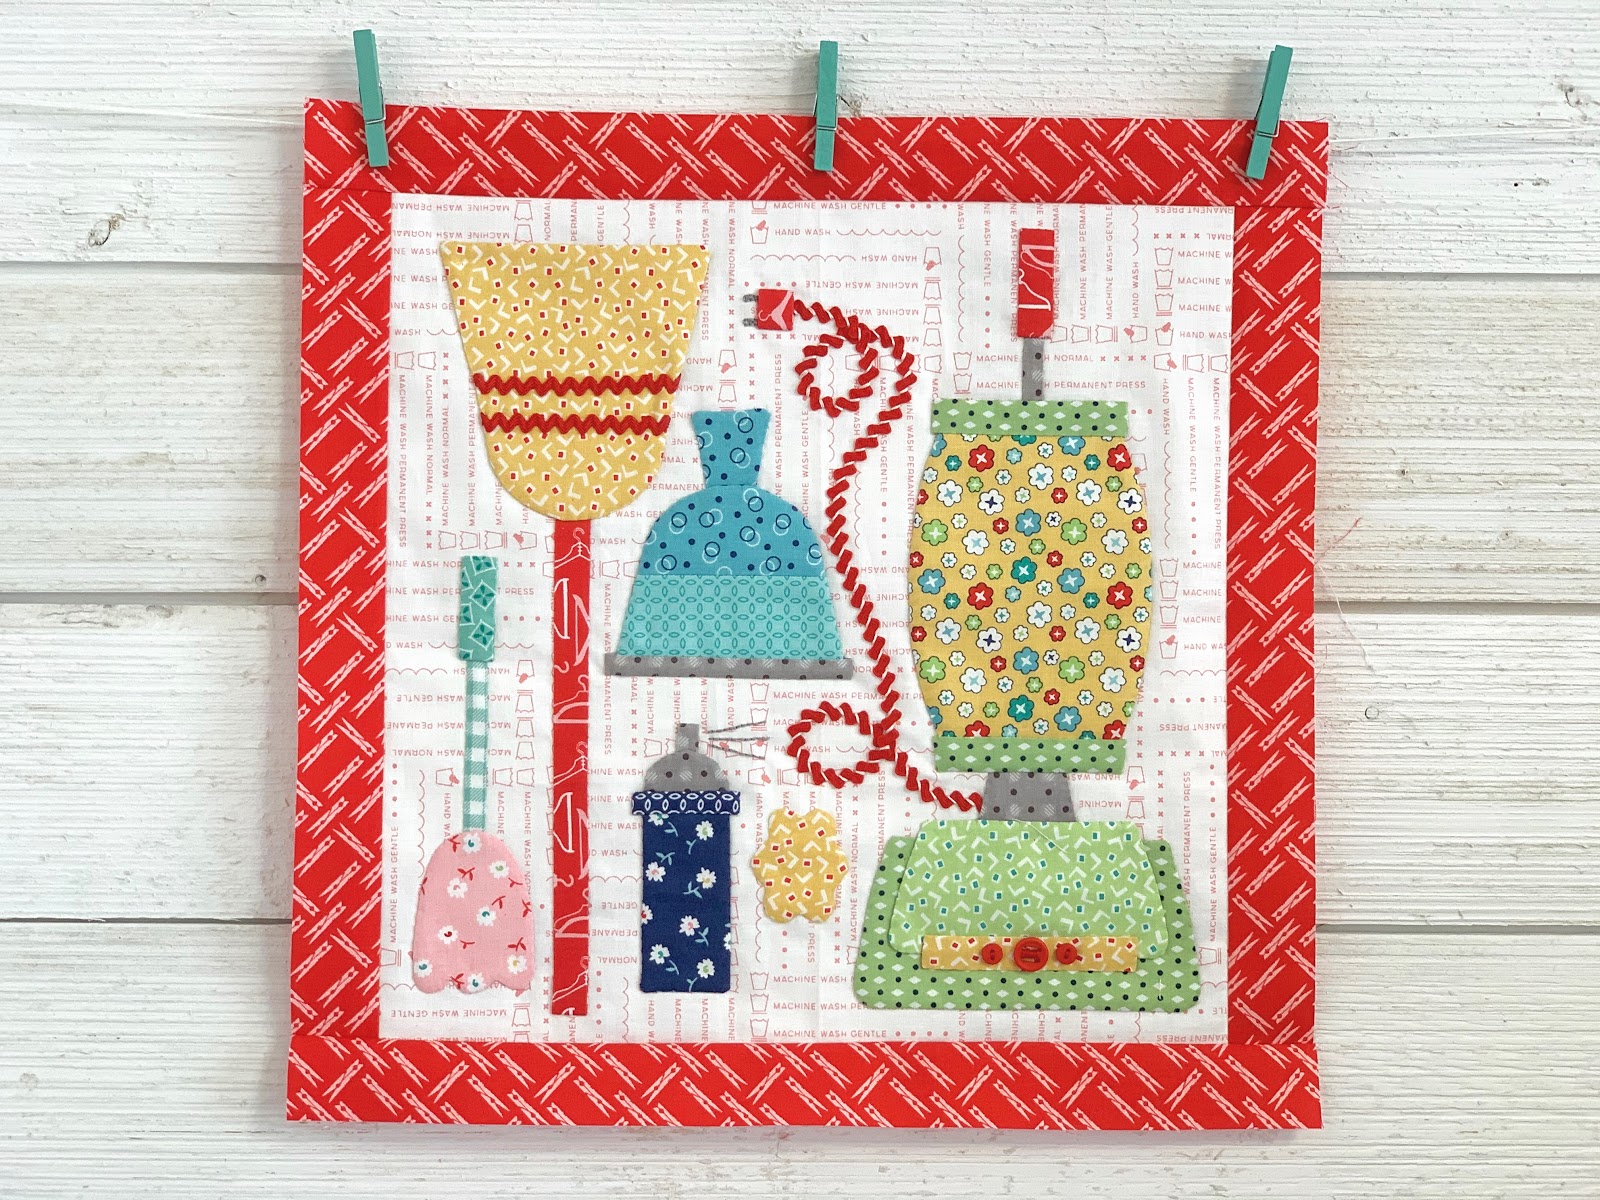
Trim up your block using the ruler
and add the borders:)
Just like the previous six blocks...
your block should measure
14 1/2" square at this point.

Thanks so much for
sewing vintage with me today!
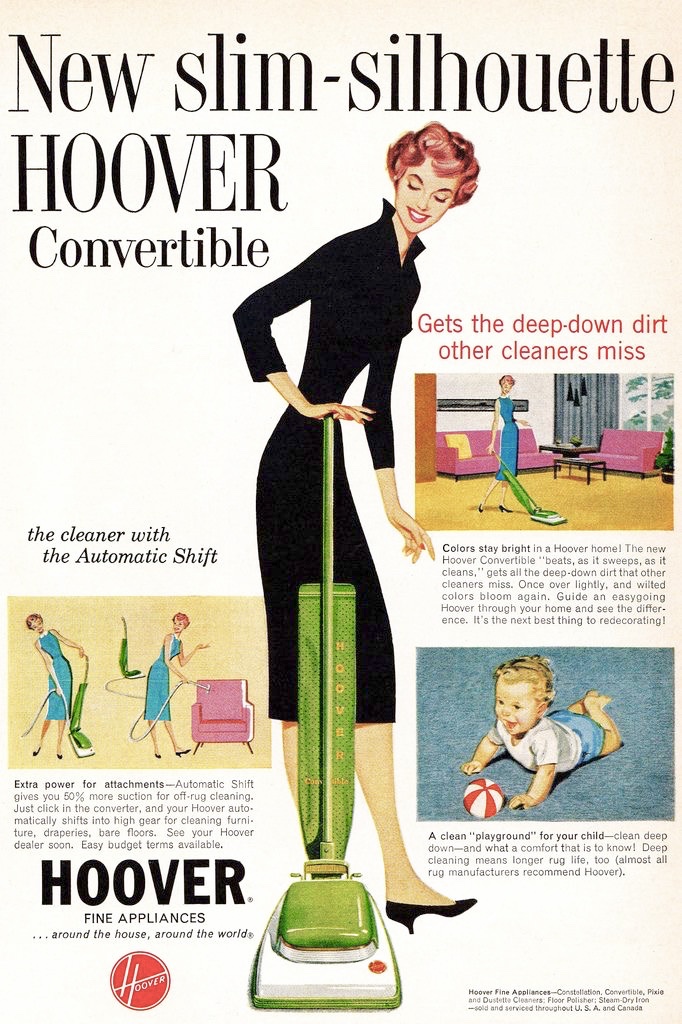
Let's celebrate the vintage housewife
taking care of her home in these
vintage photos and ads.
I'll be right back here next week!
xx
Lori


2 comments:
Love those pictures!
Loving it as usual...........and the ads too! "and they used Bon Ami" (from The Ghost and Mr. Chicken). Personally never used it myself. Thank you for yet another wonderful design
Post a Comment