

"TULIP BLOCK"
"PINK PEONY BLOCK"
"CABBAGE BLOCK"

Welcome to Week Seventeen of the
"CALICO GARDEN"
Sew Along!
Join me here each week
when I will be doing tutorials
on the blocks for the quilt.
Of course because we are all sewing
from all around the world
we all have different time zones...
But I will be posting each Monday
right here on my blog
and you can follow my tutorials
any time each week that
is convenient for you.
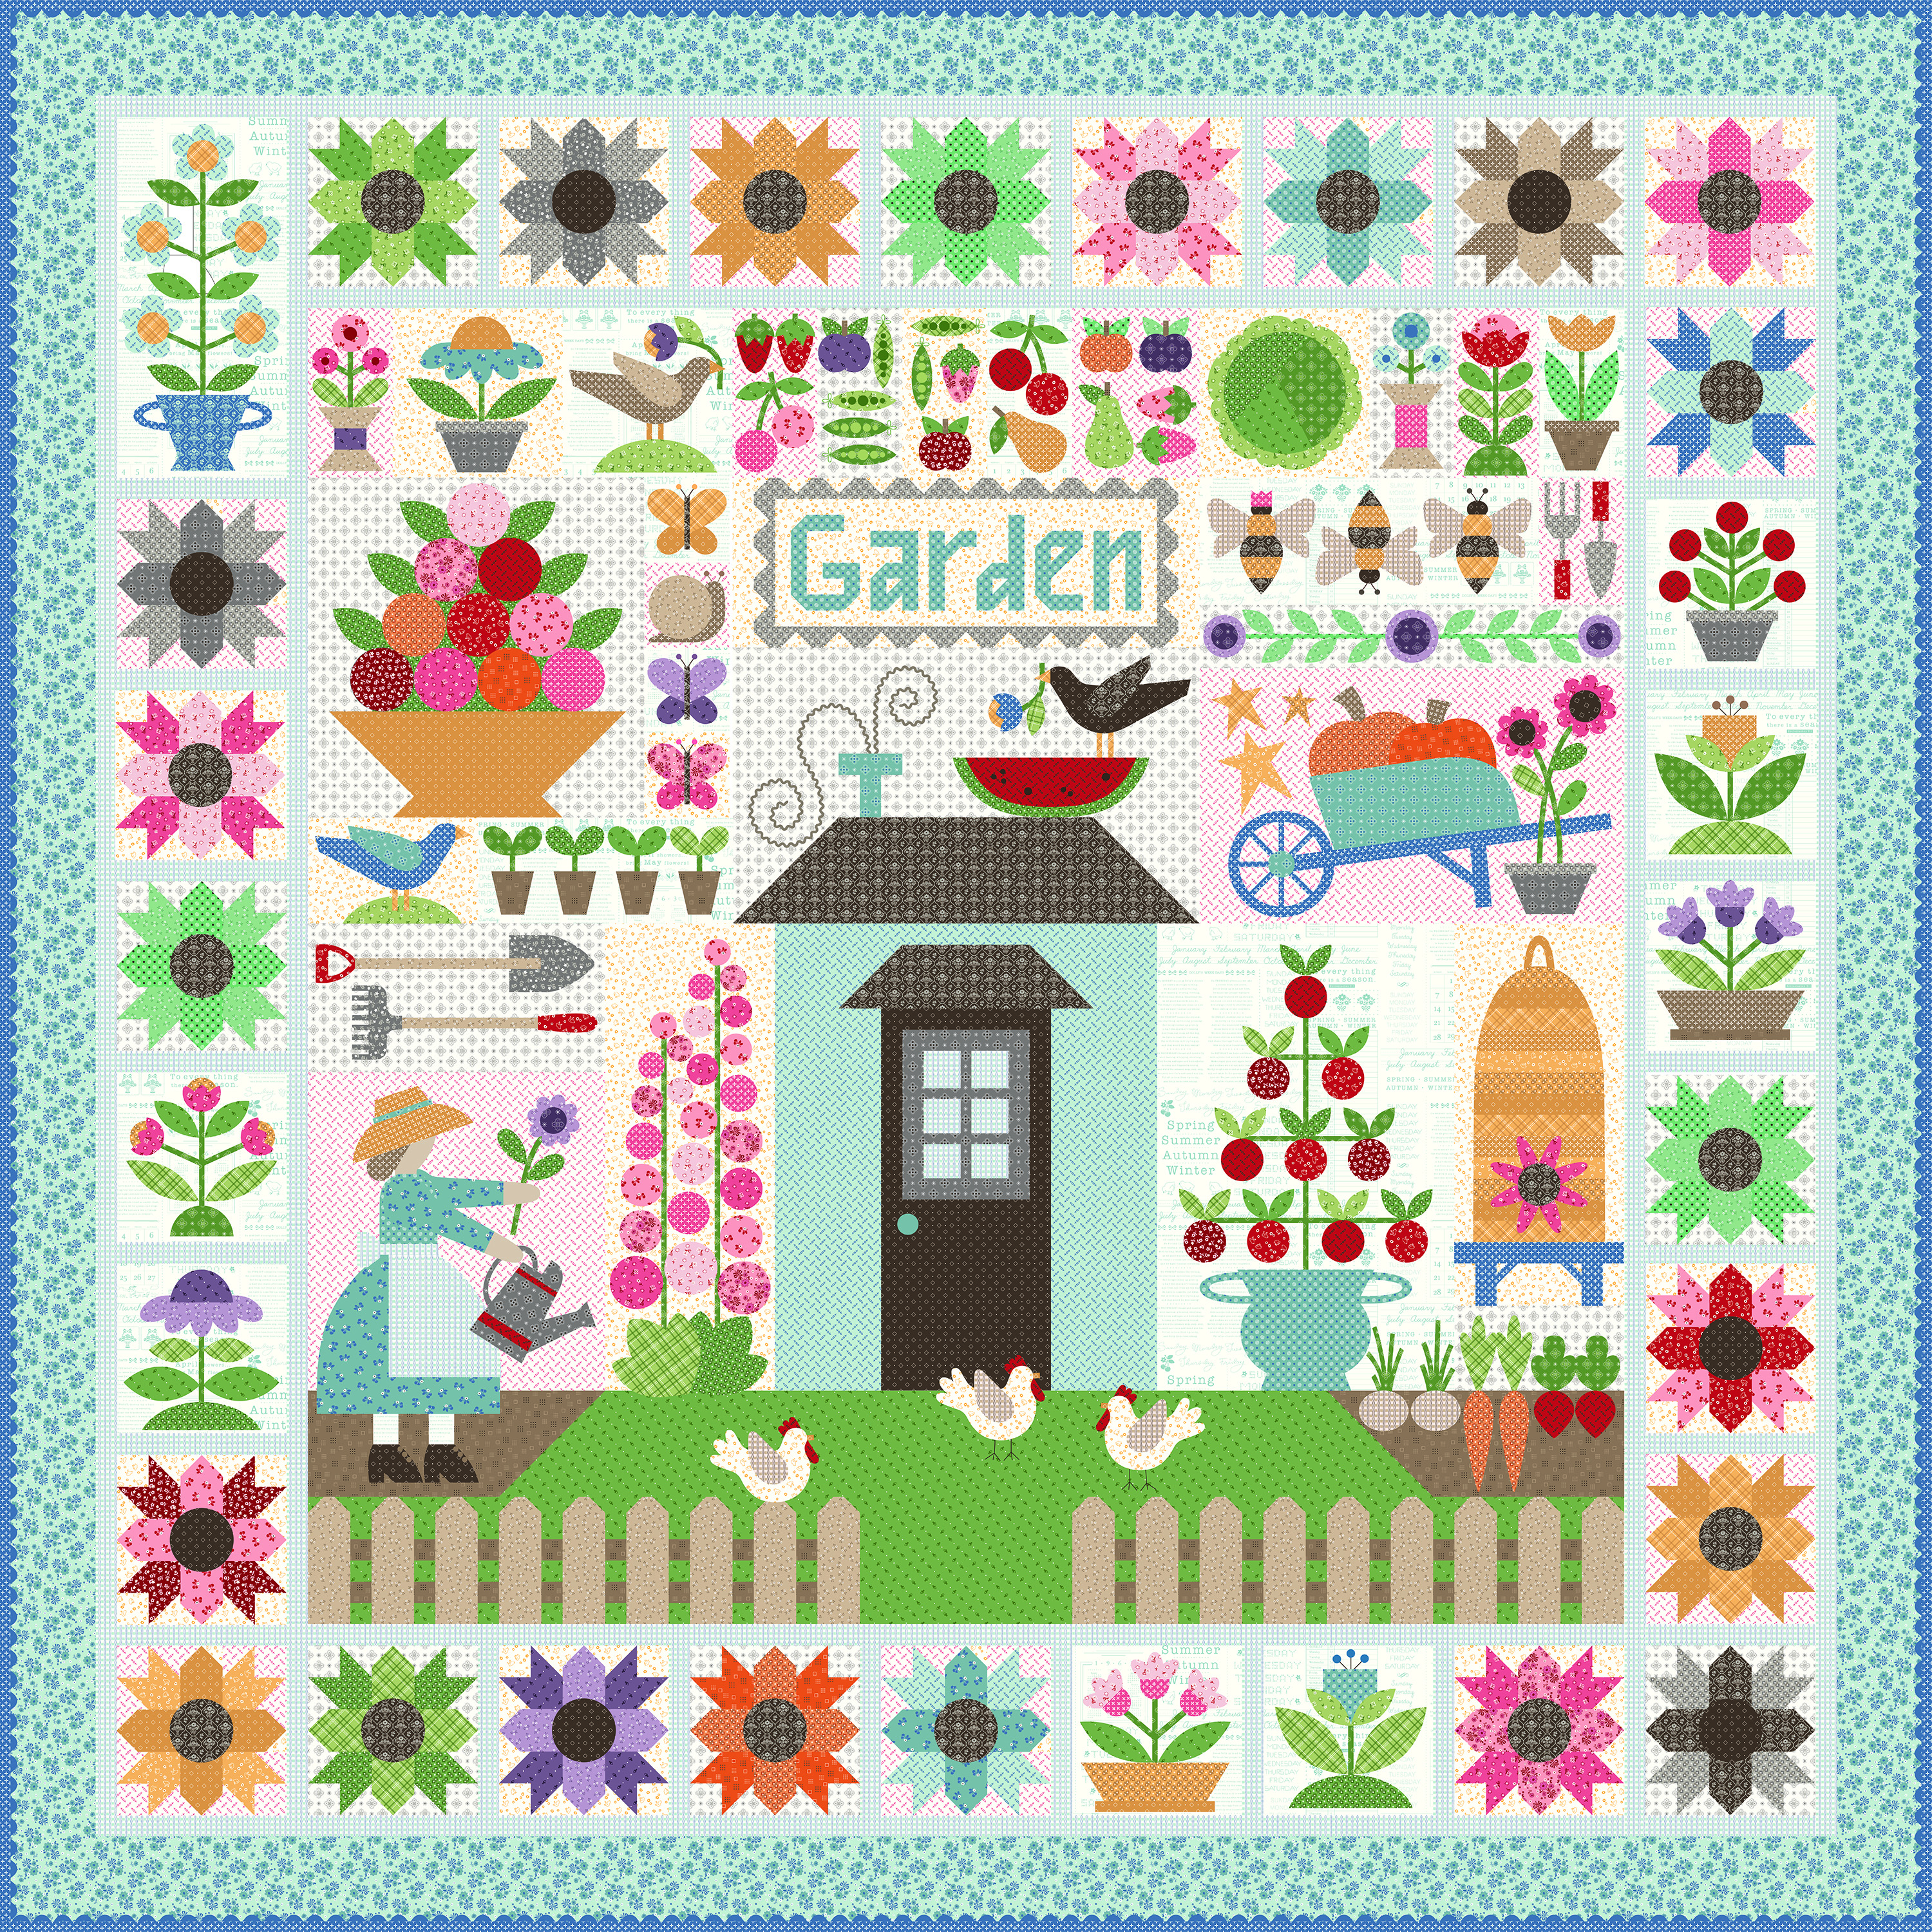
We are making the
Calico Garden Quilt
90" x 90"

The quilt is made with my latest fabric
collection called Calico...
I hope that you all have all
received your templates and
fabric kits by now...
and that we are all ready to begin!!
If you still need them ...
just do a quick google search for
"Calico Garden Quilt Kit"
to find shops who still have some left.

We are also using the
Calico Garden
Sew Simple Shapes
I have posted the
post which details all of the supplies
for the sew along and how it works.
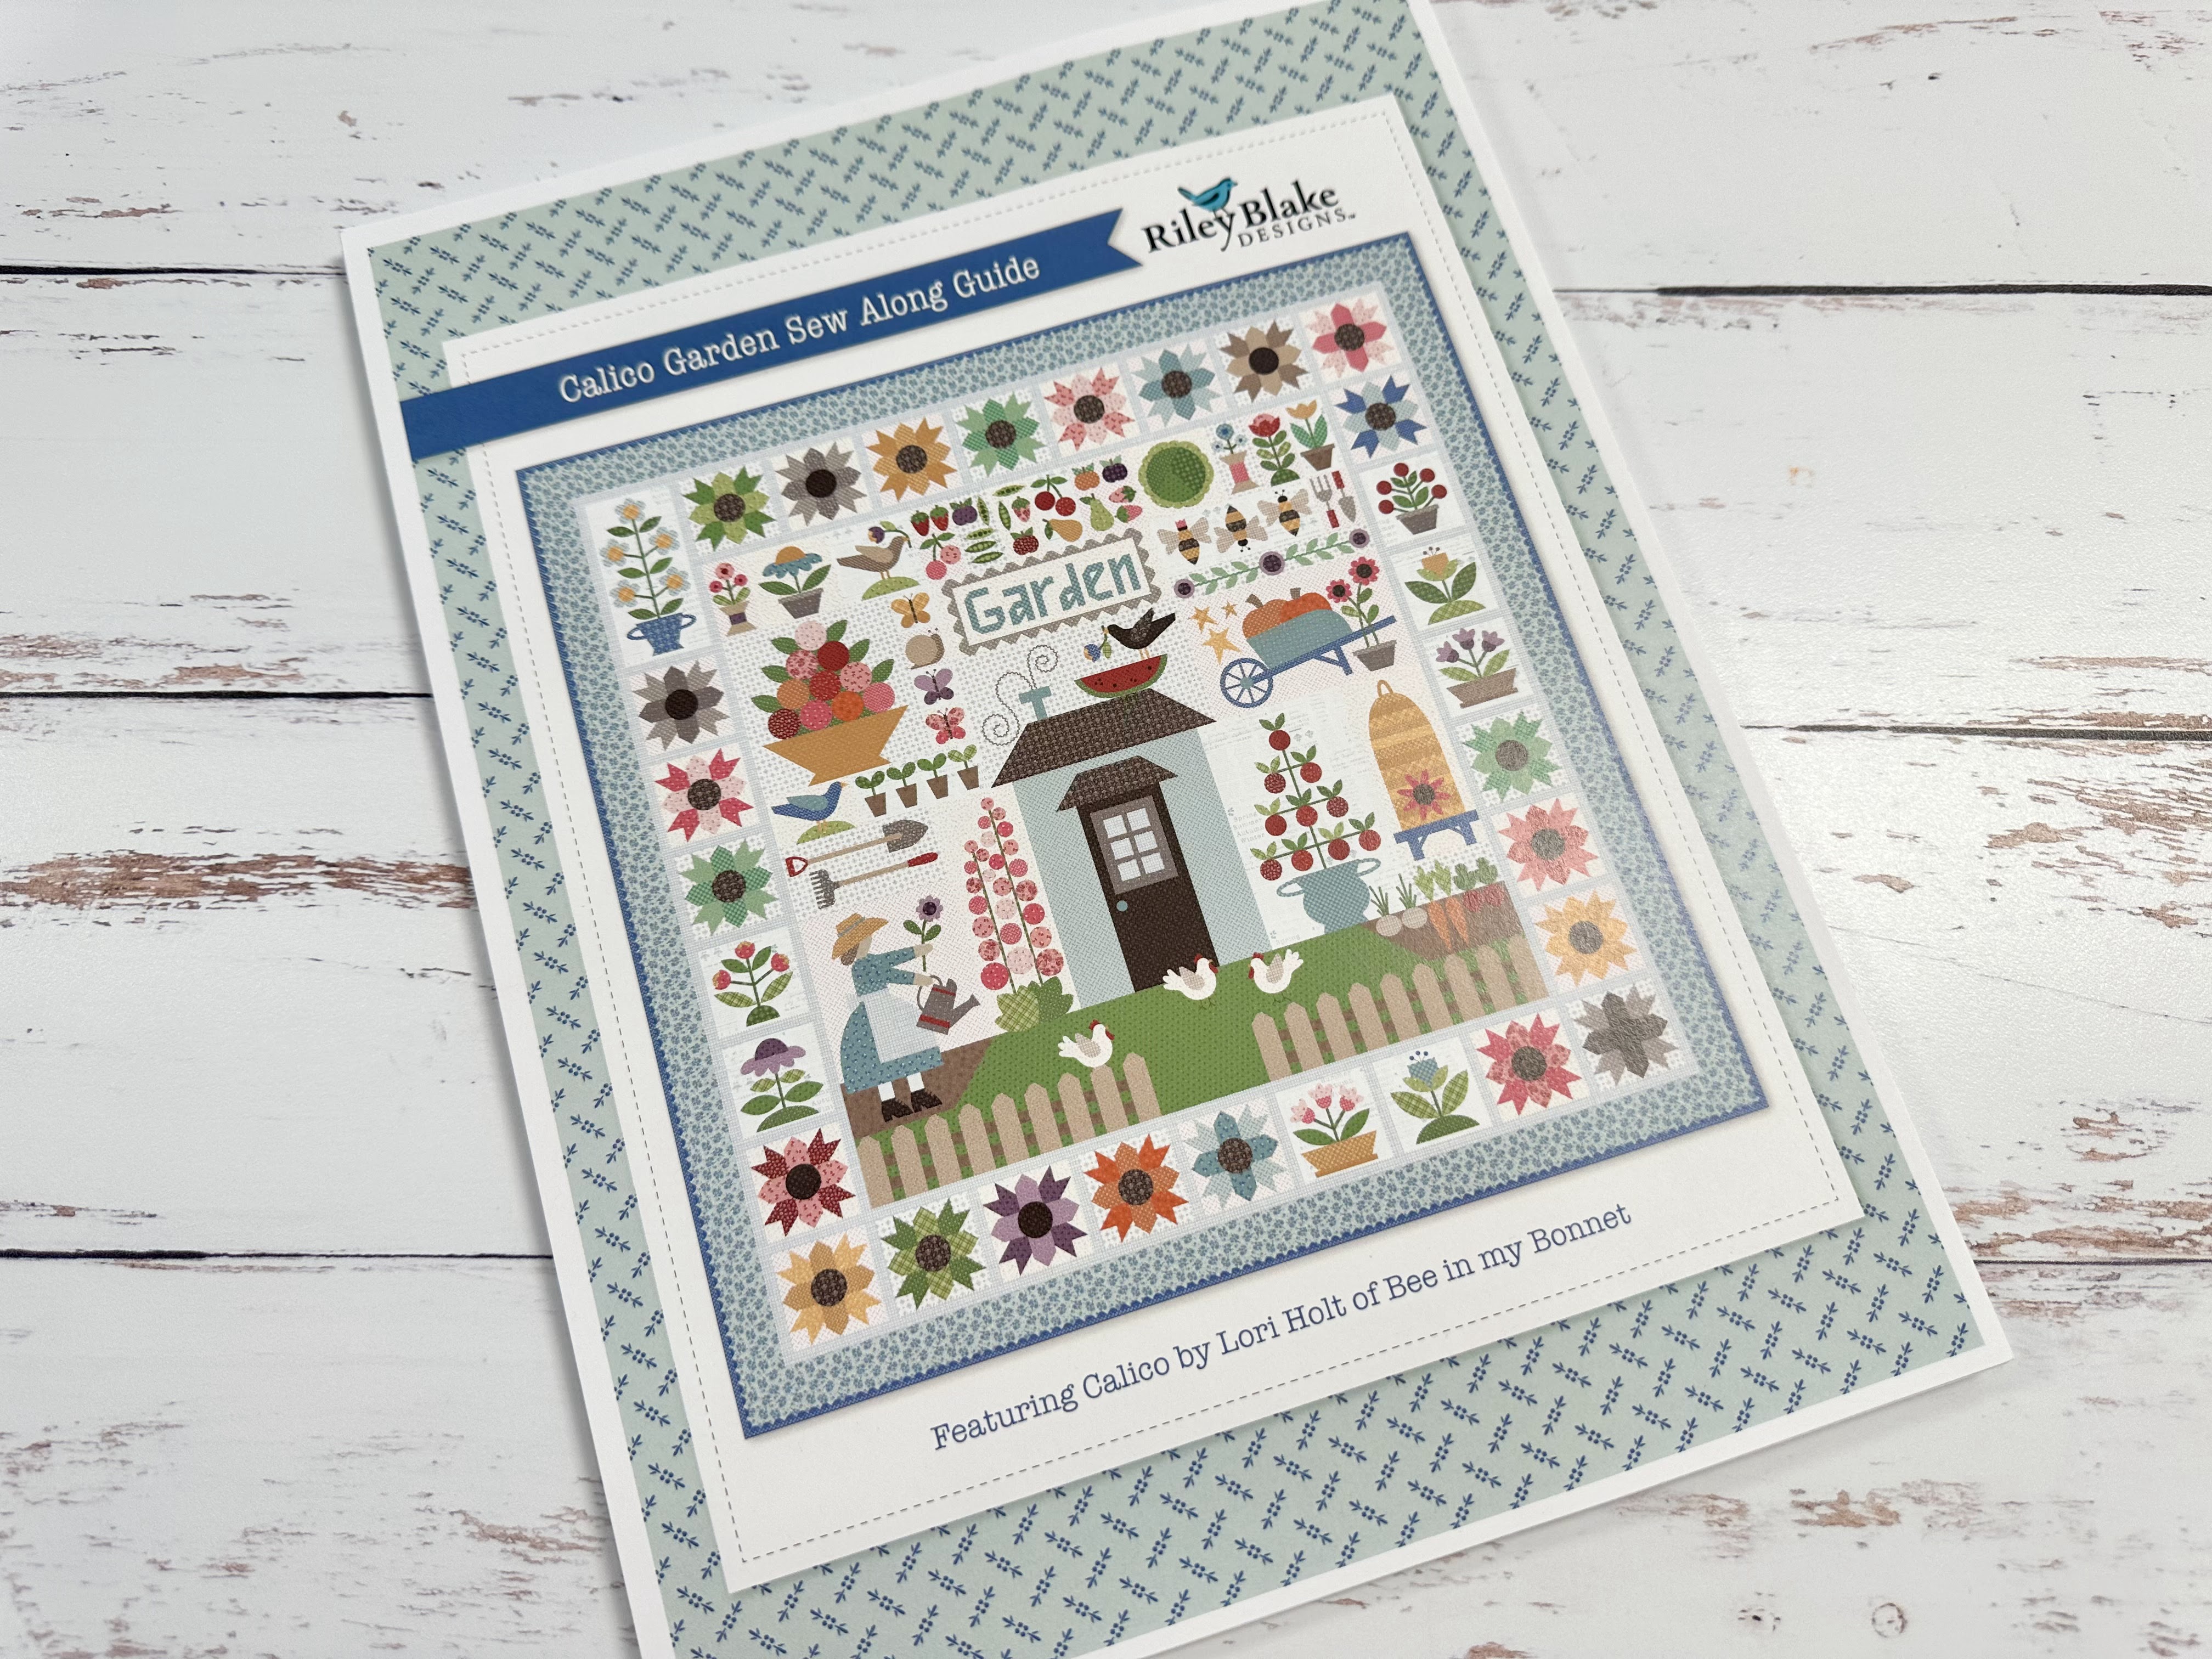
I have also given the link there
for the free PDF Download
of the Sew Along Guide
to download the sew along guide.
As per the sew along guide
cutting instructions
you should have everything for
this weeks blocks
all cut and ready to go!
As per usual for week one in my
Sew Simple Shape Sew Alongs
the FIRST week tutorial is a video.
Because I now have my own
I have posted the
Blue Coneflower Block
Tutorial there.
to visit my channel and watch the
tutorial and I hope that you love it!
Pretty please leave me a comment
over there and let me know:)
If you like what you see
and my other videos there...
click on subscribe and click on the bell
to be notified whenever
I post another tutorial:)

that I showed you
how to make in my video:)

for the tutorial on my
PURPLE CONEFLOWER BLOCK

to go to my tutorial for the
CALICO STAR FLOWER BLOCK

to go to my tutorial for the
Morning Glory Blocks

to go to my tutorial for the
PRIMROSE BLOCKS

to go to my tutorial for the
RED ROSES and MUMS BLOCK

to go to my tutorial for the
Forget Me Not Block

to go to my tutorial for the
PICKET FENCE and GRASS BLOCKS

to go to my prepping tutorial for
HENS and ROOT VEGGIES

to go to my tutorial on the
HOLLYHOCKS and
RAKE and SHOVEL BLOCK

to go to my tutorial for the
GARDEN GIRL

to go to my tutorial for the
BEE SKEP BLOCK

to go to my tutorial for the
TOMATOES BLOCK

Last week we made the
Click on the name of the blocks
to go to these tutorials!

to go to my tutorial for the
WHEEL BARROW BLOCK

for my tutorial on the
GARDEN TOOLS BLOCK
CLIMBING VINE BLOCK
BEES BLOCK

for my tutorial on the
"BUTTERFLY BLOCKS"
"SNAIL BLOCK"
"GARDEN BLOCK"

for my tutorial on making the
"SEEDLINGS BLOCK"
"BLUE BIRD BLOCK"
and the...

"FRUIT BASKET BLOCK"

for my tutorial on making the
"BROWN BIRD BLOCK"
"SPOOL AND FLOWER BLOCKS"

This week we are making three blocks:
A Tulip, Pink Peony and a cabbage!

Lets start with the flower blocks:)

Here are my fabrics and Shapes
for both flower blocks all cut...
all traced and ready to go!
Here is a list of the
Calico Garden
Sew Simple Shapes
needed for these blocks:
1 - O-5
1 - O-21
2 - O-40
2 - 0-56
6 - O-63
1 - O-86
You will need 2 pieces of
prepared 1/4" straight bias
for the stems.
5" for the peony and
4" for the tulip.
You will also need a piece of 1/2"
prepared straight bias for the
top of the tulip pot.
It should measure 3 1/2" long
after both ends are pressed under.
Cut both of your backgrounds
6" x 10"
Press them in half vertically
before you layout the shapes:)

*Take note that when you trace O-21
you will trace the bottom 2 sections
so that you will have a short planter:)

My shapes are sewn...
you will need to clip the cleavage
in the tulip shapes before turning.

Pressed, shaped and ready to plant!
Now let's go to the work table:)

First let's plant the tulip.

It should measure 7 1/2" from
top of tulip to bottom of planter pot.

Both the leaves and the trim on the
planter should be 1 1/4" in from the
side edge of your background...
and the width of the leaves should be
3 1/2" wide just like the planter trim.

Pin everything down and then Sue Glue!

Okay let's plant the peony now:)
First I glued these two together...

From bottom of grass to
tip of peony it's 7 1/2":)

The most efficient way to do the leaves
is to pin just the inside points first.
Pin the top leaves 1" down from the
top of stem and the bottom
leaves at the base of grass.
Pin the center leaves in-between.

Now you can pivot each set of
leaves upwards until they measure
3 1/2" wide and pin into place...

like this!...Easy Peasy:)

Both are planted and ready for applique:)
That's the last of our flowers
for the quilt...
now lets plant another veggie!

Here are my fabrics and Shapes
for the Cabbage Block all cut...
all traced and ready to go!
Here are the two
Calico Garden
Sew Simple Shapes
needed for this block:
1 - O-9
1 - O-10
You will also need 2 pieces of
fabric cut 4 1/2" x 5"
and one piece cut 3" x 7"
We will sew these together before
we sew them with shape O-9
Cut your background
10" x 10"

Sew them together like this adding the
3" x 7" rectangle last.
Press seams open to lie flat.

Now you can place your circle
on like this to sew.
Because you can see through the
interfacing you are able to place it
wherever you want before sewing.

Both shapes are sewn.
Be sure to clip all cleavage in shape
that is the leafy part of the cabbage.

Turned...shaped and pressed.

I'm thinking that this is the
easiest block in the quilt lol
Simply glue the center of the cabbage
onto the leafy outside and
then glue onto your background:)

After all three are appliquéd...
press blocks from the back and
trim both flowers down to
4 1/2" x 8 1/2"
and the cabbage down to
8 1/2" x 8 1/2"

Have fun making your
blocks for this week:)
People.
Can you believe we only have
one week of making blocks left!!
I'll be back next week
and show you how to make all of
the fruit and fresh garden peas:)
xx
Lori

1 comment:
Lori - I just have to comment and say again, how amazing your blocks are. Your ideas and creativity is so inspiring. Just looking at the lettuce block and how you put that together to make it look so real - and all your flower blocks etc. I always head to my sewing room refreshed and see so much more potential with all my lovely fabrics. Thank You!!
Post a Comment