Well hello again!
I'm so happy to be back
and to continue the

As I told you in my last post
I knew that I would have to
take a break because of the
photo shoot for my next book
called Farm Girl Vintage 2!
Above is the cover quilt...
and the photo was taken
on the back deck off of my kitchen:)

Every photo shoot for my books
always take place at my house
because I like to set up and style
all of the photos and use
vintage props from the
decor around my home.
However in this shot above
we went over to my other mom's house
(Mr.Honey's mom)
to get a picture of all 45 blocks
on her clothesline.
She still hangs her
laundry there every Monday:)

This is another shot
taken on my back deck...
some of the doll quilts in the book.
There is a whole section
in the book for these and I love them!

I have other projects in the book
besides a whole lot of quilts
and these Farm Girl Pin Pillows
are just one of them:)

Kimberly and the girls were here
for the week and we took photos
for about 10 hours every day.
On the last day she did a live video
from my kitchen and showed each
and every quilt block...
every quilt and every project
in the book and chatted about each one.
to watch the video and to
see them all up close and personal!

The book will be out this September
and I'm super excited about it.
Now that all of the sewing is completed
and pictures are taken
I can once again get back to my
weekly tutorials for the
Vintage Block Along:)

I have another block to share with you
from Grandma's pattern basket.

This is a fun block to make and it comes together very easily once it's broken down into segments.
I'm calling this block POTLUCK
because every quilting bee day
at Grandma's house...
we all brought a potluck dish
to share at lunchtime.

I love the old recipe books...
they have all the best potluck dishes!

Of course all of the potluck
dishes were brought in Pyrex...

Or in Tupperware:)


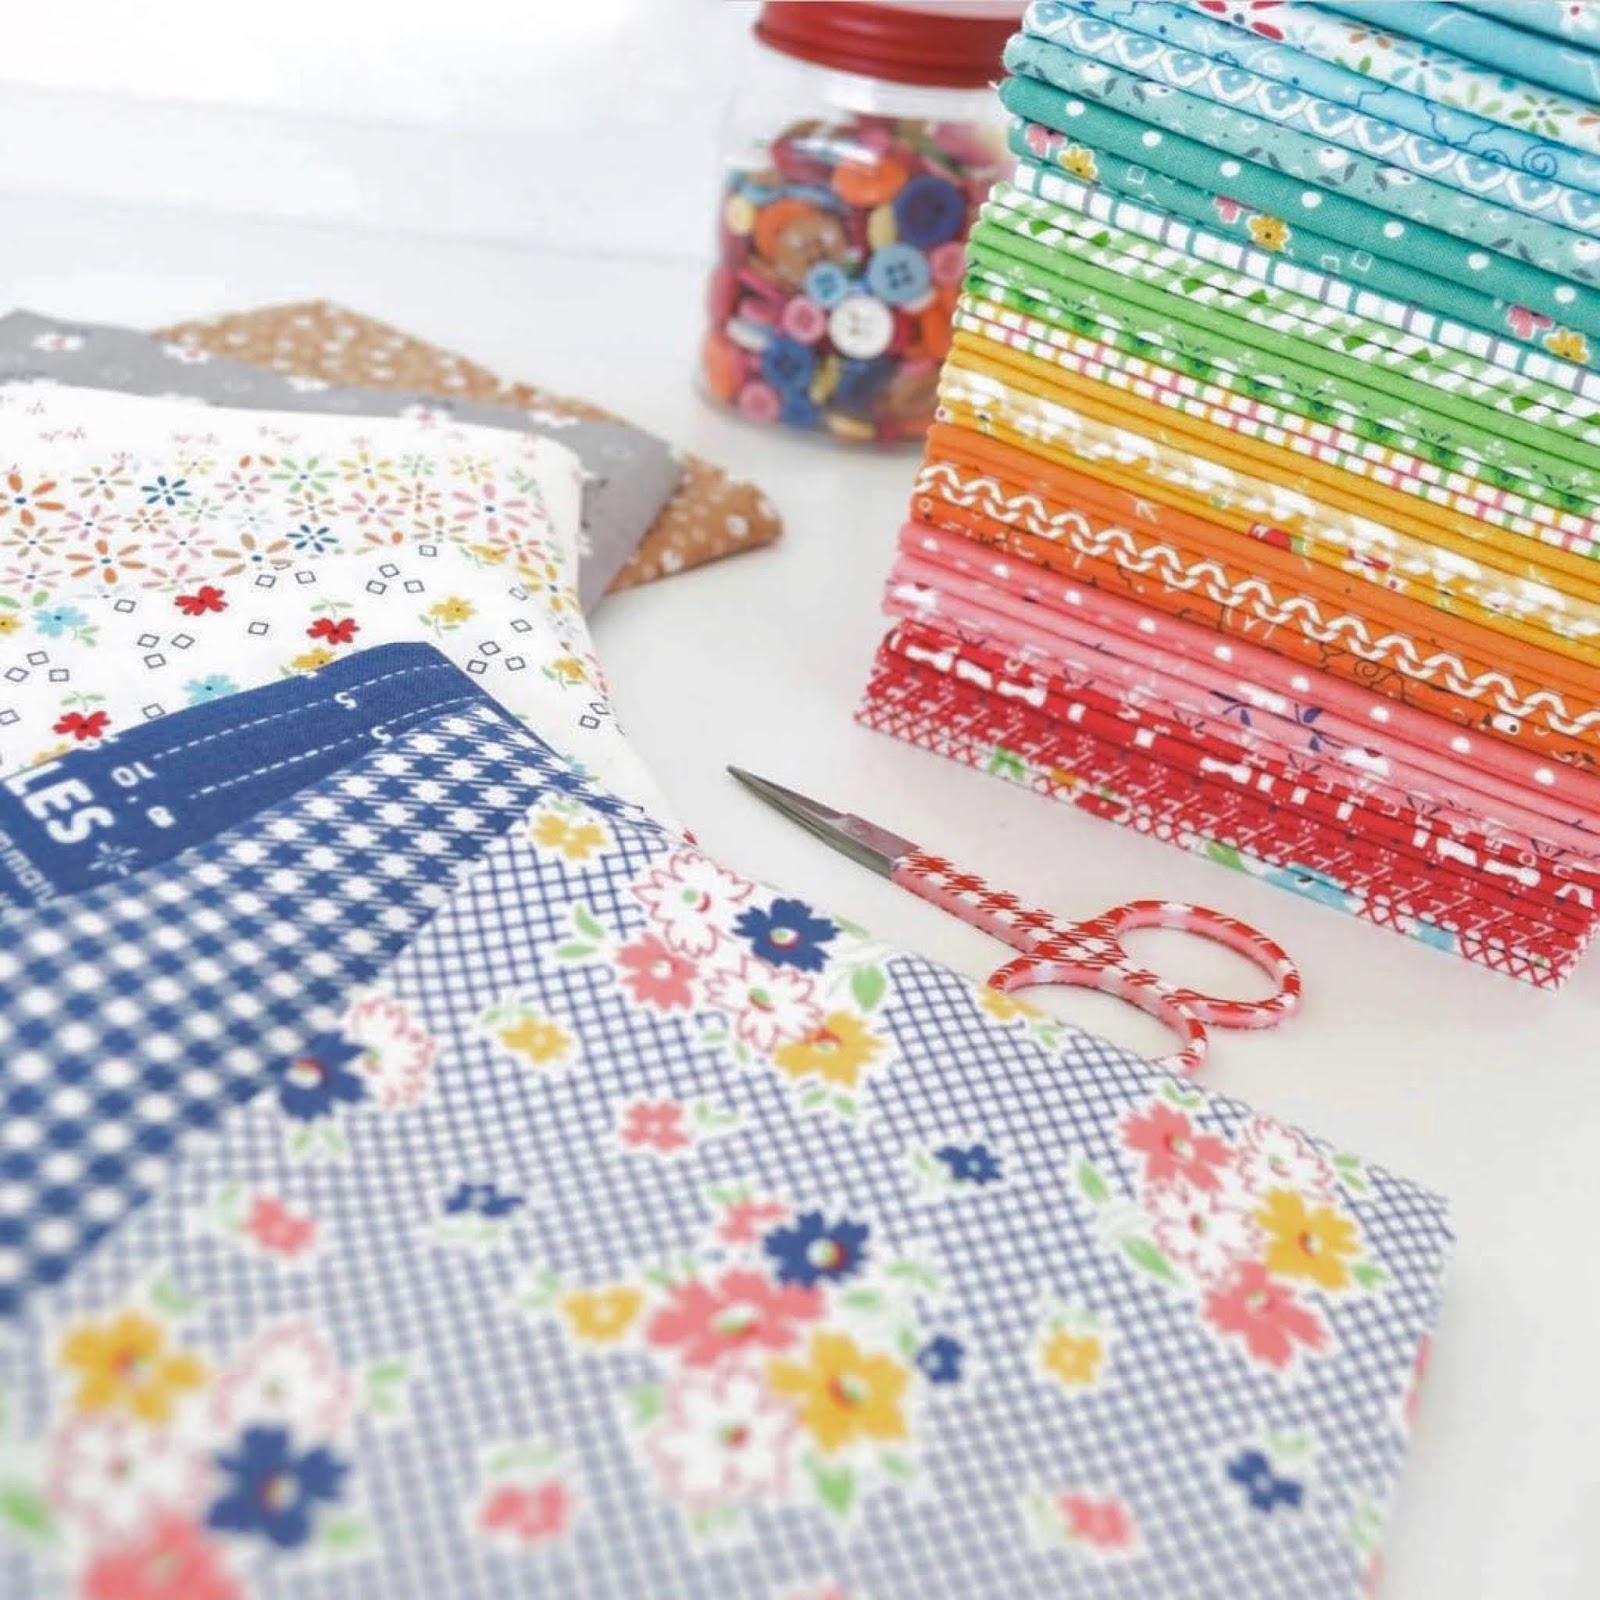
I'm continuing to use my
Farm Girl Vintage fabric...

along with Bee Backgrounds:)

I redrafted this vintage block
so that it could be
rotary cut and machine pieced
in my method that I love.
Potluck finishes at 18" x 18"
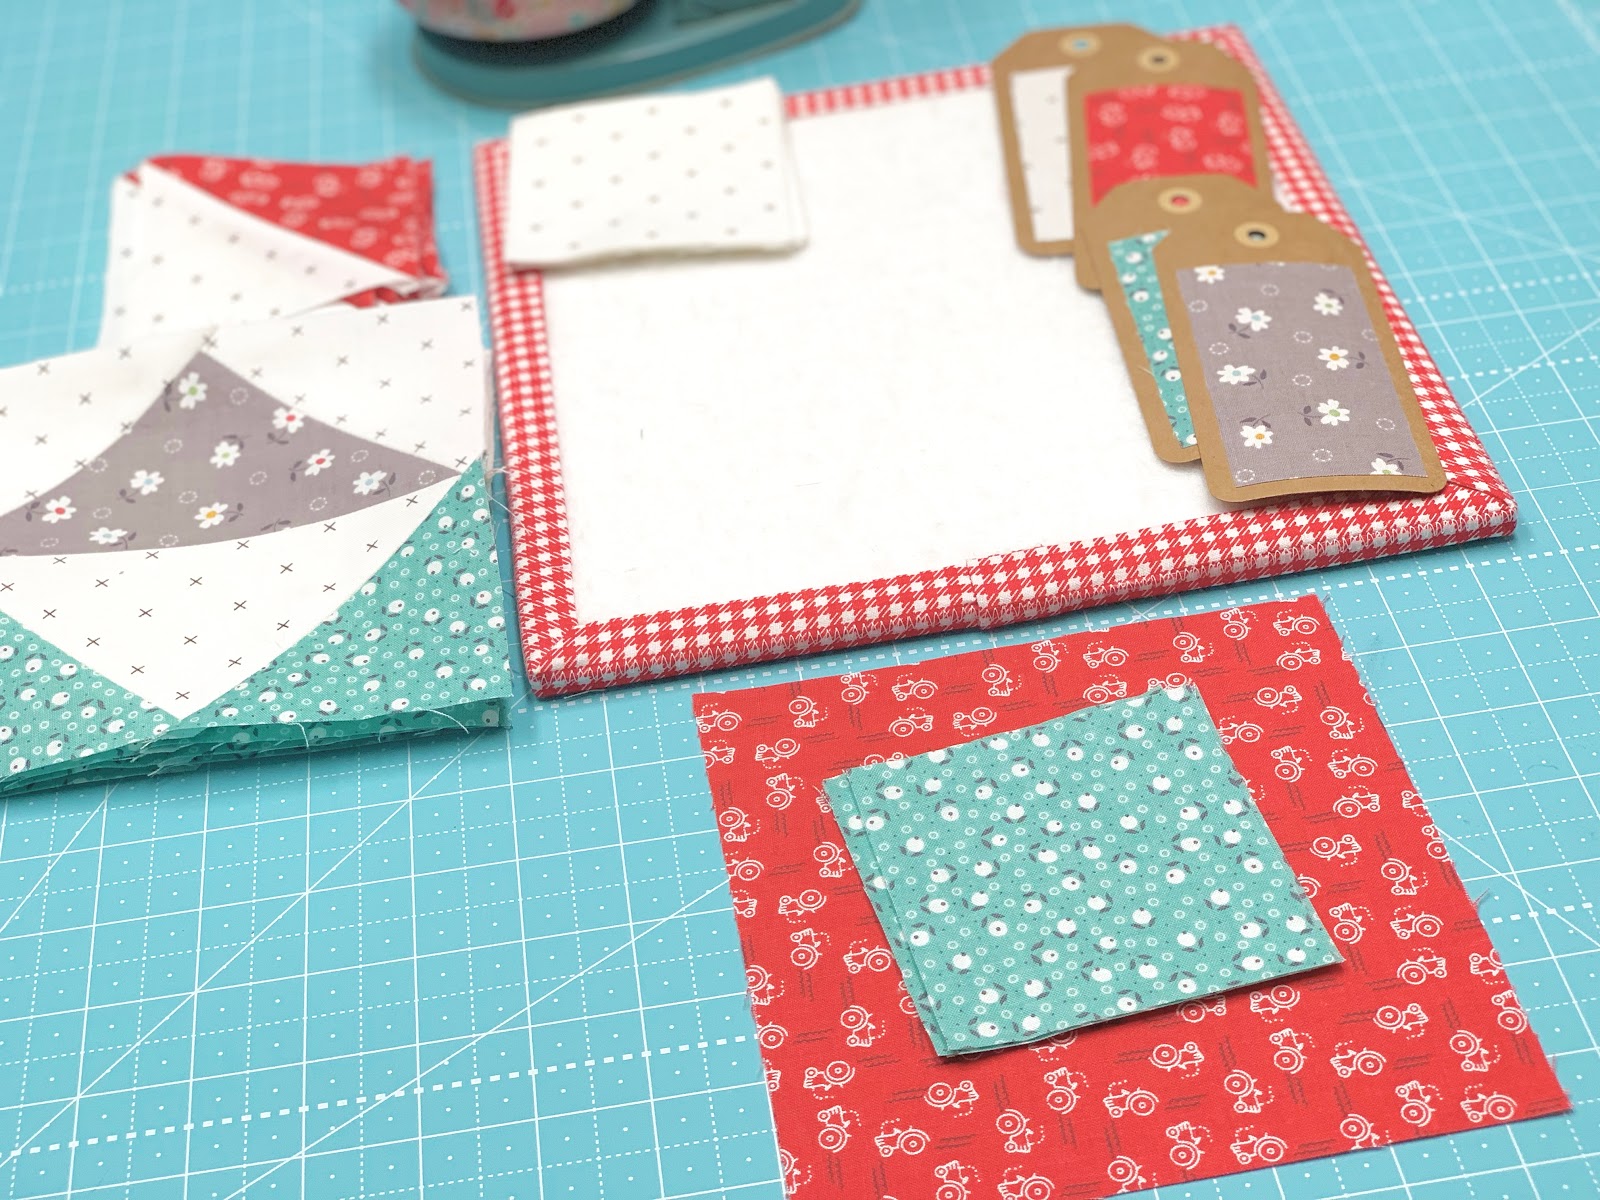
Here is the cutting for one block:
Background- Cut 24 - 3 1/2" squares
Cut 4 - 3 1/2 x 6 1/2" rectangles
Red - Cut 1 - 6 1/2" square
Cut 8 - 3 1/2" squares
Teal - Cut 12 - 3 1/2" squares
Gray - Cut 4 - 3 1/2" x 6 1/2" rectangles

Before we go on I thought you
might want to sew this
little vintage to mixer
turned pincushion up close!
I have a fun collection of
vintage kitchen toys and I
love to use them in my sewing room.
I placed my Farm Girl Vintage pin bowl
in place of the mixing bowl
and added a vintage spool of thread
on the post at the top.

I keep my pretty pins in there
and a pair of my Bee Basics scissors.
Easy peasy and fun!

Okay let's get started on the block.
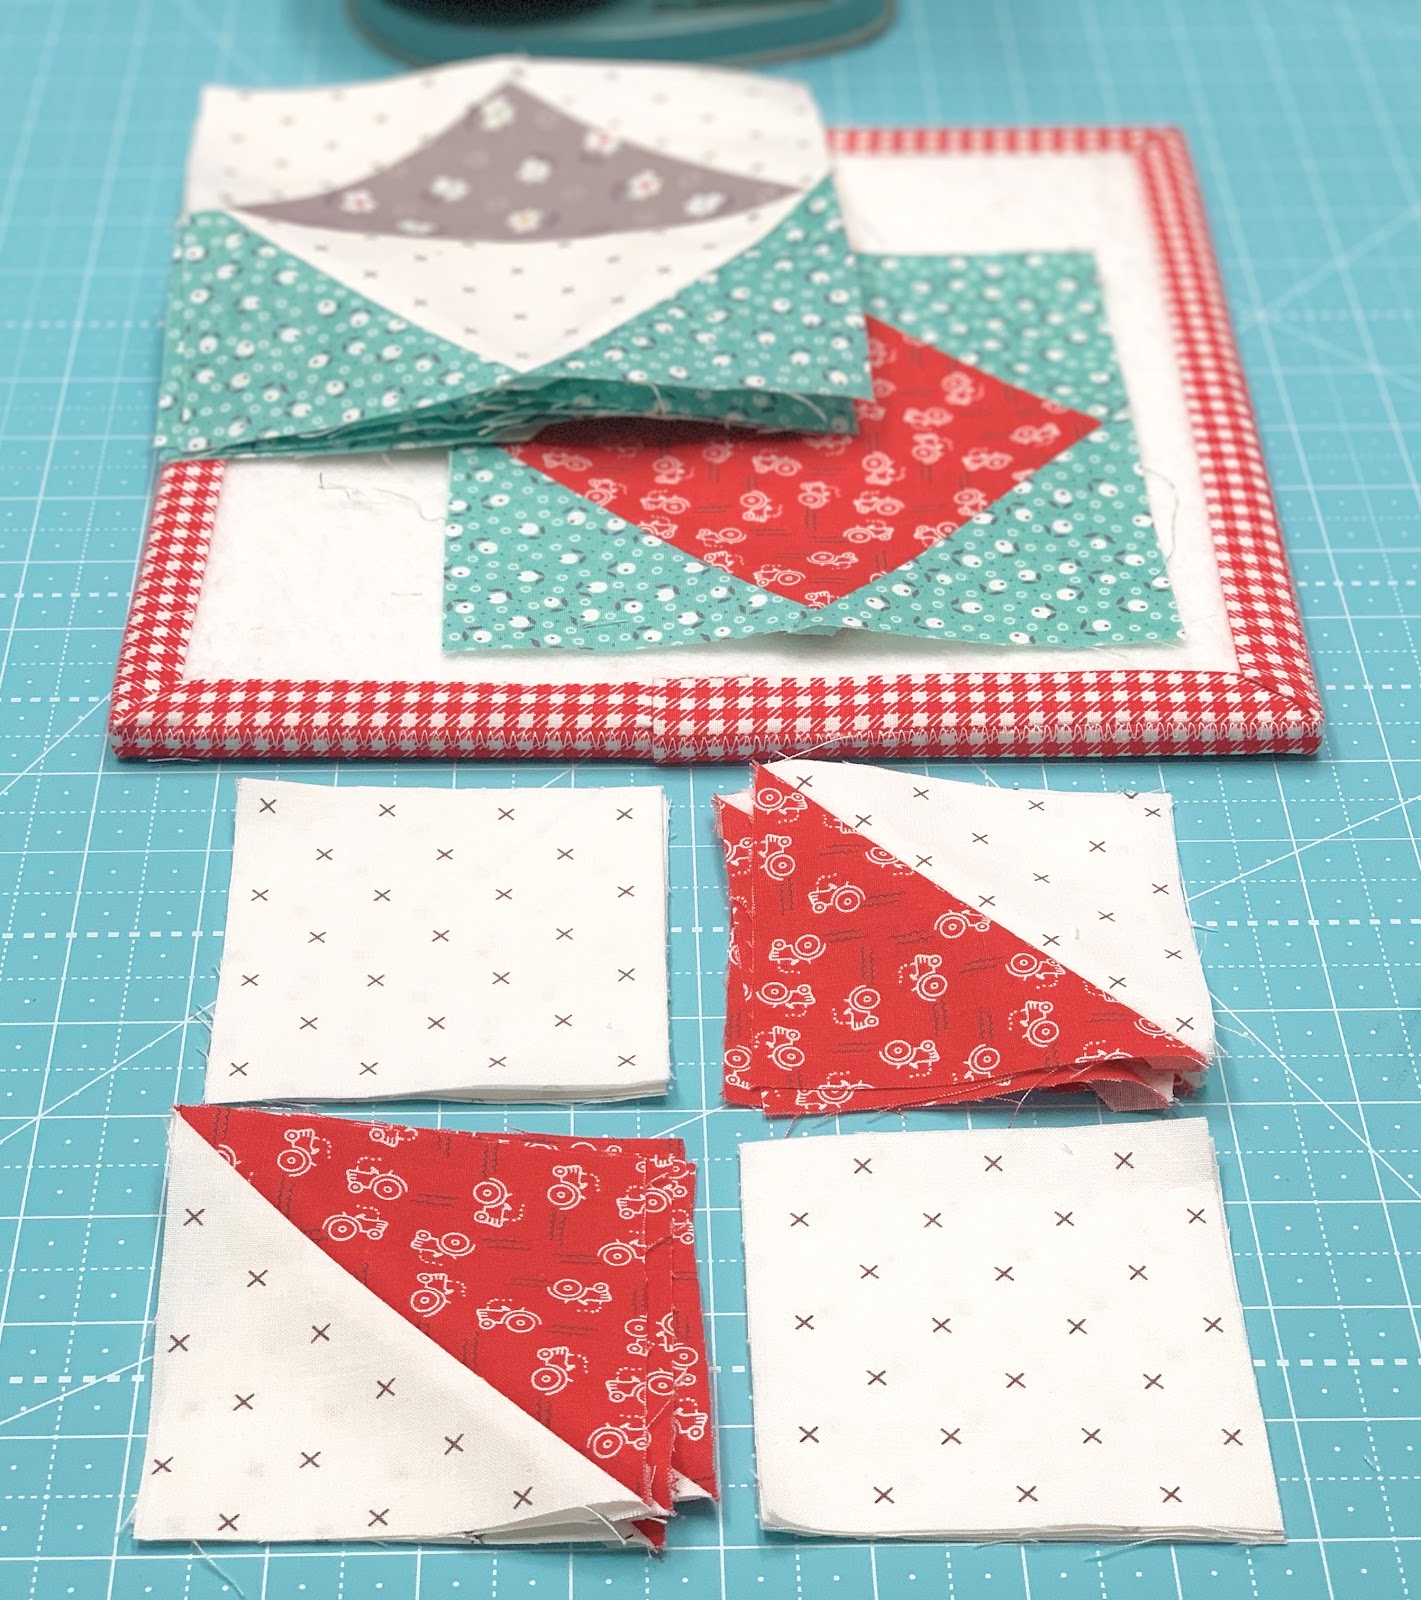
Grab the red 3 1/2" squares and
8 of the background 3 1/2" squares.

Place them right sides together
and sew from point to point diaginally.
Either mark a line or use the

Trim the excess leaving an
approximate 1/4" seam allowance
and press open for a total of
8 - 3 1/2" half square triangles.
Set them aside for later.

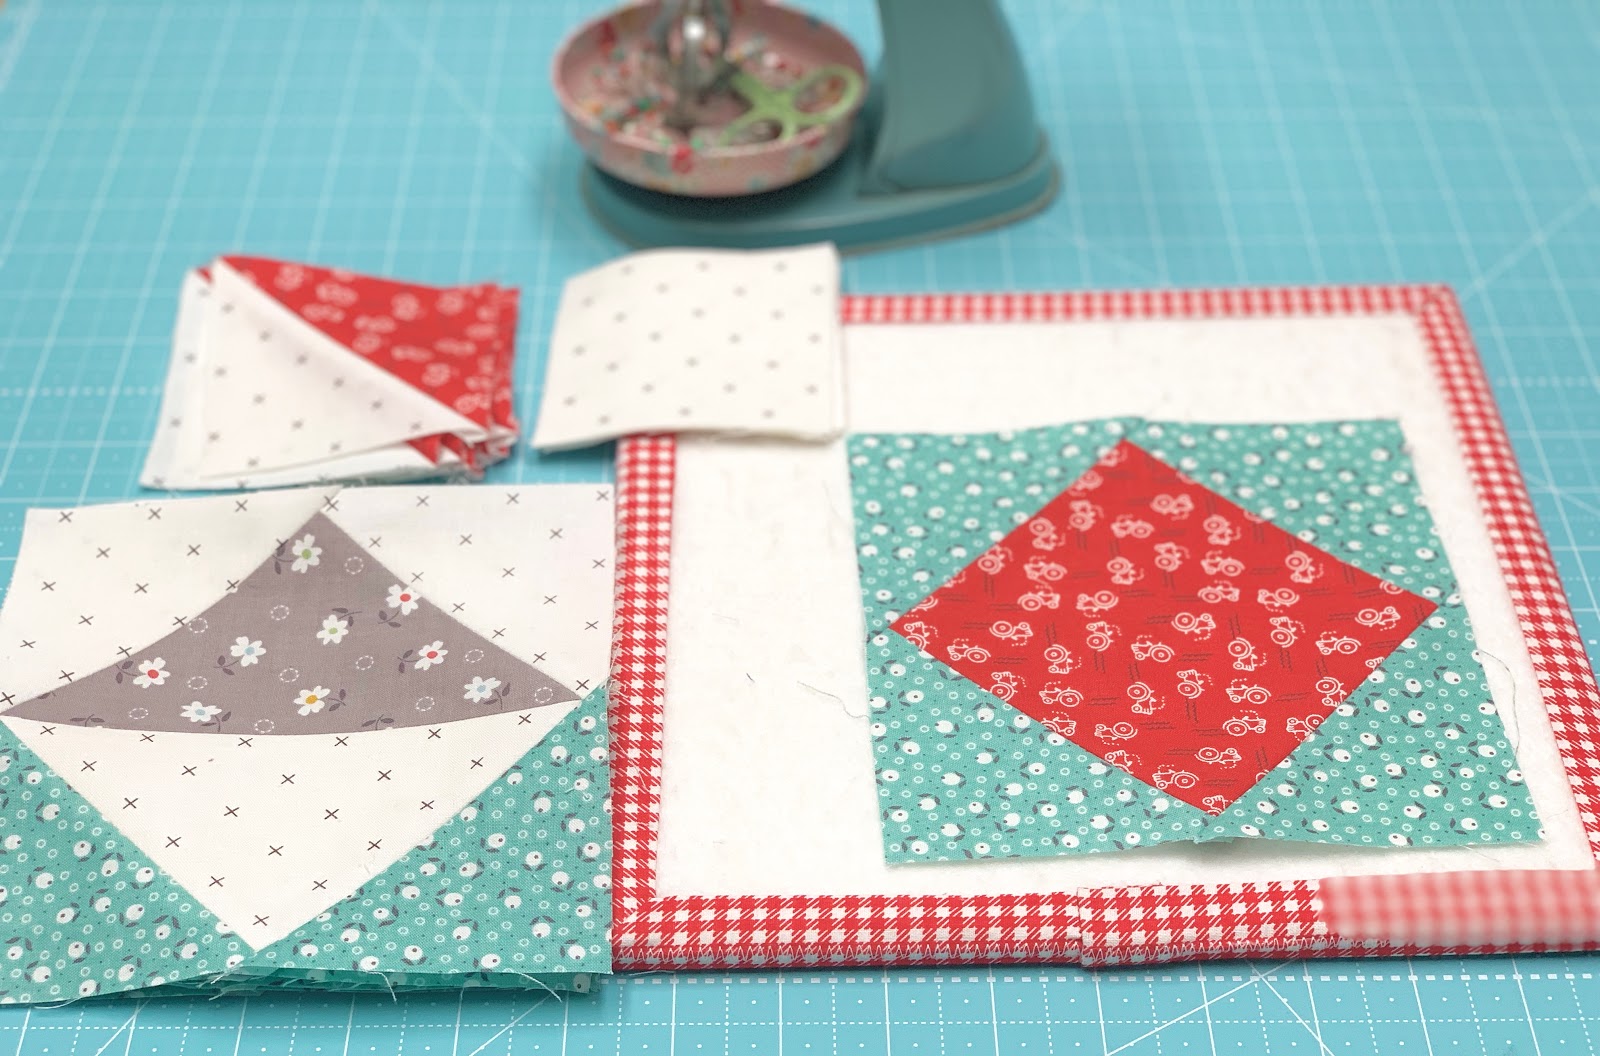
Now grab the rectangles...

And sew them together like this.

We are going to add
easy corner triangles
onto each corner.

Sew these two on the
opposite corners first...

And then add the other two like this.
You should have 4 segments
measuring 6 1/2" square.
Set them aside.
Next you will use the
4 remaining teal 3 1/2" squares
to sew an easy corner triangle
onto each corner of the
red 6 1/2" square.
Remember to sew opposite corners first...
trim them and press open before you
can add the last two corners.
You should have one of these
segments measuring 6 1/2" square.
Now you will need to make
4 of these segments using the
8 half square triangles and the
8 remaining background squares.

You should have 4 of them now
and they should measure 6 1/2" square.

Now lay out all nine segments
onto your design board like this.
Sew the block together by sewing
3 rows and then sew
those 3 rows together...
just like sewing a nine patch block.

I also pressed my seams open
when joining all of the segments
together to make the block
needed to line up perfectly.

Here is the back of my block.

POTLUCK
measures 18 1/2" square
at this point...
and will measure 18" square
after we sew it into our quilt.
I'm still not finished
sharing blocks with you...
so we will continue for a while yet...
But if I had to guess
I'd say we are halfway through:)
If you are just joining us...
here is the list of the
Vintage Blocks that we have done so far.
Click on each one
to go to that tutorial:
5. Rhinestone
6. Vintage Lily
7. Star Shine
8. Humble
9. Egg Money
10. Quilting Bee
11. Sunday Star
12. Sweet as Honey
13. Bear Hug Block
15. Memory
16. Farmers Daughter